It’s no secret that Neal and I love to travel–so I can confidently say I have had a LOT of practice building up my travel photography skills! Whenever I post a photo of the two of us on vacation somewhere, people say, “HOW did a stranger take that photo!? How do you get such good travel photos? Why can’t my husband take photos like Neal?!” and today–you shall have the answer and more!
In today’s post, I’m going to take you through some photography basics, AND how to get a great photo when you have to ask a random stranger to take your picture! Grab something to take notes with–when you get to the end of this post, you’ll be armed with TONS of knowledge on how to really take your photos up a notch!
How to take photos on vacation:
Digital camera vs iPhone:
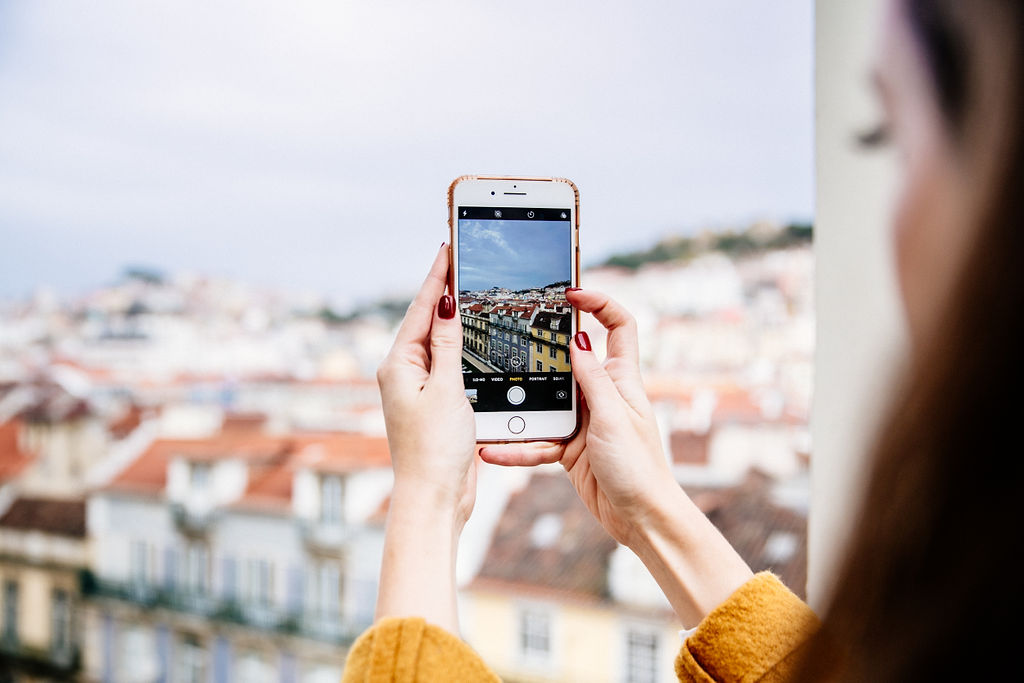
With the newest technology, it is VERY easy to take fantastic photos on your iPhone. You definitely don’t need to be professional to do so! In fact, I’d say, if you don’t have any experience with photography (and you aren’t someone who is a blogger, influencer, etc) and just want to document memories–you don’t need anything more than that!
If you do want to up your photography game and invest in a digital camera, there are so many different variations out there–from DSLR to mirrorless–I recommend finding your local camera store that has a rental program so you can rent some variations to see what you like best. (I love Dodd Camera in Logan Square!)
For reference, I shoot with a Canon 6D and I LOVE it. I upgraded to it a couple years ago and it has made a NIGHT AND DAY difference in the quality of my blog photography–especially coming from a Canon Rebel and then Canon 60D–both of which are cropped sensors. I will not get into that here because you can google and find all the info you need on which camera is best for you. BUT–the most important point, above all else, if if you do invest in a digital camera of any kind, you NEED to invest some time into learning how to use it properly, otherwise, it’s a huge waste of money!
If you do shoot with a digital camera, I HIGHLY recommend investing in (or renting) a wide-angle lens for travel purposes.
Many people shoot with a 50mm lens–and I cannot think of a worse lens to bring on vacation. (I actually hate shooting with a 50mm lens because to me it’s basically worthless for anything other than portrait photography, but that’s a personal and unpopular opinion.) Why? Because it’s almost impossible to capture any of your surroundings with a 50mm lens–and if you can’t get a good photo of the scenery behind you, what’s the point in lugging a big ole camera around?
Often times, especially in Europe, space is so limited–you can’t back up any further in a tiny restaurant with 5 tables, or on narrow cobblestone streets. You need a wide-angle lens to be able to fully capture what’s around you–because the setting is so important on vacation!
I would recommend at least a 35mm (I have the Canon f/1.4 but you can also get the Sigma for half the price) OR, even better, the Canon 24-70mm f/2.8 L USM II lens, which will allow you to shoot great detail shots as well as super-wide angles.
[one-half-first] [/one-half-first][one-half]
[/one-half]
Above: Both photos taken at f/2.8 using the 24-70mm lens. The left photo was taken at 70mm (you can tell there isn’t much of the background in the photo, it’s much closer up) vs. The photo on the right was taken at 24mm–the widest it goes–you can see how much more background it can capture! Now you can see the power of this lens and why it’s so wonderful for travel!
Wide-angle lens for iPhone:
Did you know that the newer iPhones have a wide-angle lens? Use it! You’ll fit so much more in your backgrounds! Great for shooting photos of scenery. Also, you can adjust how wide the frame is simply by pinching in/zooming. (I never recommend zooming unless it’s adjusting the width of the lens on the new iPhone.)
[one-half-first]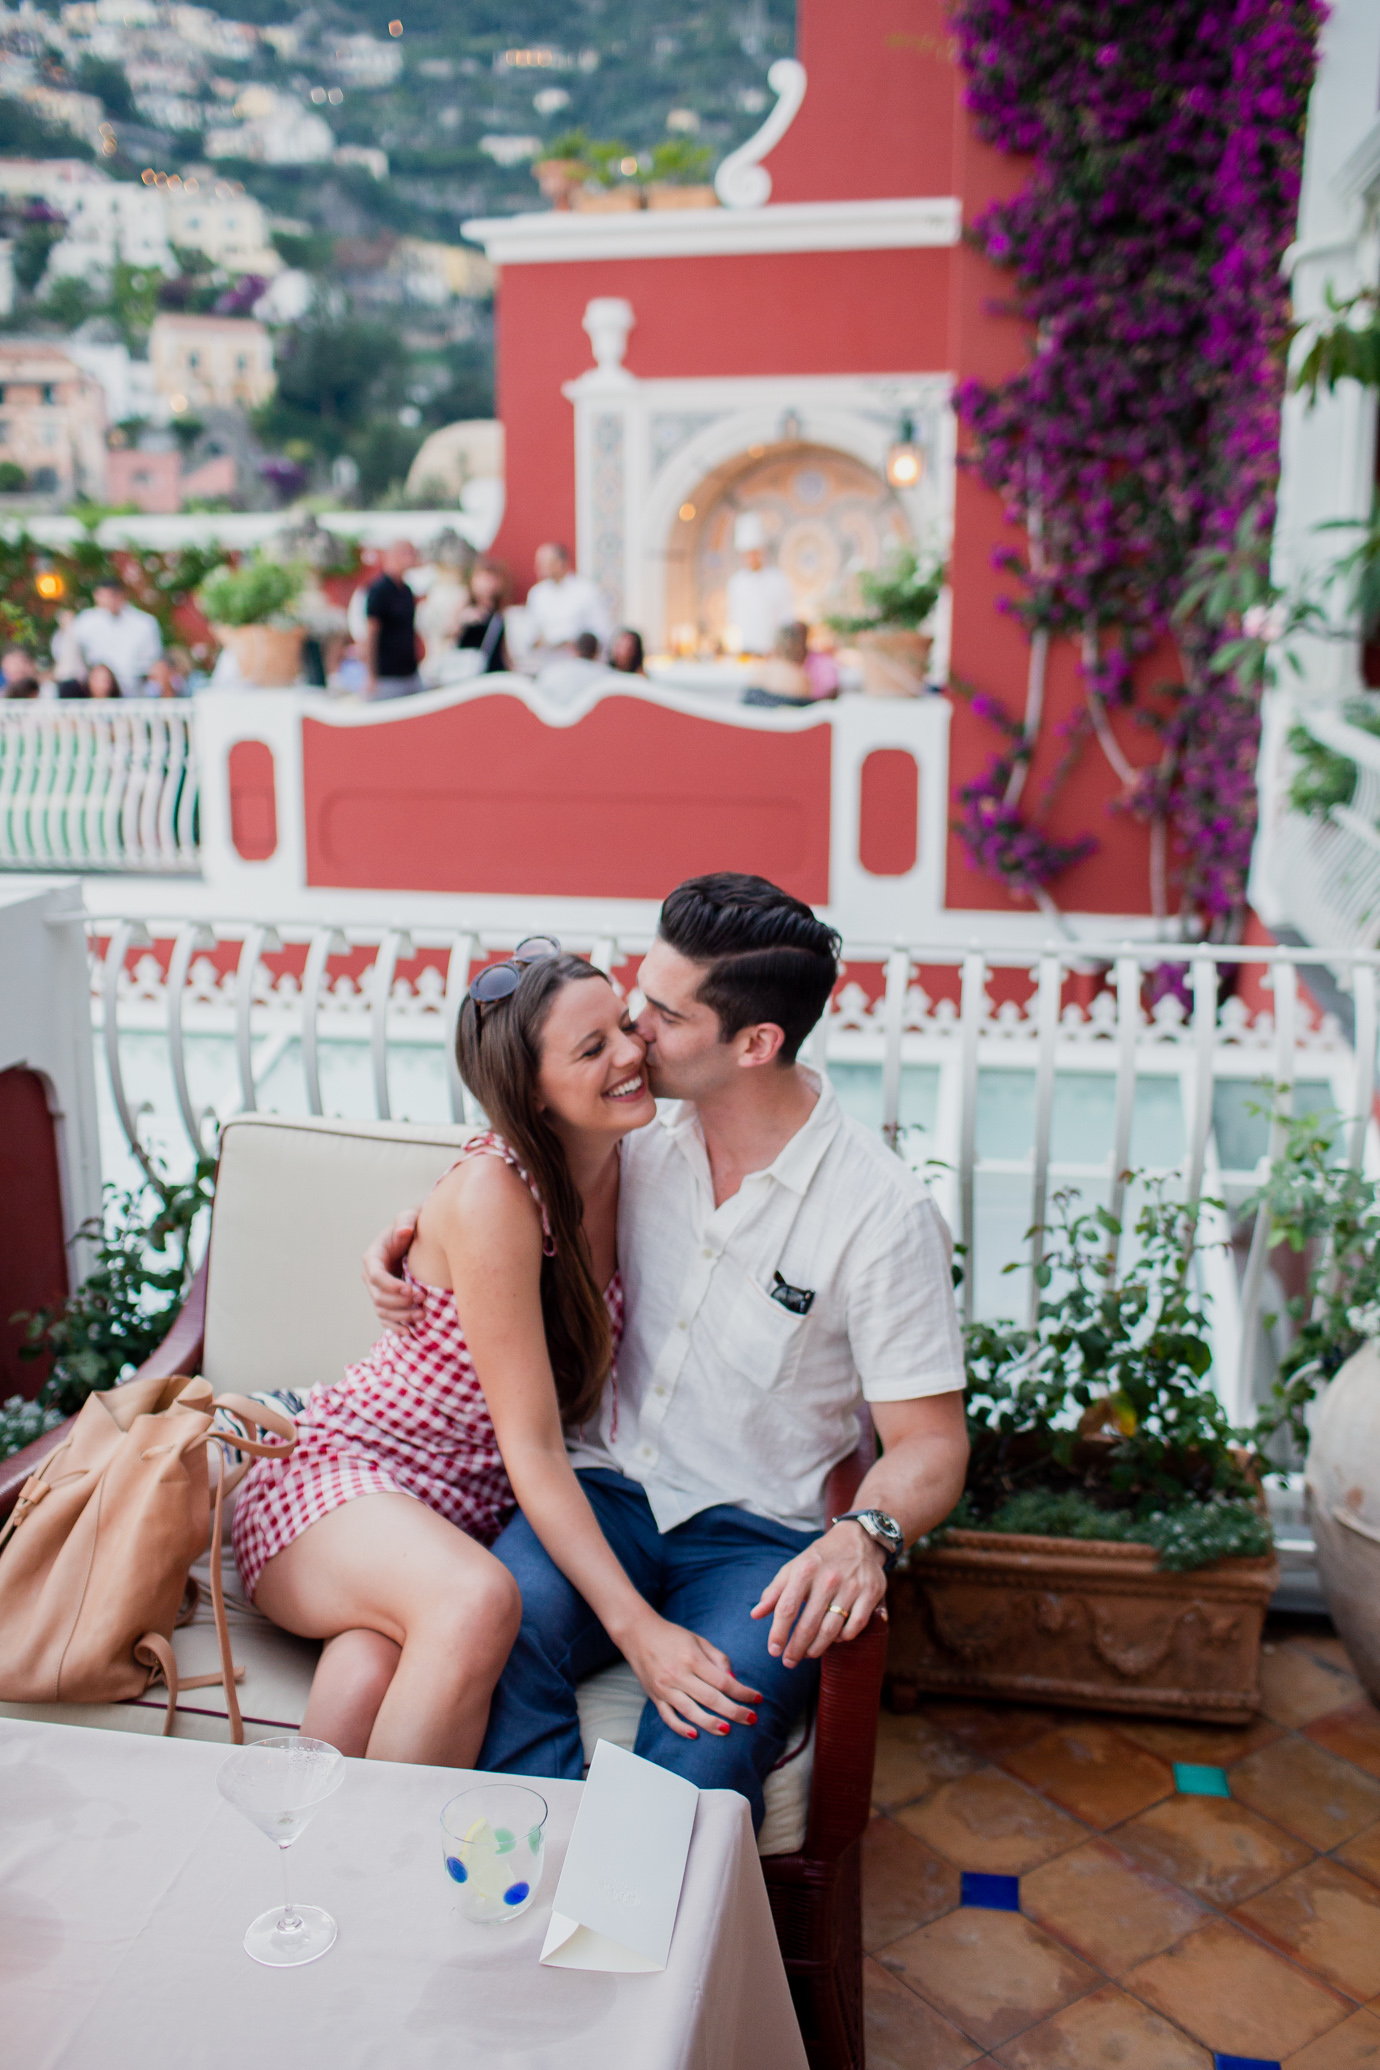 [/one-half-first][one-half]
[/one-half]
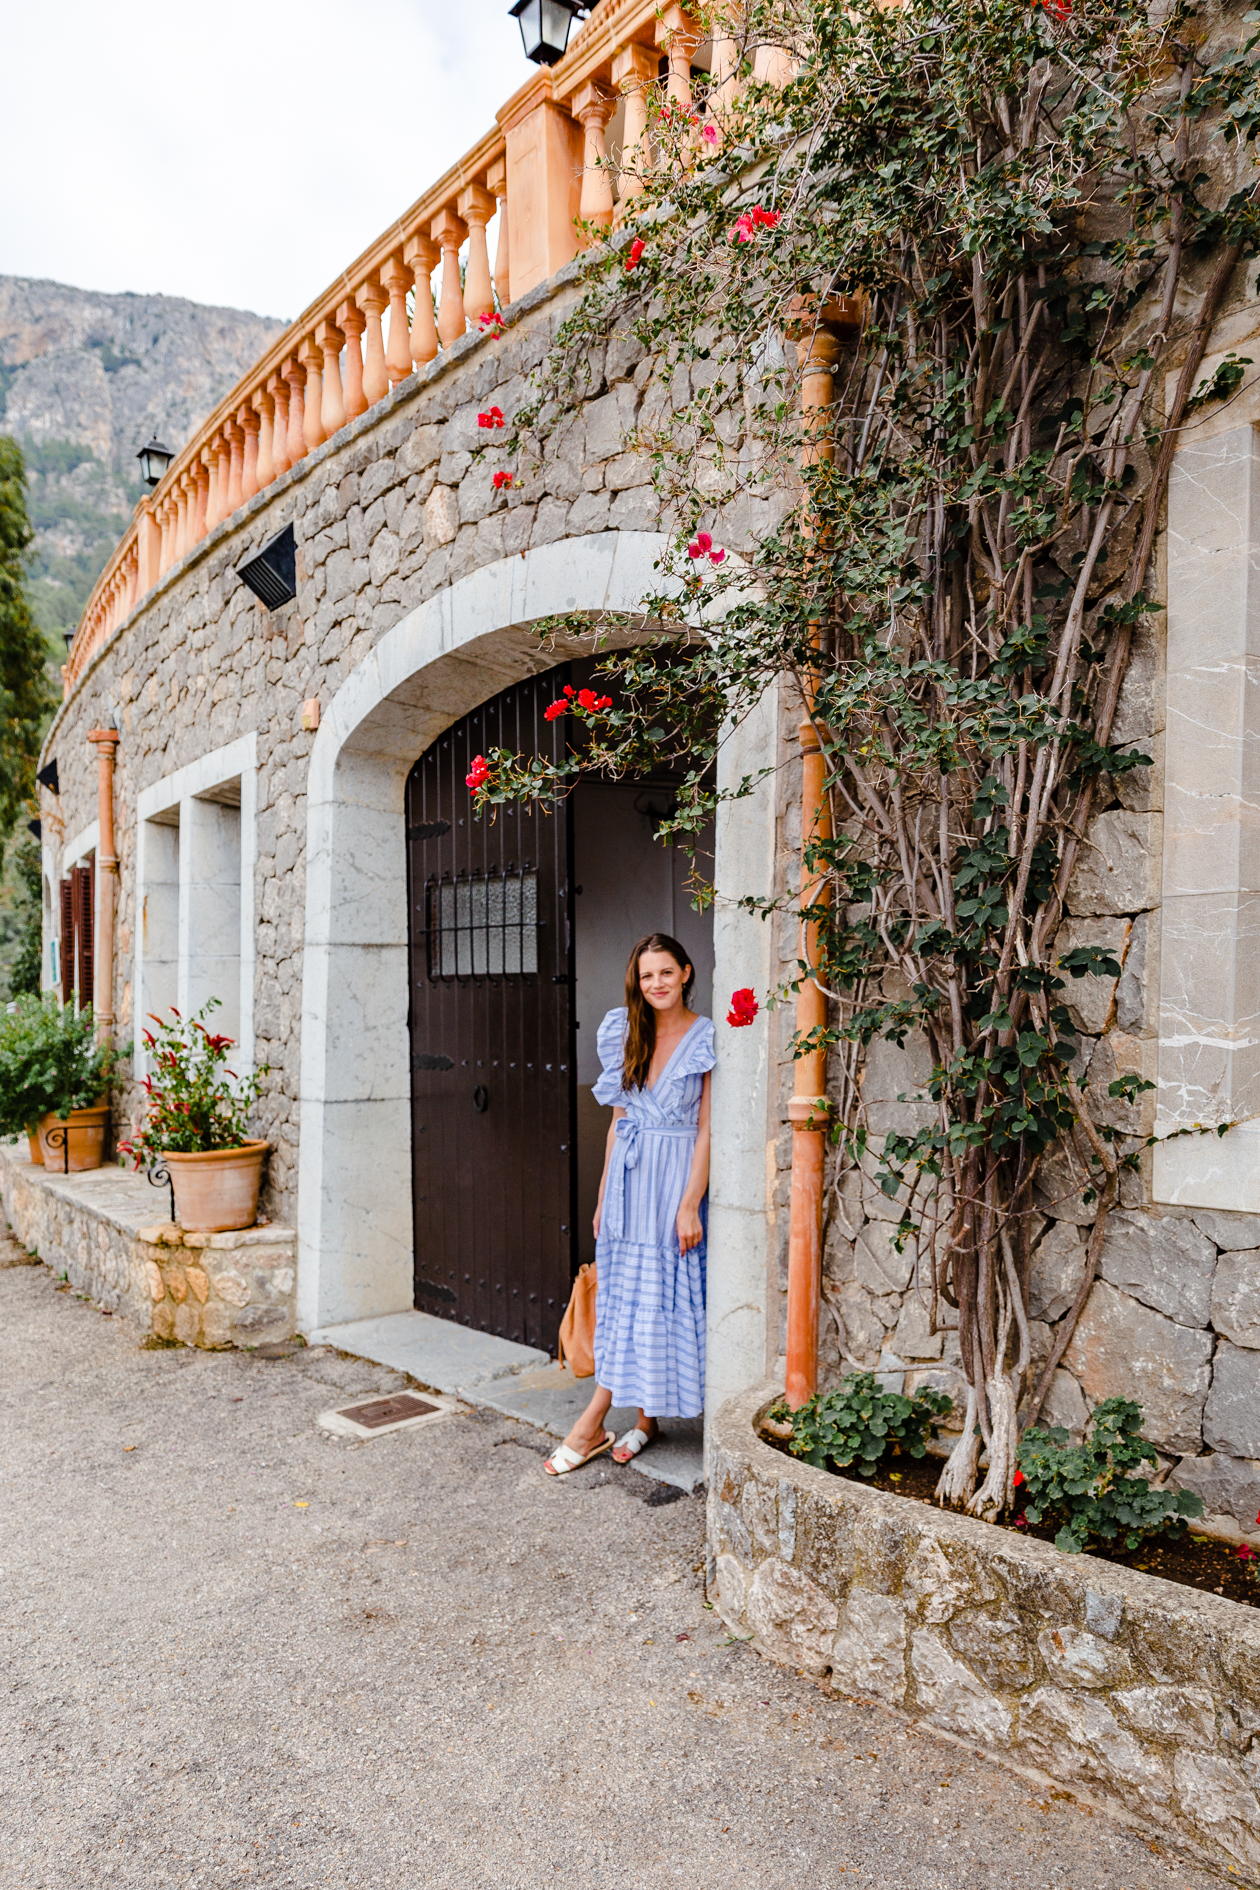
Above left: Taken with a 35mm. Which is great, but I wish more of the background could’ve been captured, because all of Positano was visible behind us! Above right: Taken with the 25-70mm in Mallorca. See how the entire building and the mountains are captured in the shot? That wouldn’t have been possible with the 35mm.
Use the hand trick to find the best lighting:
Take photos near a window and play around with the direction the light is coming from
[one-half-first]
[/one-half-first][one-half]
[/one-half]
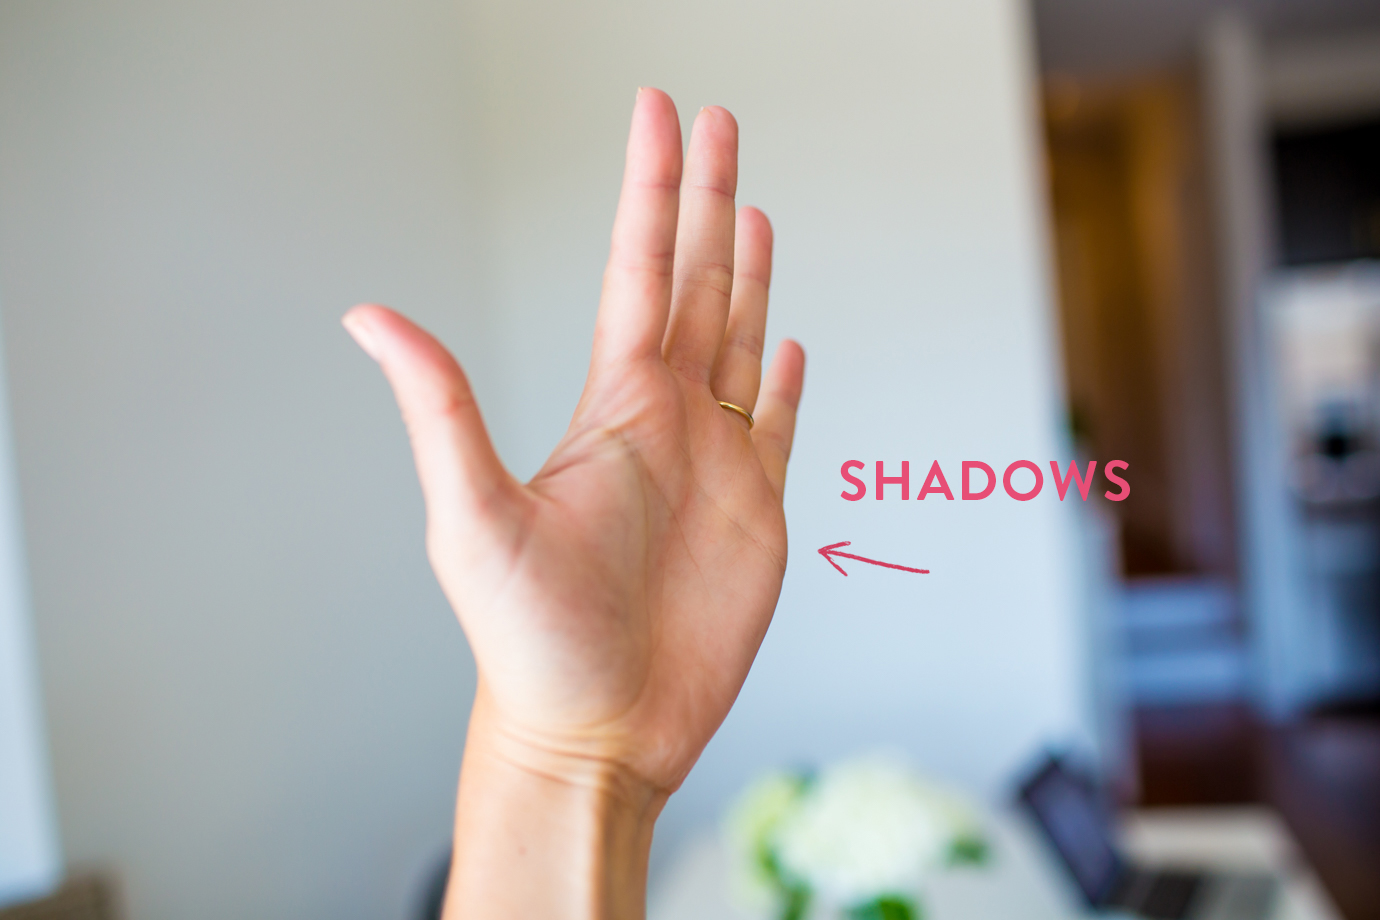
The best, most flattering light is always going to be indirect lighting where the photo is taken with you facing the a window. (When I say indirect lighting, I mean, the light should not be streaming directly onto you through the window, causing you to squint. That is harsh, unflattering lighting and something only someone with experienced photography skills can make look artistic–so avoid that!)
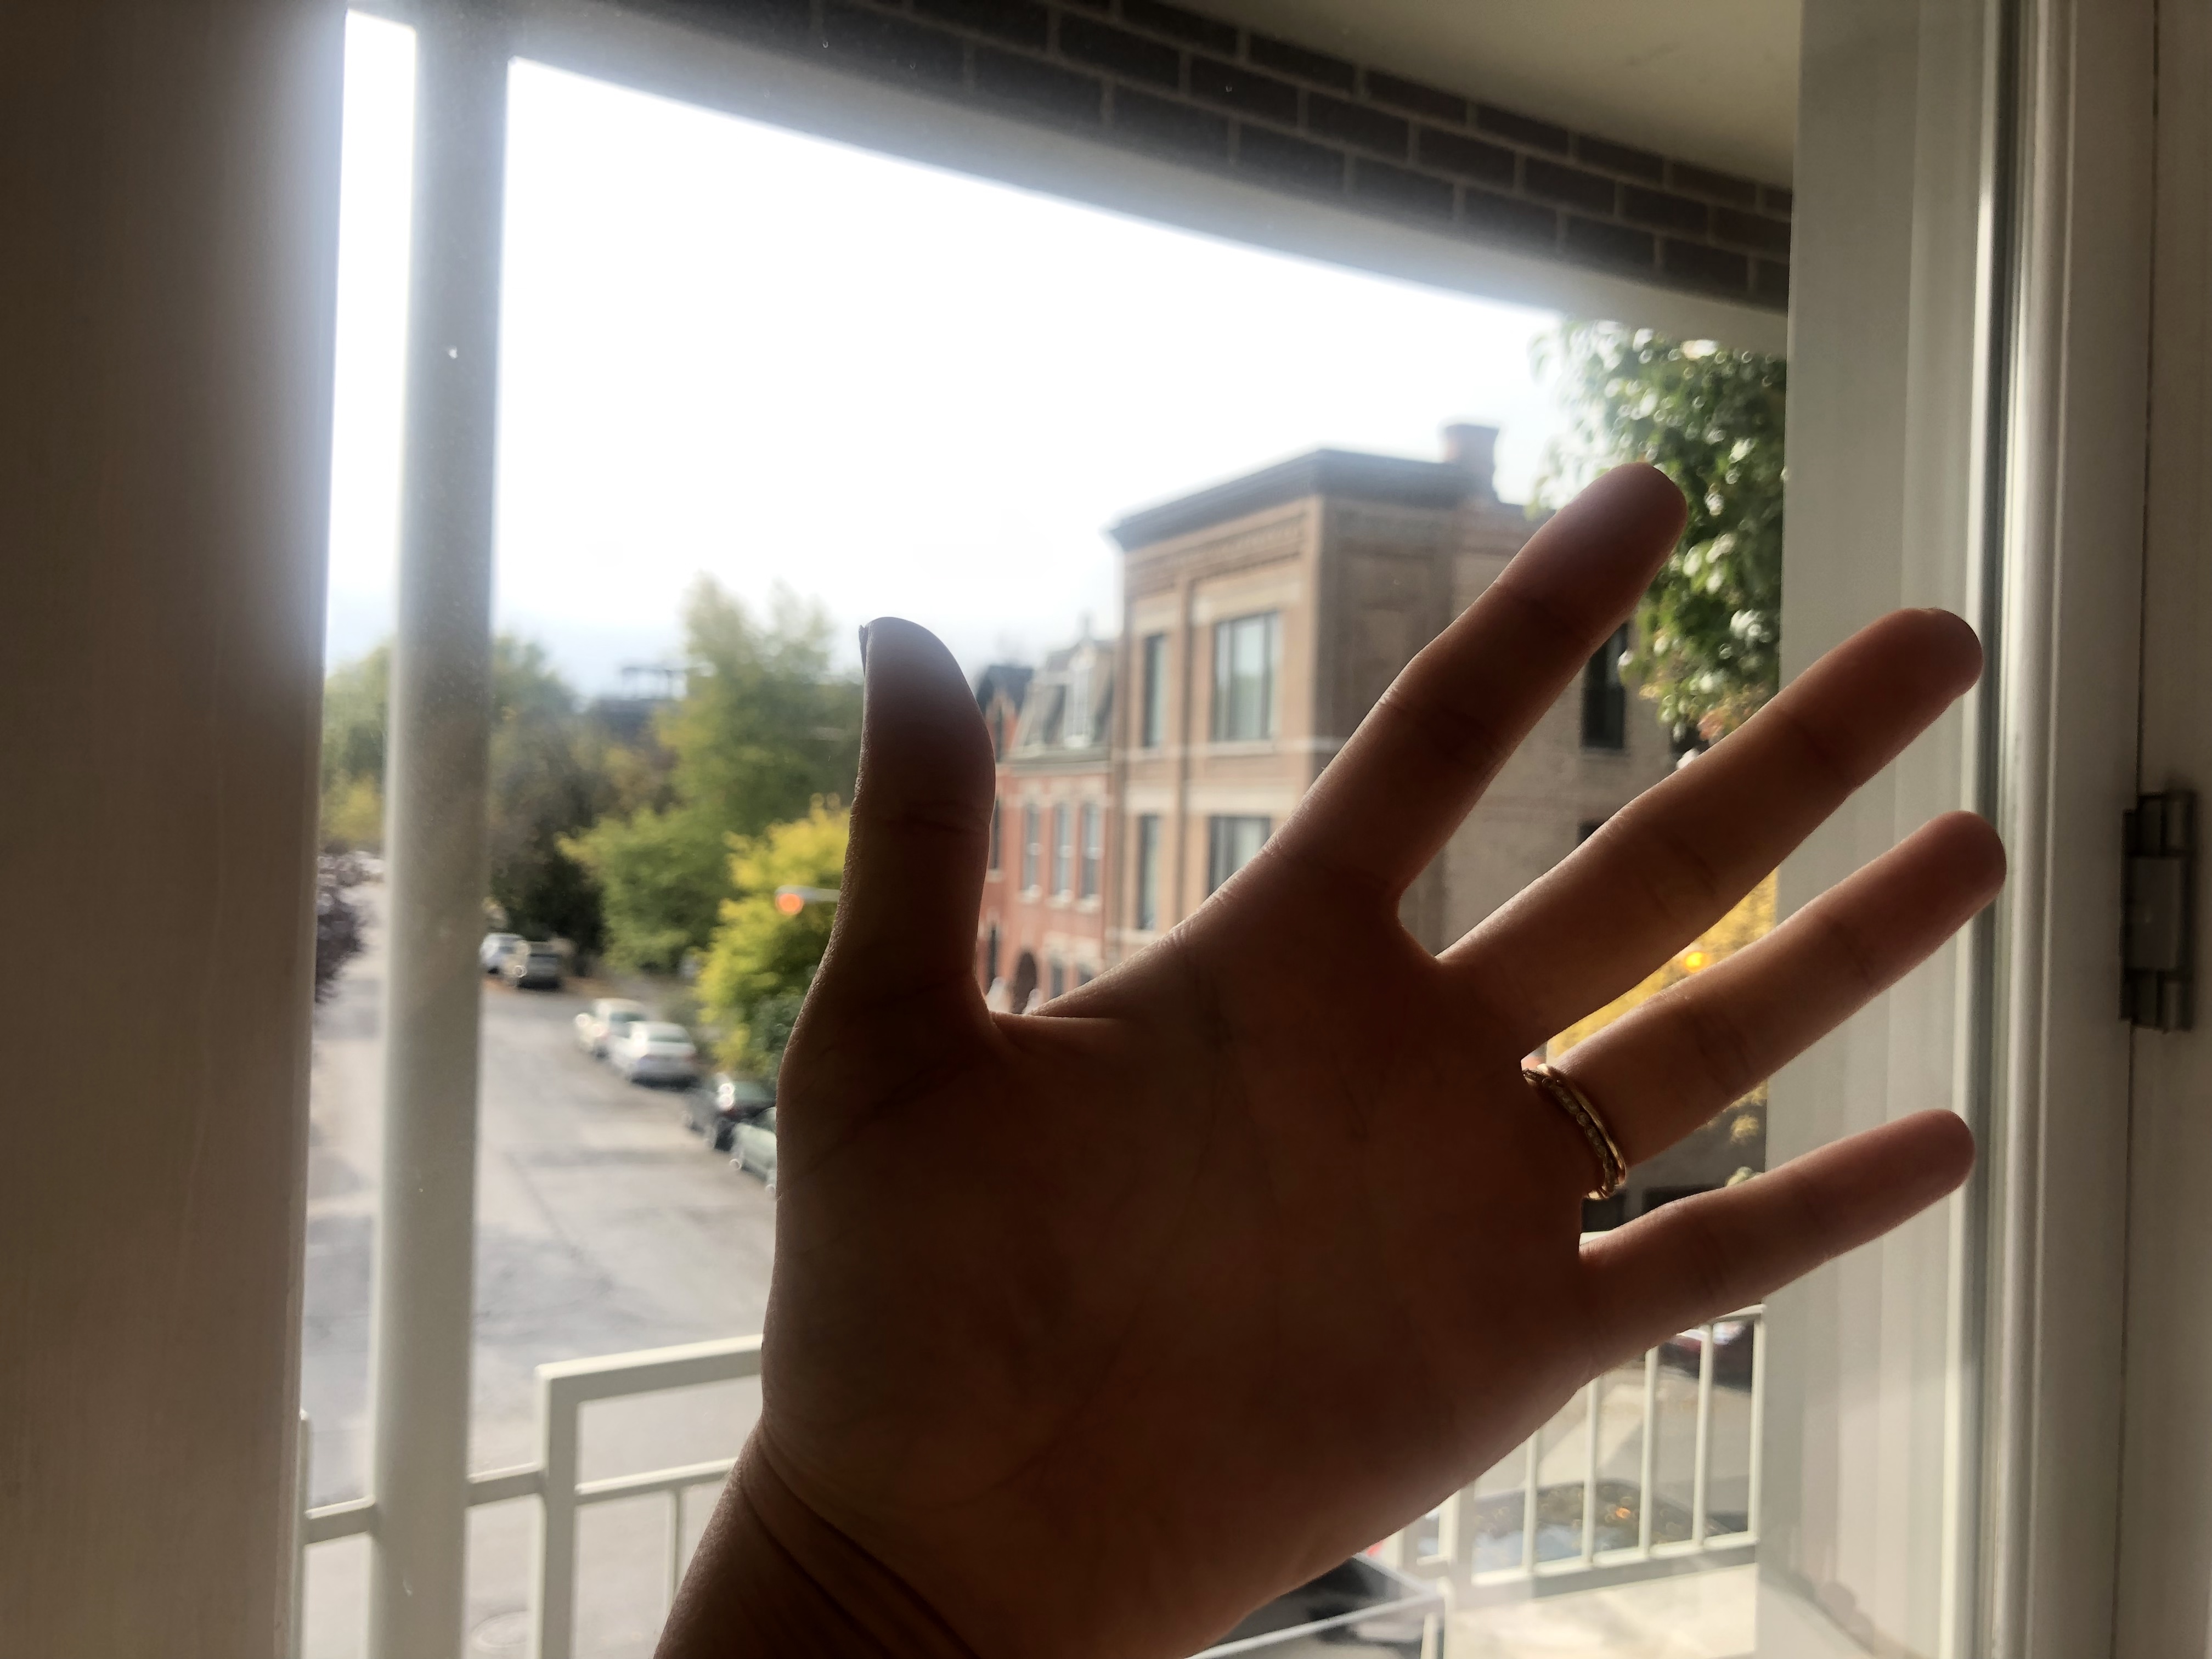
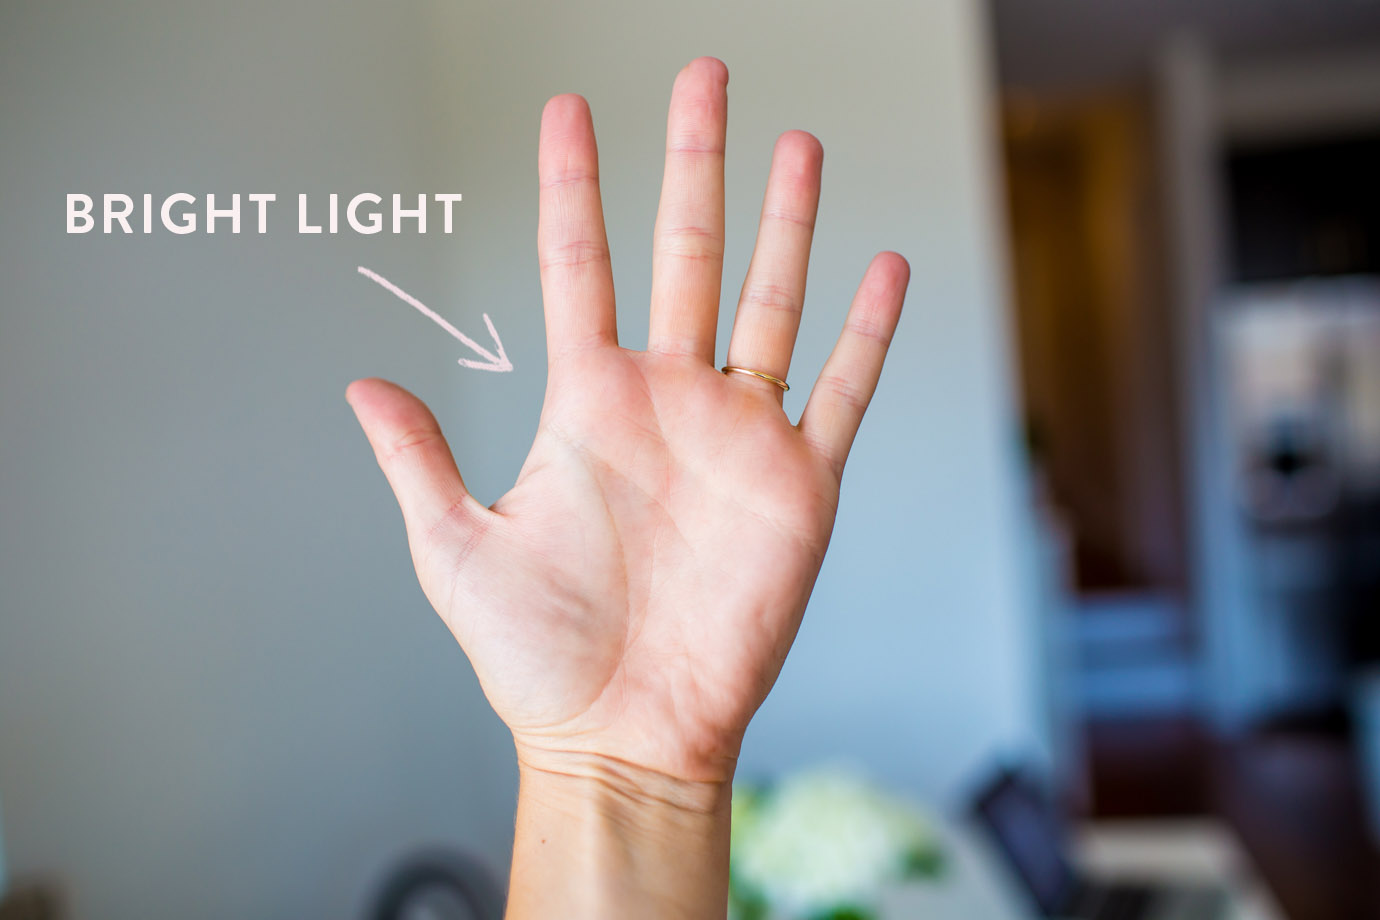
The hand trick is going to be the easiest way to figure out where the light is coming from, and how flattering it will be. So, hold your palm out in front of you, facing you, and rotate your body, and rotate your hand. Notice where the shadows hit. See my examples above.
If I were facing the window head on (like the first photo) this would be a bright photo with very little shadows. But if I moved to the side, and took the photo where the light was streaming in to my right, hitting only the right side of my face, that would create a moodier, more shadowy effect.
Avoid backlighting:
This is why you move around to test a few different angles–because when you choose the wrong one, you get what is called backlighting. Now when someone says, “let’s get a picture in front of the window with the view in the background!” now you can say, “NO!”
This is always going to result in a backlit picture. (This can be helped a lot with editing–and you can find lot’s of Youtube videos on that–but if you aren’t planning to properly edit your photo, avoid it altogether.) If you can, always go outside to capture a shot where you’d like the view in the background.
In bright sunlight, always experiment with taking photos from both sides–with the sun in front of you, and the sun behind you. Depending on how strong the sun is, the time of day, etc, the lighting will look drastically different. Sometimes the sun behind you can be best, other times it makes your photo blown out, and same with the sun directly on you. When in doubt, if you’re in direct sunlight, put sunglasses on so there aren’t crazy shadows that make you look like you have no eyes. ????
Get a handle on basic photography composition:
It only takes a second to learn a couple photography composition rules that will make a HUGE difference in your photo taking abilities.
Rule of thirds:
You know the optional grid you can have pop up on your camera screen? Use that! It’s super helpful in taking better photos. This article will help you learn the concept of the rule of thirds.
White space:
You never want the frame of your photo to be too crowded–give your subject breathing room. For example, if you take a photo and there is very little room above everyone’s heads, and/or everyone’s feet are cut off. What is better, is if you take a step back, allowing more white space above everyone’s heads–leaving plenty of room above the head and below the toes. (It’s most pleasing to the eye, I think, if there’s more room above you than below you, if that makes sense.) If you look at any of my blog photos, you’ll see this is always the case!
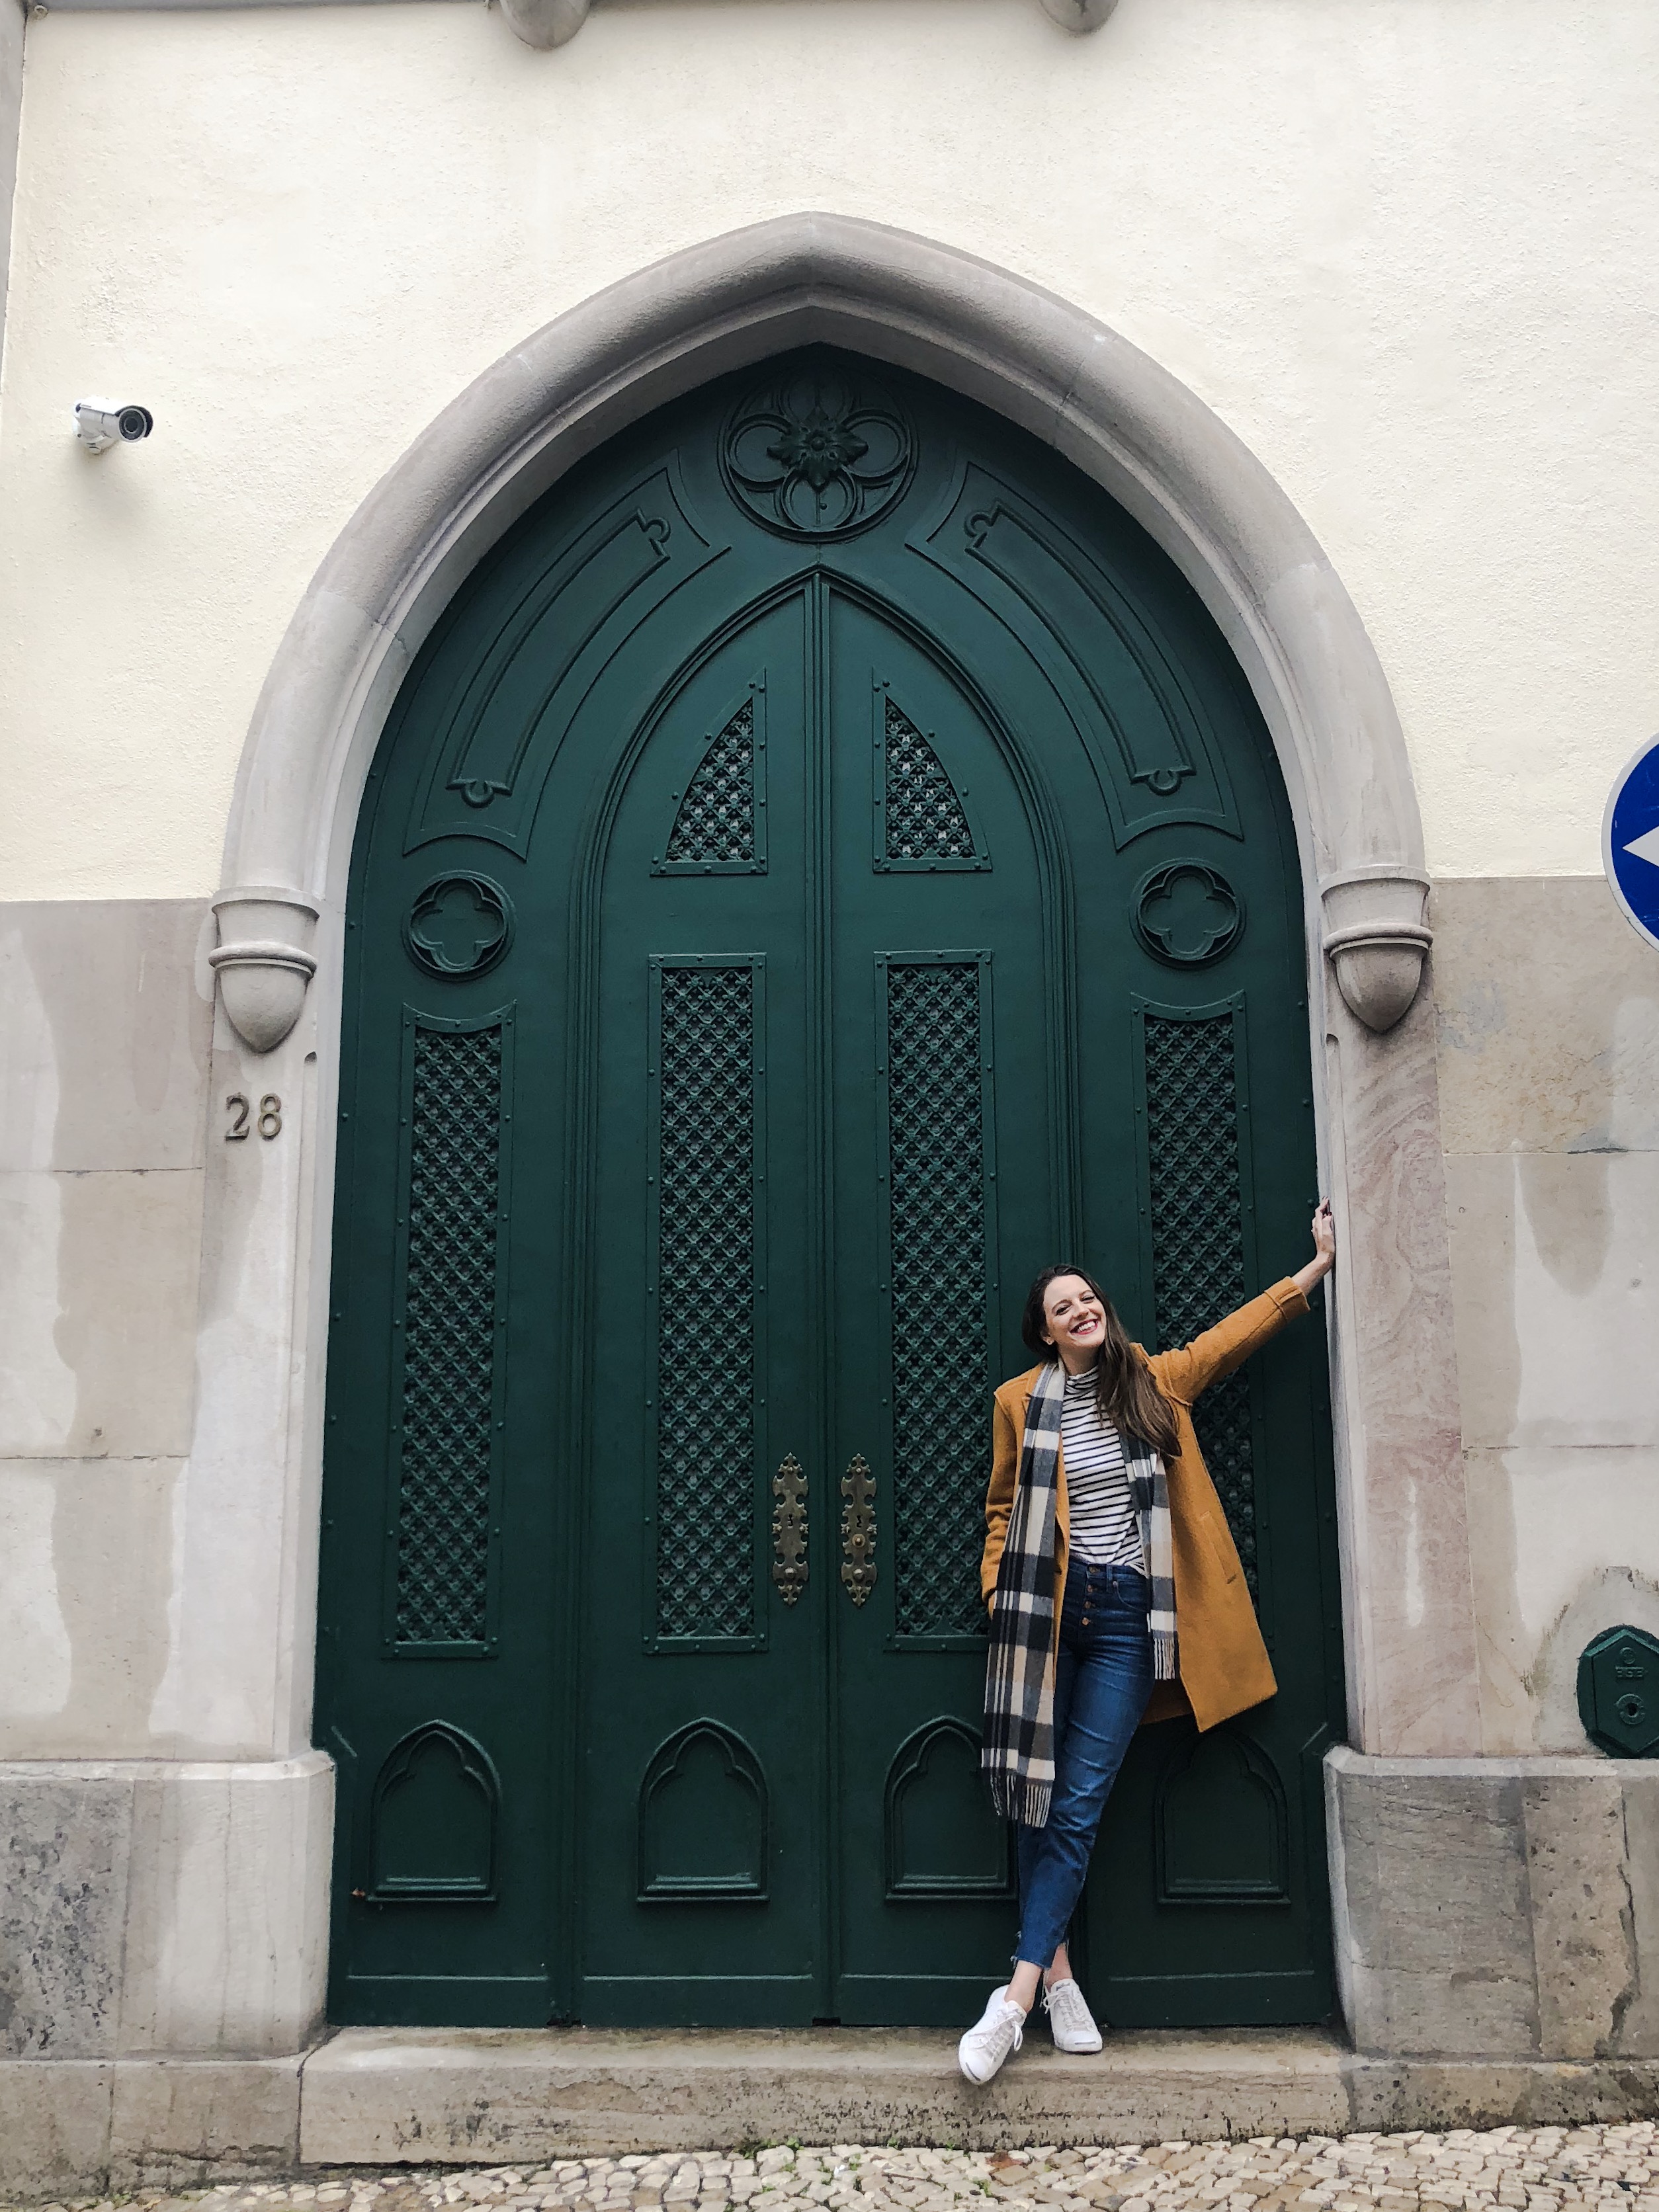
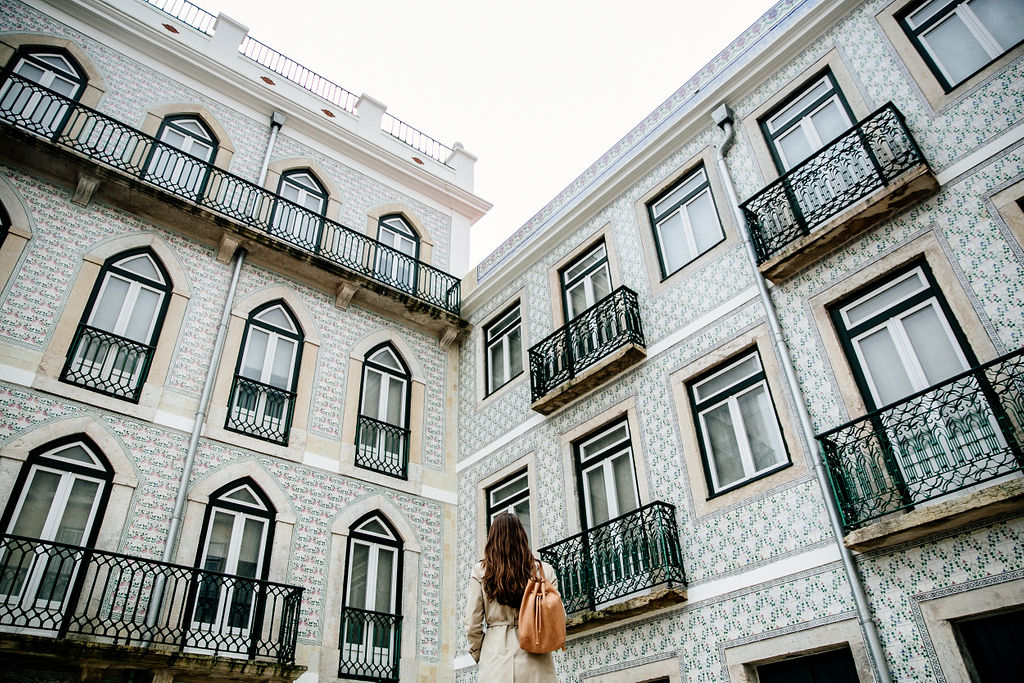
This also can mean experimenting with your angles. Take the above photo from Lisbon–my photographer friend Cassandra could have taken this photo of me straight on in front of the building to capture the tile in the background, but instead, she had me stand high up on a step, got much lower than me, and took it at this angle–from the waist up–so all you see is how grand the building is, and the scale. It’s MUCH more interesting to look at this way, and really captures how breathtaking the building was in a way that no other angle could’ve!
Learn most flattering angles for taking photos of people:
I always get asked the most flattering way to pose, but what is FAR more important is the angle in which the photo of you is taken! The most flattering way to take a photo is to tilt the lens SLIGHTLY (like, a very, tiny minute tilt) upwards. You want to hold the camera directly out from your chest or a little lower. Never hold the camera high and tilt it down, otherwise it will look like you have a huge head and tiny legs. Ahem, exhibit A:
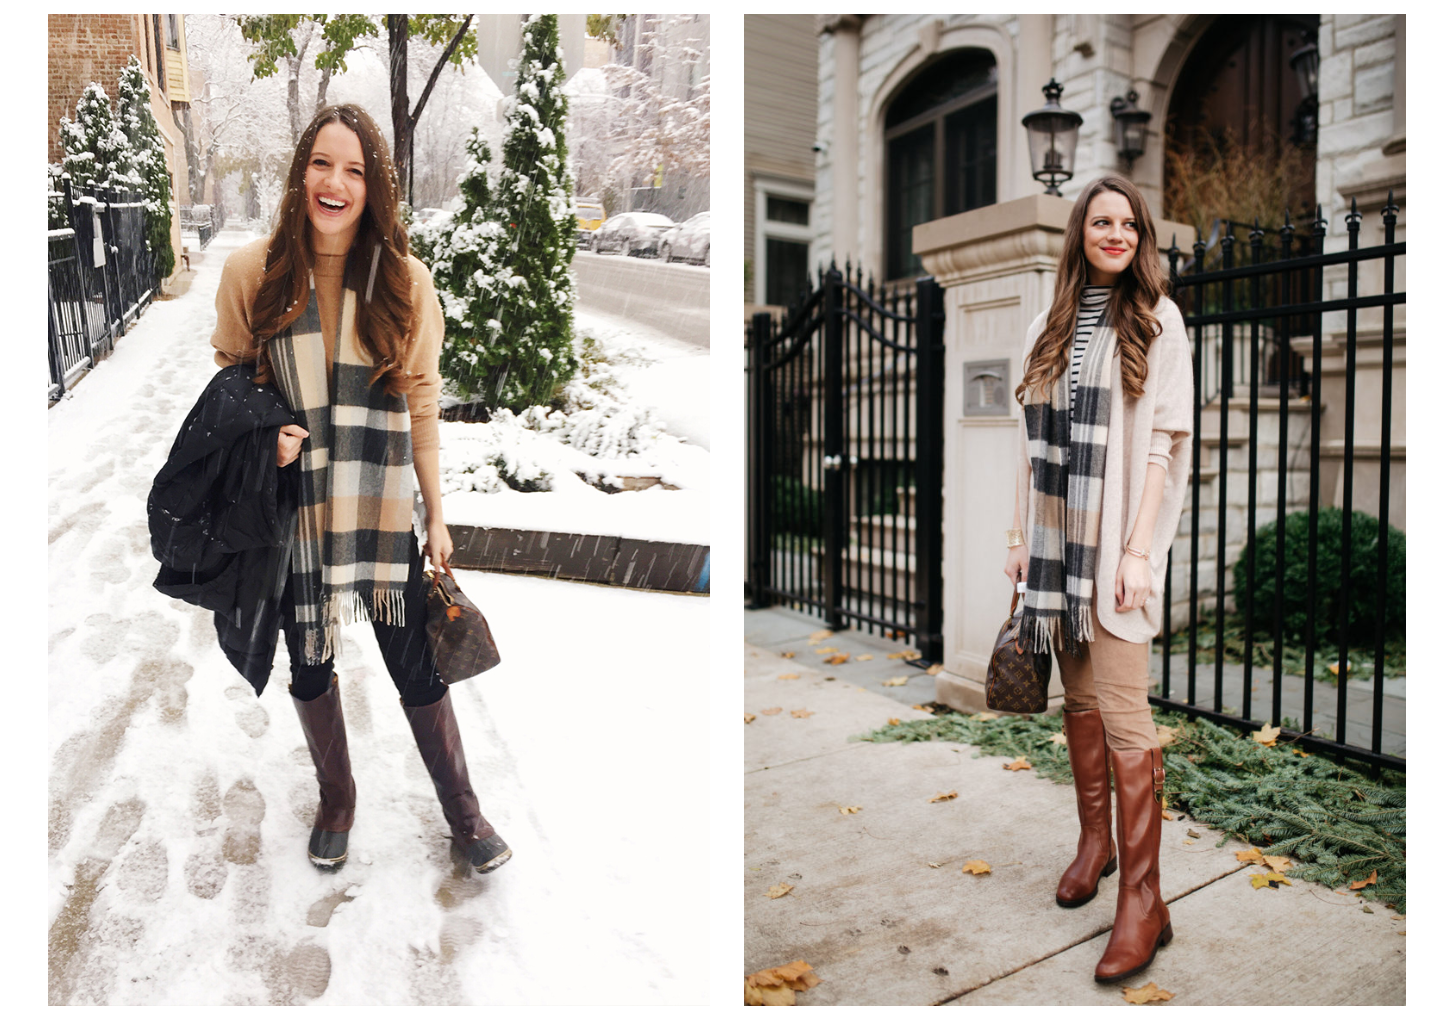
Left: Bad example–camera is up high angled down, making my head look huge and legs look tiny. Right: Camera is tilted slightly up, making me like much taller with longer legs and an appropriate leg/head ratio!
How to get a stranger to take a great photo:
This is by far one of the most common questions I receive whenever I post photos that a stranger took of Neal and me on vacation, haha! Here are my tips to getting a very inexperienced stranger to take a great picture:
Take test shots before handing your phone to a stranger:
You should always take test shots before asking the nearest victim if they can take your photo! ? If you can, try to grab whoever you’re with and make them be your stand-in subject. See if you like the background. Play around with angles. Experiment with the sun in front and behind them. Know exactly what your ideal photo looks like before you hand the camera to a stranger.
Give them an example:
Show them your test photo and say, “I want it just like this–but with me In it!” And then show them how to hold the camera or iPhone. (Hint: This is EXACTLY what I do with Neal too whenever he’s taking photos of me for the blog!)
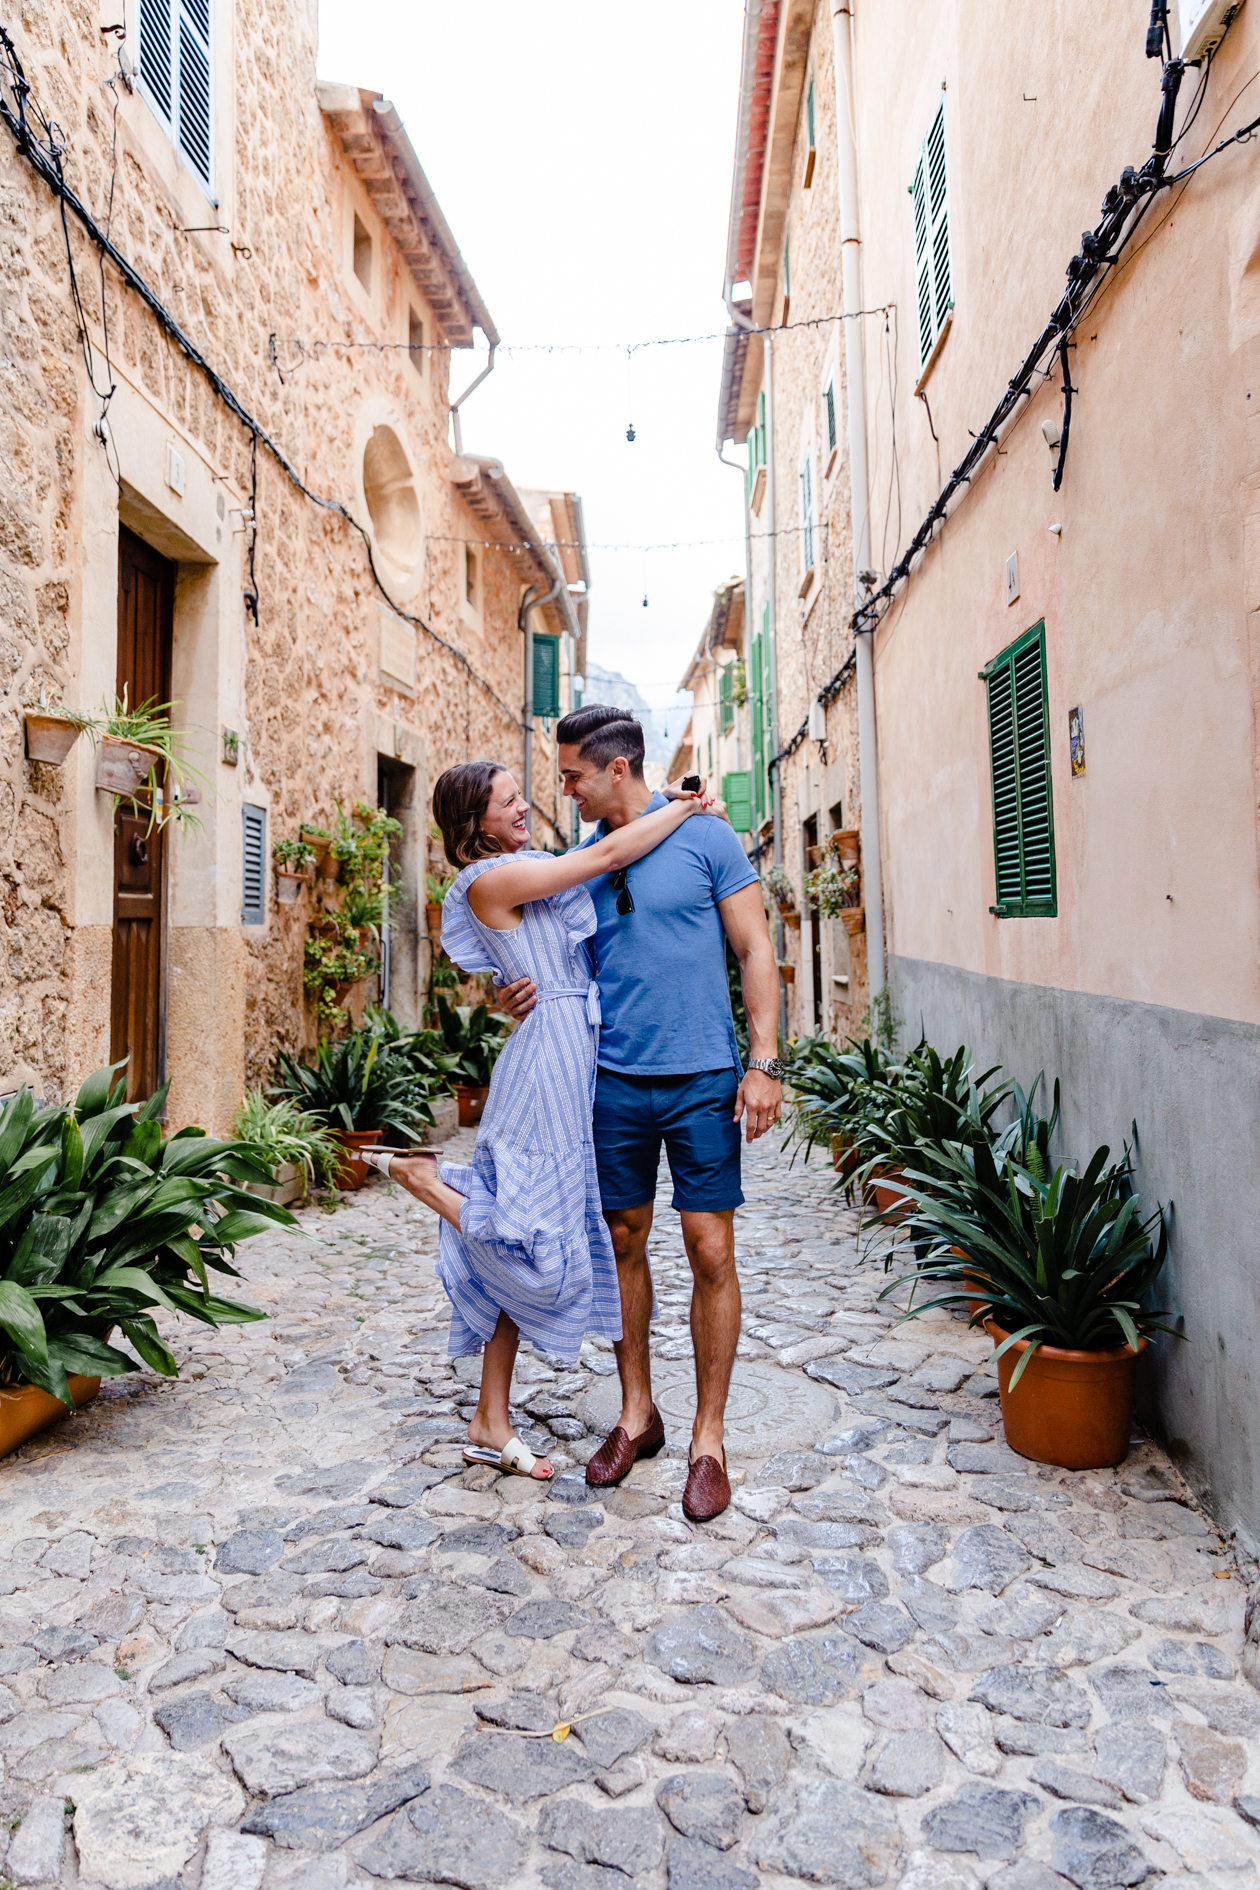
For example, in order to get the cute photo of Neal and I, I first took a shot without us in the frame to show to a nice German lady who volunteered to take our photo. I said, “I want it to look exactly like that, just with us in it!” And asked her to just keep snapping. She took about 20, and this is the only one that was worth using, but we got the shot!
[one-half-first]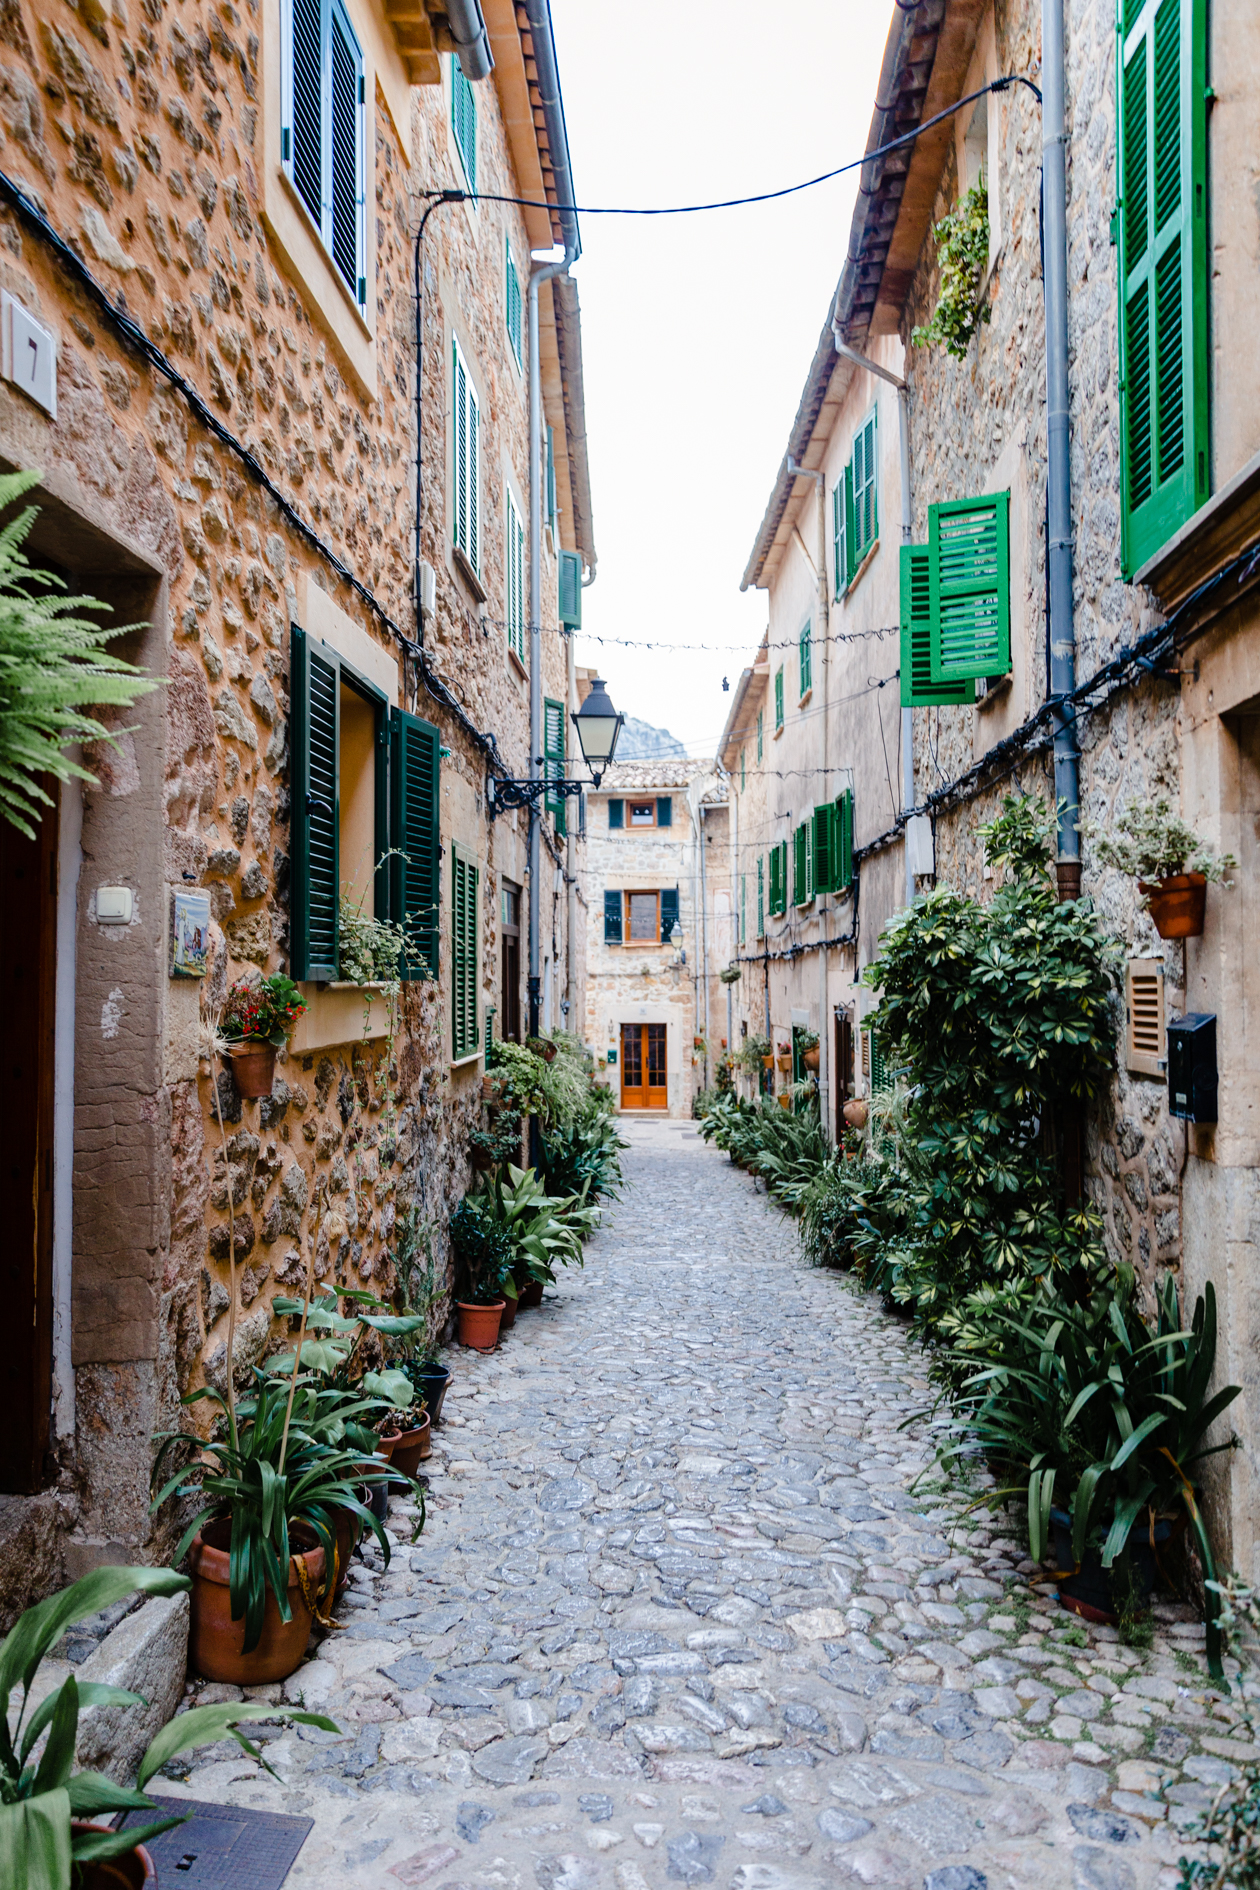 [/one-half-first][one-half]
[/one-half]
Left: The example photo I took and showed to the stranger for direction. Right: The photo with Neal and I in it!
Set up the frame properly:
Take a minute to familiarize yourself with the points above, and bearing that in mind, take a few test shots and figure out the exact photo you want and adjust your lighting as needed (if using a digital camera). Simply take the photo without you in it (or with your husband or friend standing in it, just minus you).
When searching for the right stranger photographer, find a millennial or someone with a big camera:
NOT to be ageist here, but let’s be honest–our parents’ generation is good at so many things, but Instagram-worthy photos ain’t one of ’em. I find the best photos tend to be taken by someone who is around our age or a little younger, because they tend to care more about what their photos look like, and therefore, are more skilled than other generations.
OR–the other tip–look around and see if you can spot someone with a professional-looking camera. This doesn’t always work. Many people own expensive cameras that they don’t know how to use, but it’s worth a shot! Usually though, if someone has a professional camera, they know how to take a decent photo!
I also get asked how I trust someone not to steal my phone or camera. And I always try to watch a little beforehand who seems like they are just loitering around and who seems like a tourist coming in and out. Also, people who seem to be with a significant other, or with kids, are usually good bets for tourists. Typically it’s pretty easy to spot shady characters, just use your best judgment. Also, all of our credit cards have travel insurance, so that helps, haha! (Also, while you’re at it, for added insurance, make sure you’re switching various memory cards, so if something happens to your camera, you don’t lose ALL your photos. Same with your iPhone, make sure you’re backing everything up to the cloud constantly in case something happens to your phone!)
Instructions to tell your random stranger:
Of course, use your BEST manners, and be polite! This person is being very nice by taking a photo for you. But also, you can offer instructions and be a little bossy as long as you’re nice. They might think you’re ridiculous, but you’ll never see them again–who cares? You will, however, have a fantastic photo to look back on for the rest of your life.
“Do not zoom!”
Nothing ruins a good photo more than an iPhone zoom. NEVER ZOOM. If you need to zoom, get closer to your subject. Zooming makes things ugly and grainy. If you see your victim zooming–tell them to decist immediately.
“Can you make sure our feet aren’t cut off?”
People LOVEEE cutting off feet in photos. I don’t know why or how, but it’s my most cringeworthy photography faux-paux. If you are taking a full-body photo, you need to have SOME room underneath your feet in the frame. (Disregard if the photo is from the waist-up). But typically, with vacation photos, you want the scenery in the back. Thus, the photo is taken from further away, which is why it’s important to specify very politely, “Can you make sure that our feet aren’t cut off?” I swear if you don’t do this, your feet will be cut off every time.
“Tap on our faces to focus”
If you can, have whoever you’re traveling with get in the frame first. So you can tap on their faces to focus the camera before handing it to the random stranger. This way you won’t end up with a photo with your faces out of focus.
“Just keep snapping!”
How many times have you asked someone to take a photo and they take ONE photo? It’s THE WORST. You need like…at least 15-20. I usually just say, “you can just take like 20 really fast!” or “just keep snapping!” 99 times out of 100, the first photo taken is not going to be the best one.
How to get great candid shots:
[one-half-first]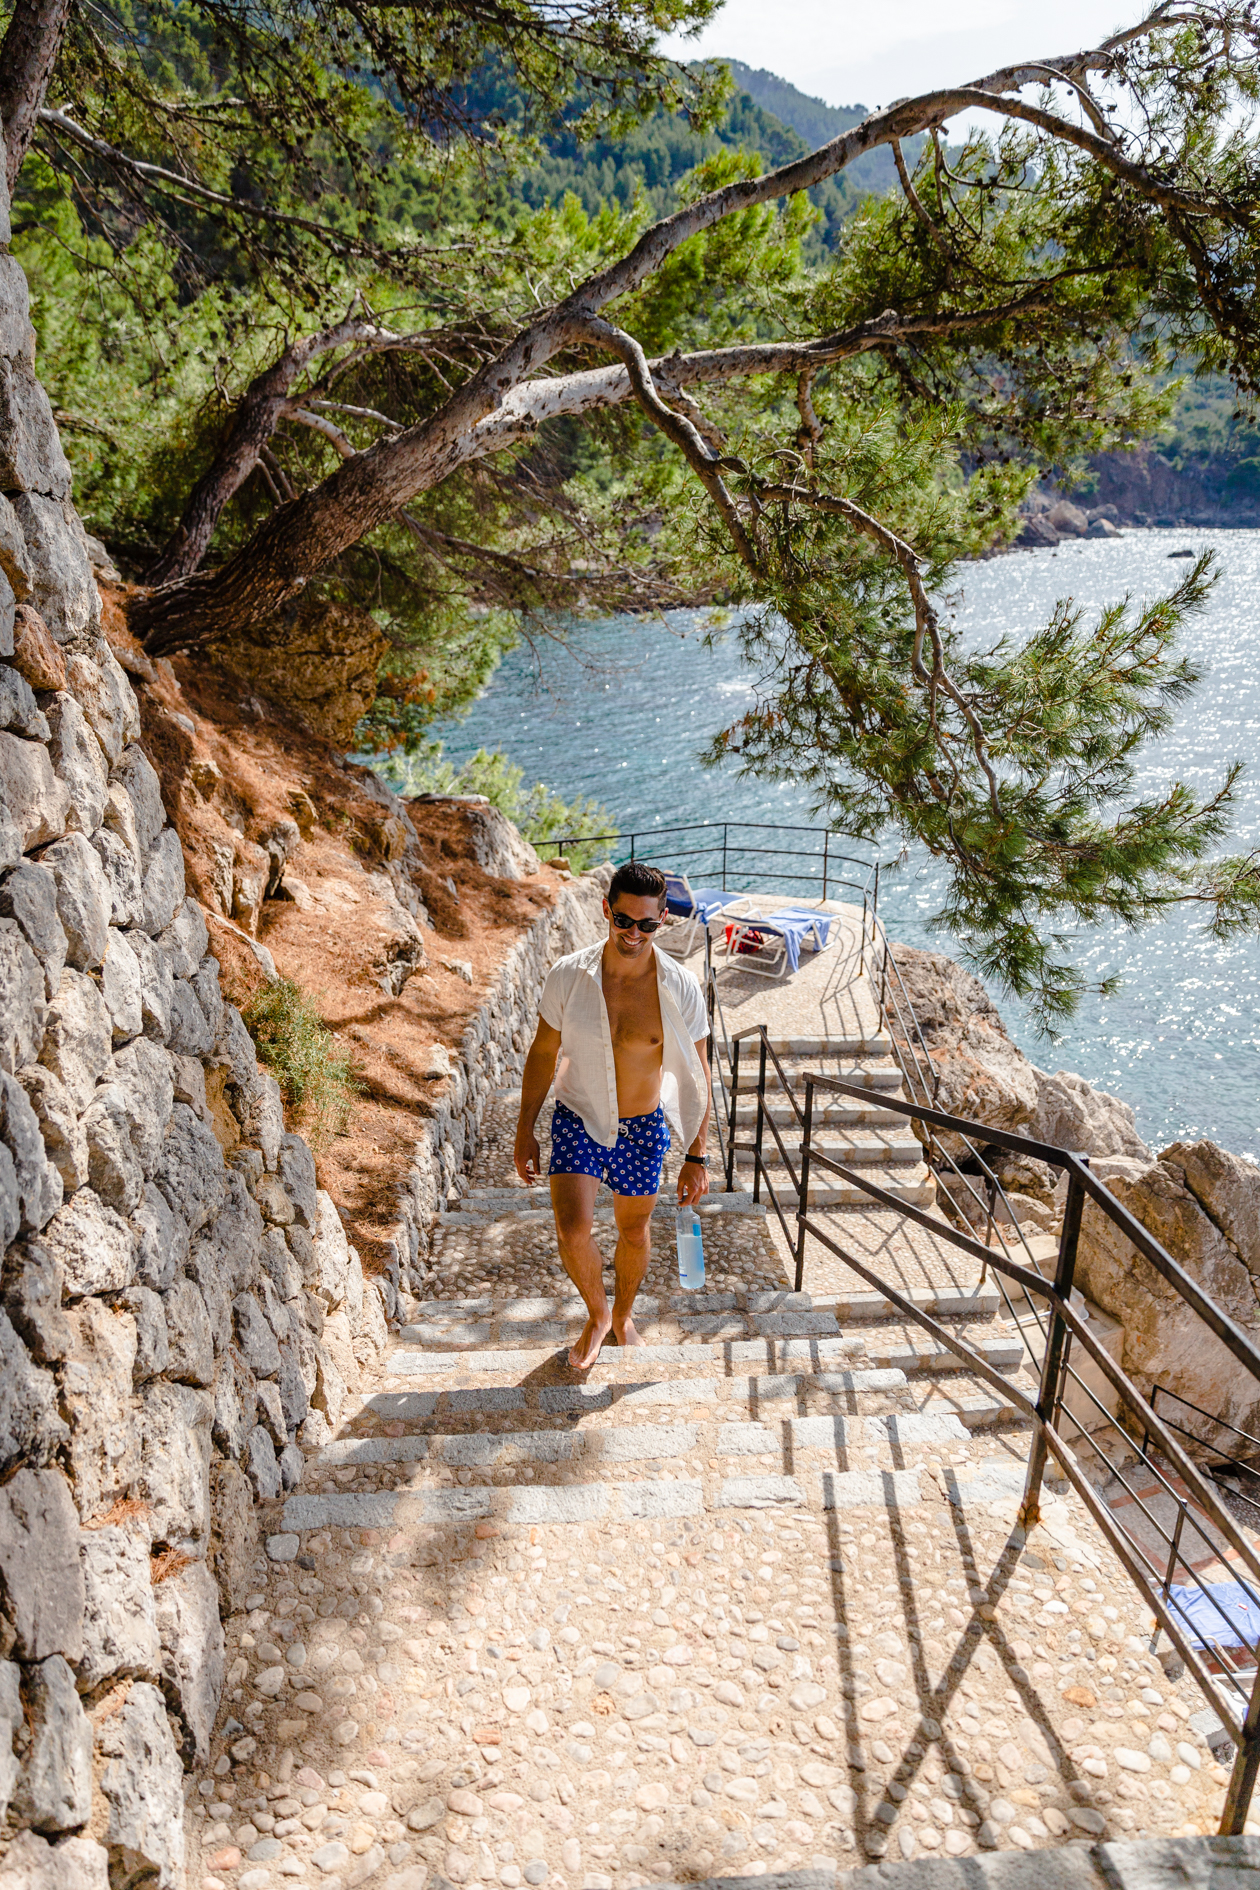 [/one-half-first][one-half]
[/one-half]
[one-half-first]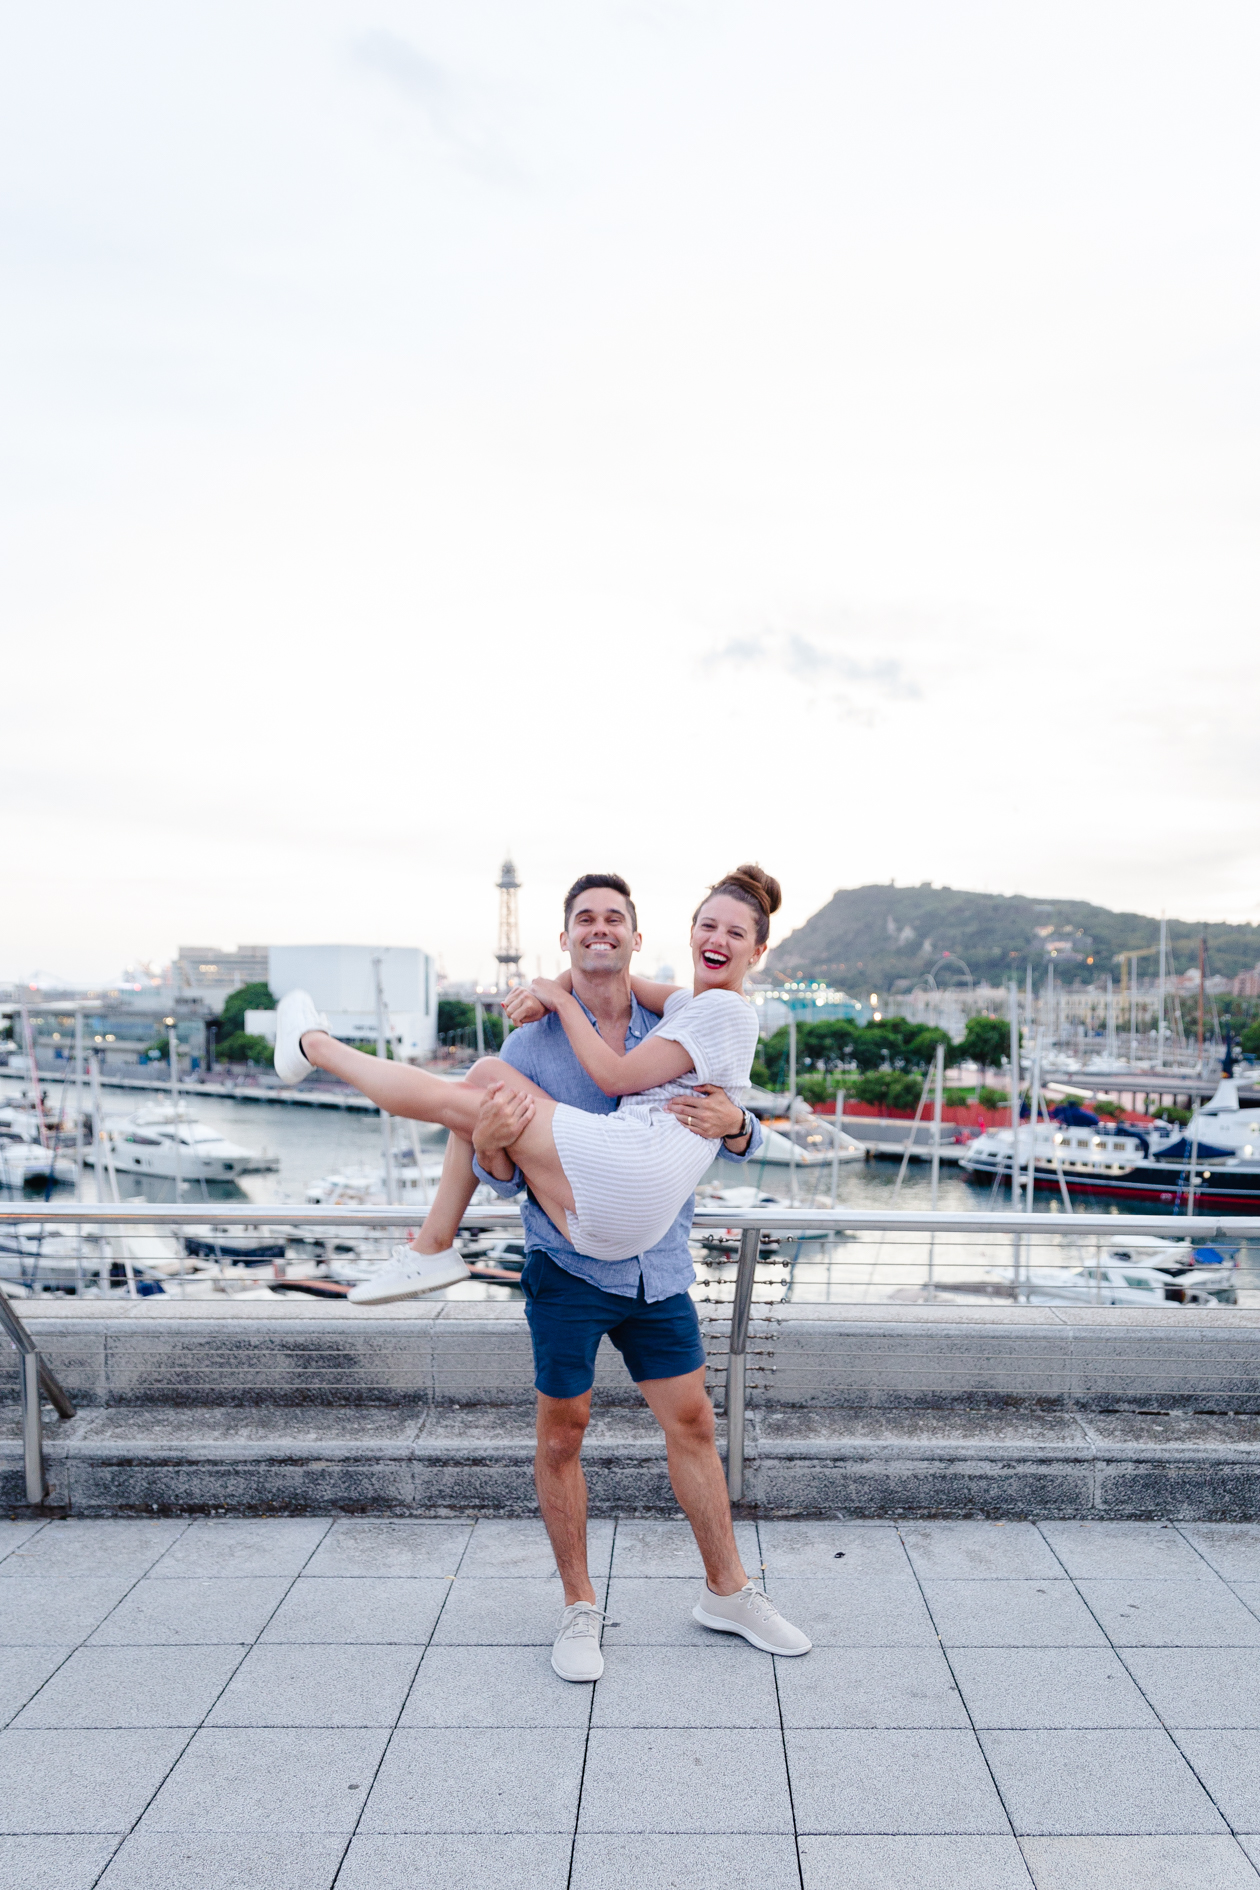 [/one-half-first][one-half]
[/one-half]
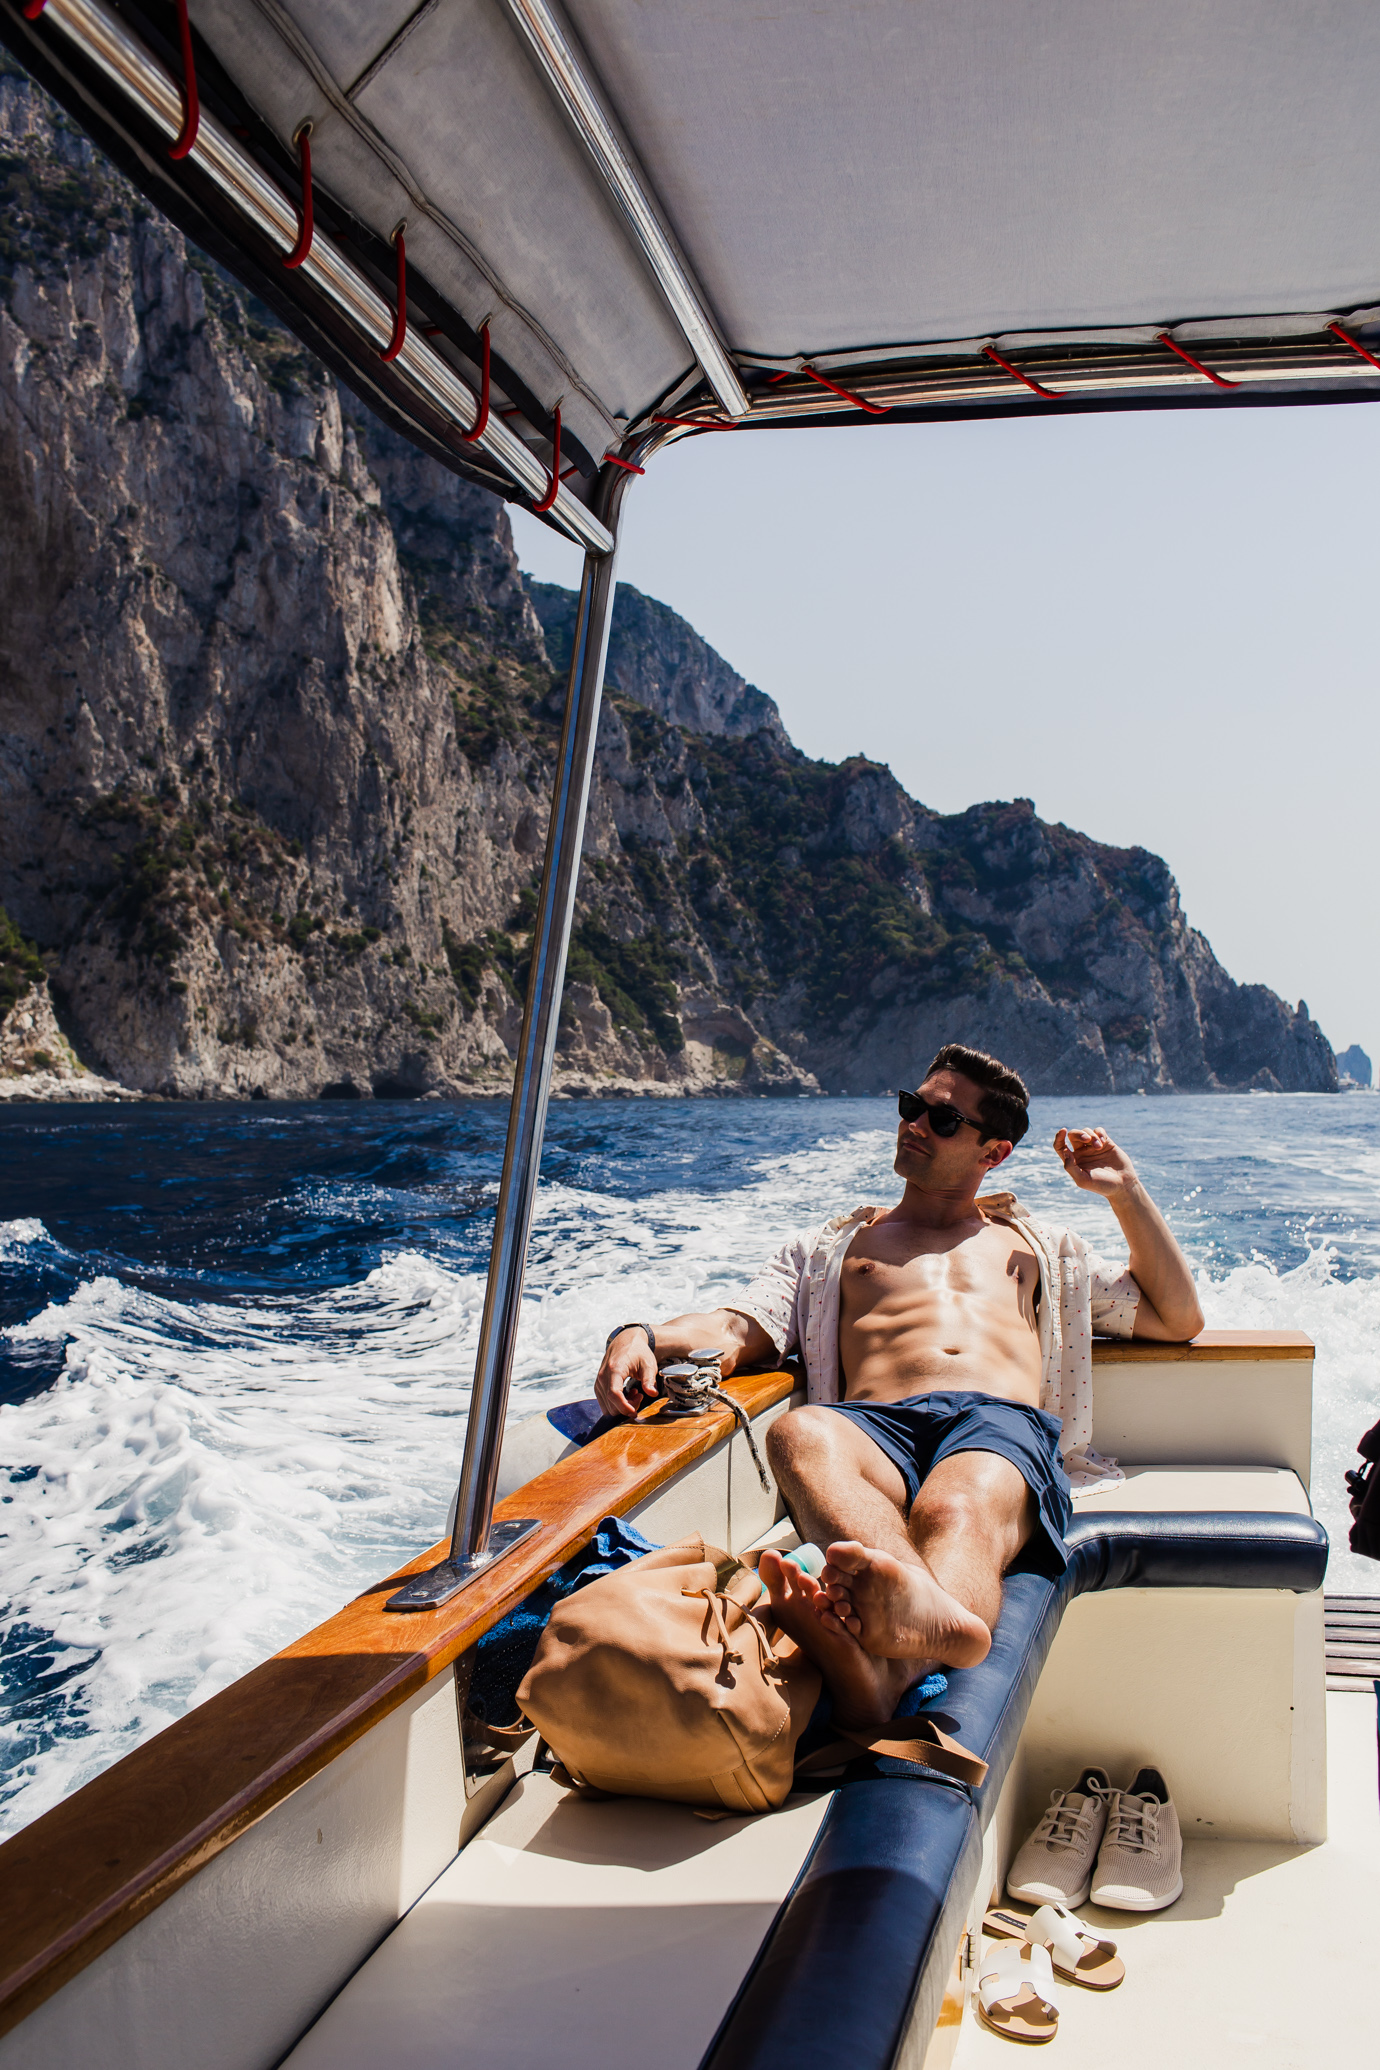
I know the knee-jerk response to, “let’s take a picture” is to plaster a fake smile on your face and look straight at the camera, right? (Especially when you’re in a big group of friends and family!) It’s what we’ve been taught to do from a young age. But those are rarely the photos that really capture a true memory. My favorite photos are often the ones where we aren’t looking at the camera with a standard smile. Here are my tips for that:
Laugh.
Yes, actually laugh. Look at each other and laugh. It will be a fake laugh at first, but it will turn into a real laugh because you will feel dumb about fake laughing, which will be right around the 10th photo that your stranger snaps (because you instructed them to take twenty, remember?) THAT will be your candid photo! Ask anyone who has ever taken my photo and they will know. Everyone calls this “The Jess Keys laugh.” ?
Be watching for great photo opps–and act on them!
Once you start to build your photography skills, you’ll look at something beautiful and say, “wow, that would make for a great photo!” and quickly be able to react. This is what happened when I was walking down the stairs back down to the water in Mallorca. I was coming back from the bathroom and Neal was walking up to get a drink at the bar, and I said, “Stop! I want to get my camera out–this is such a cool photo!” So he waited a few seconds while I got the lighting right, and then I let him keep walking, and snapped this shot mid-action.
I will be the first to admit that sometimes when we’re in the moment, I don’t want to stop and pull out my camera. But every time I look back at all of our photos, I am SO glad that I did. It doesn’t take very long to take a photo, but it ensures you can enjoy and remember that memory forever.
Try not facing the camera:
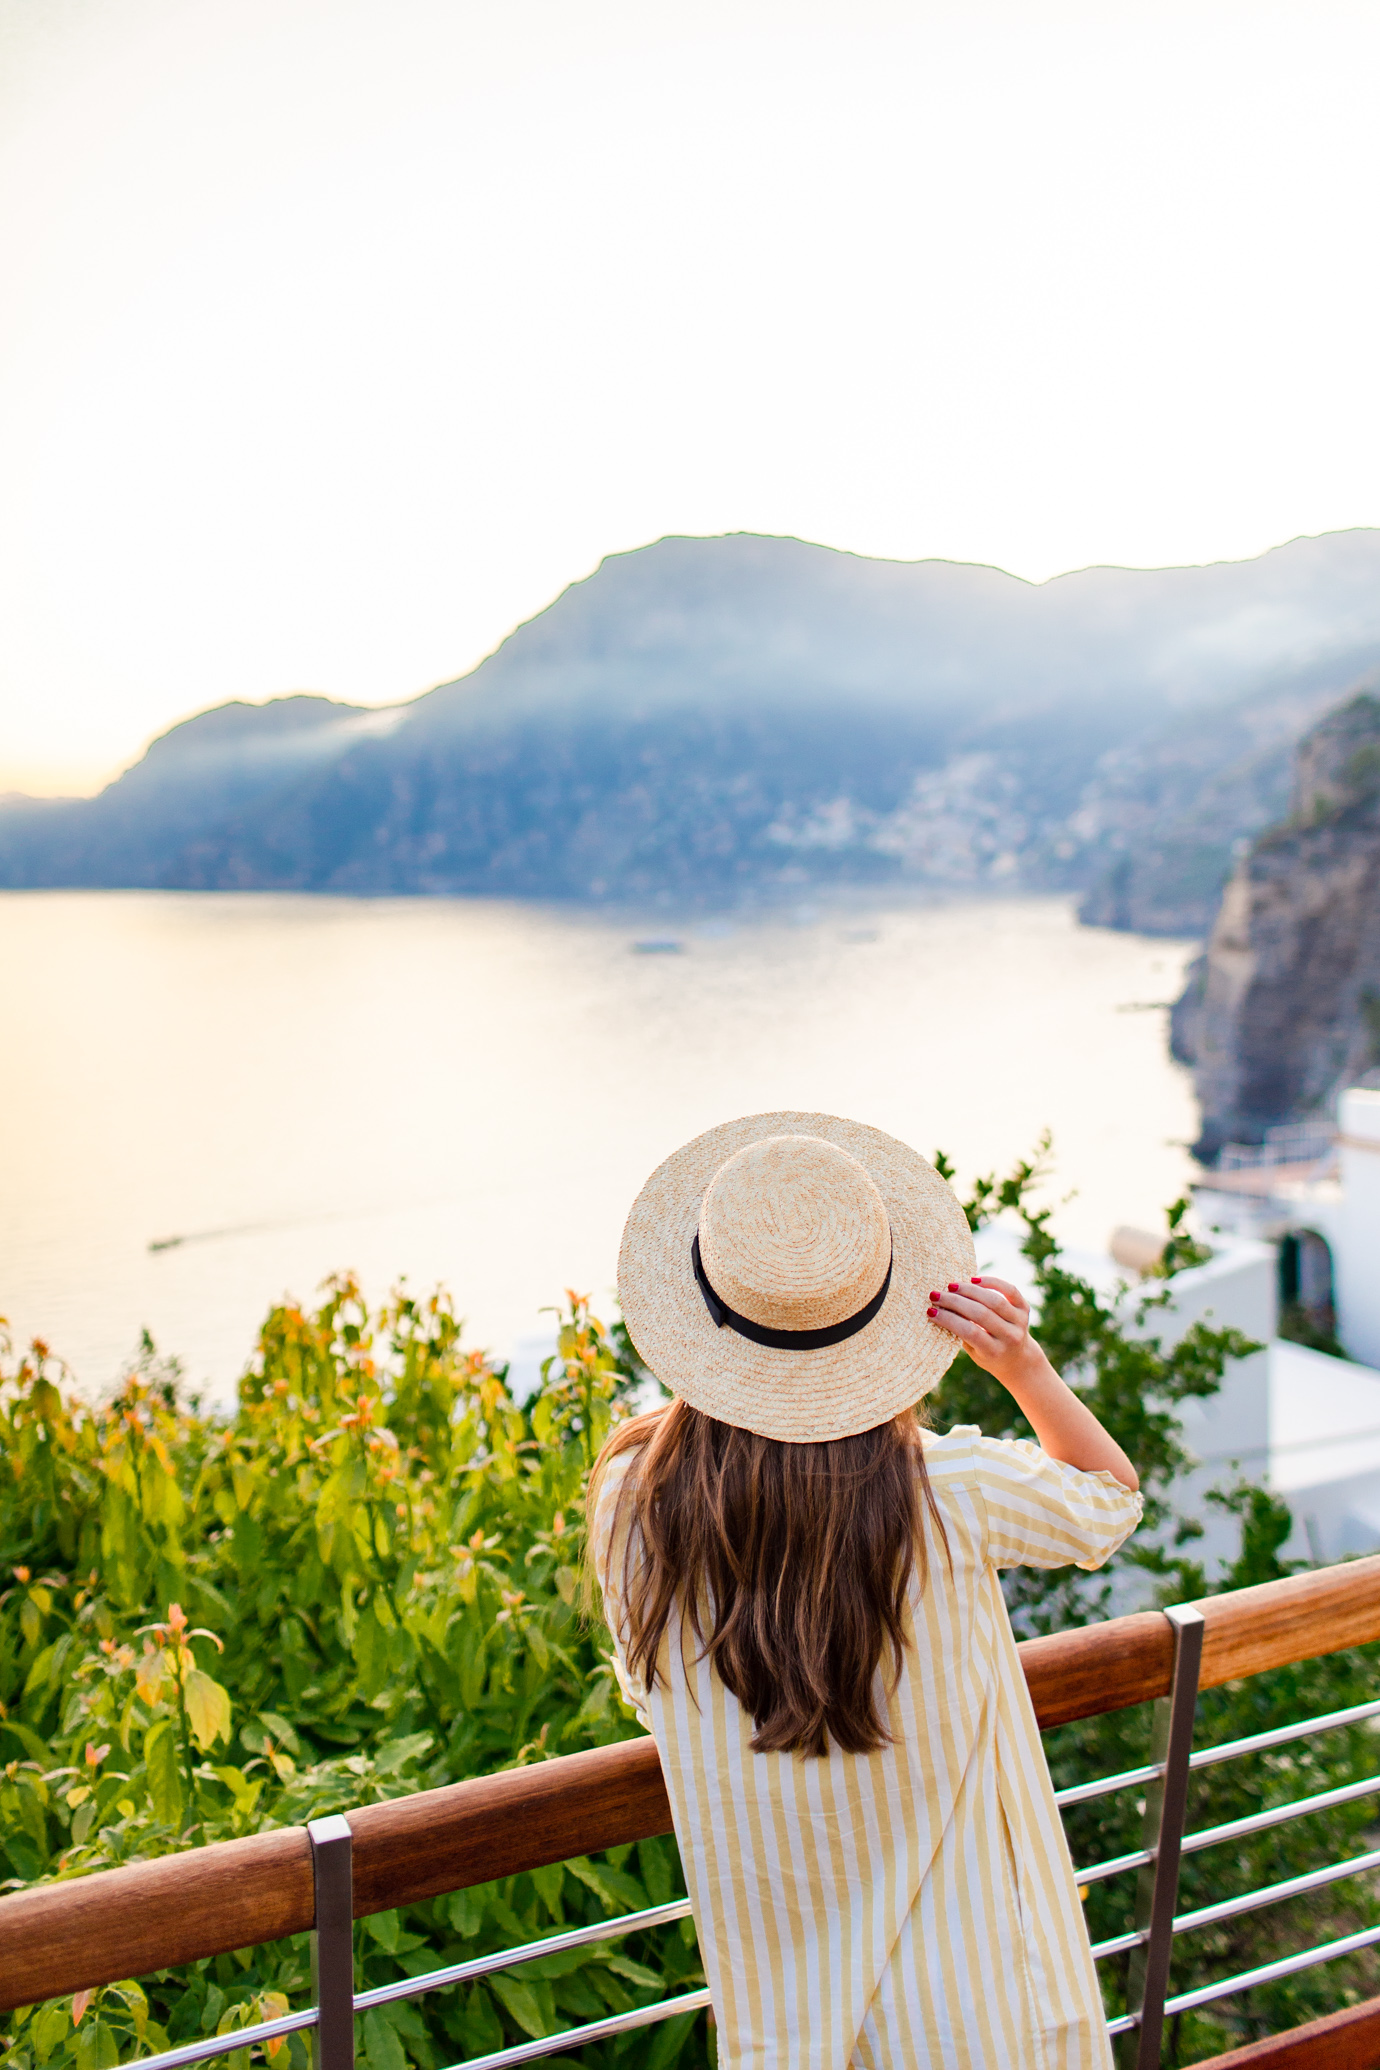
Some of my favorite photos don’t entail us facing the camera at all, but rather, away from the camera. This results in a shot that is much more artistic and really can transport you back in time. A lot of times I will love the way the light is hitting Neal, when we’re say, sitting at a cute local cafe. I’ll pull out my camera and instruct him to stay exactly as he is–to keep looking off to the side while I snap the picture, because it’s a much truer representation of the moment. So don’t be afraid to experiment with this!
Don’t forget about the little things:
[one-half-first] [/one-half-first][one-half]
[/one-half]
[one-half-first]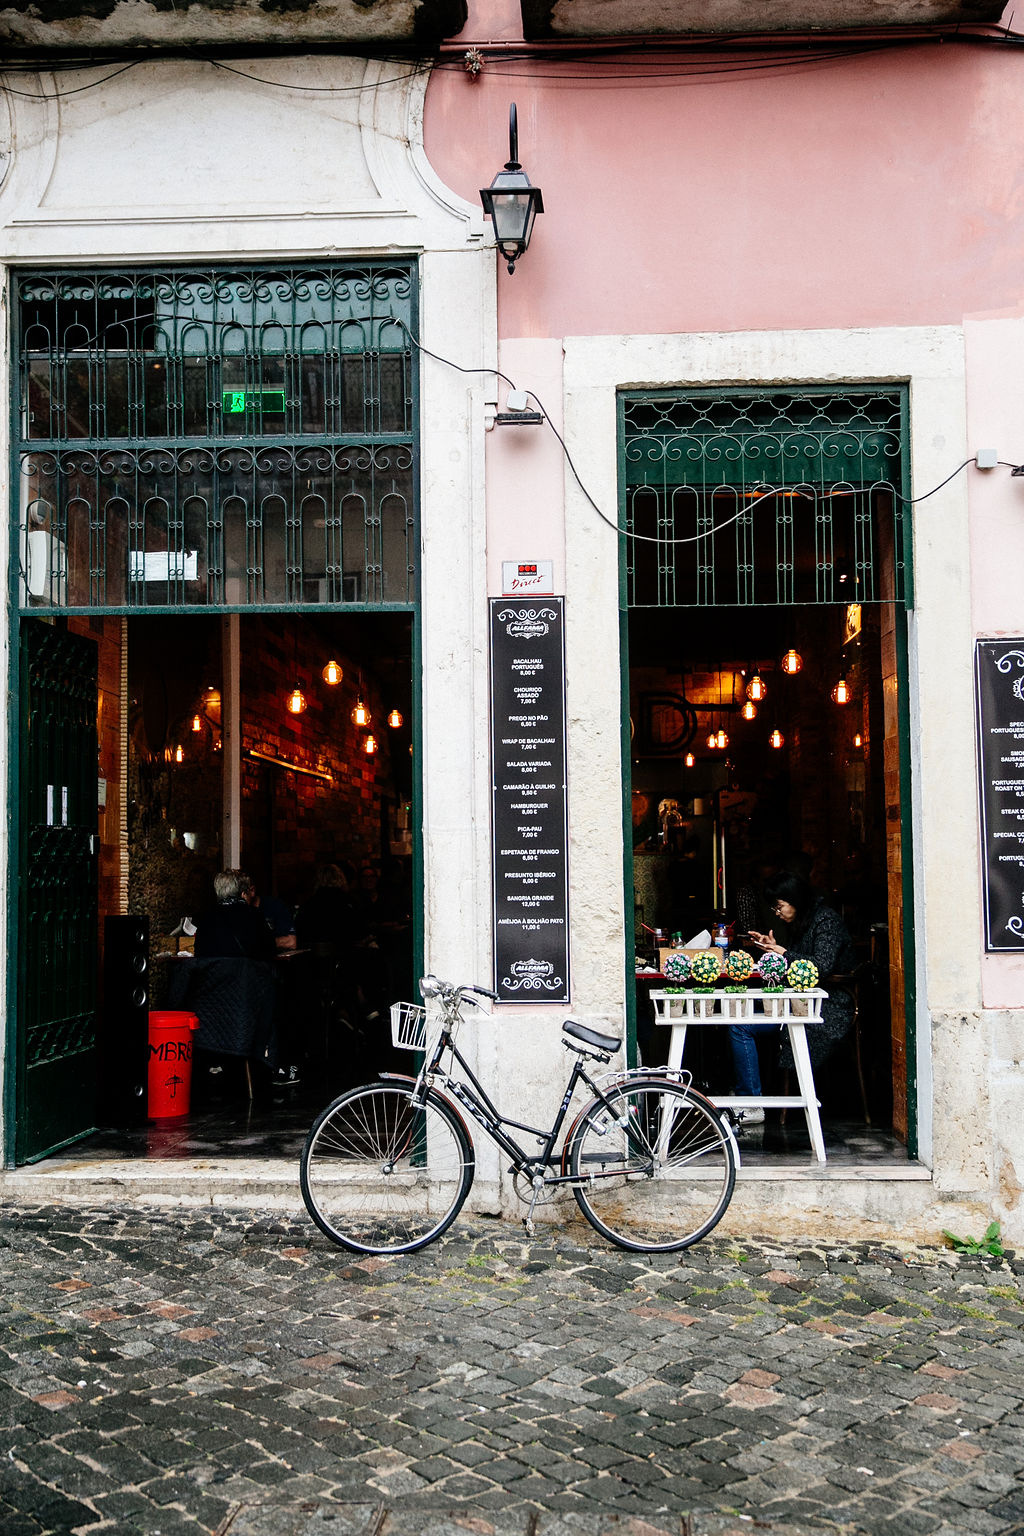 [/one-half-first][one-half]
[/one-half]
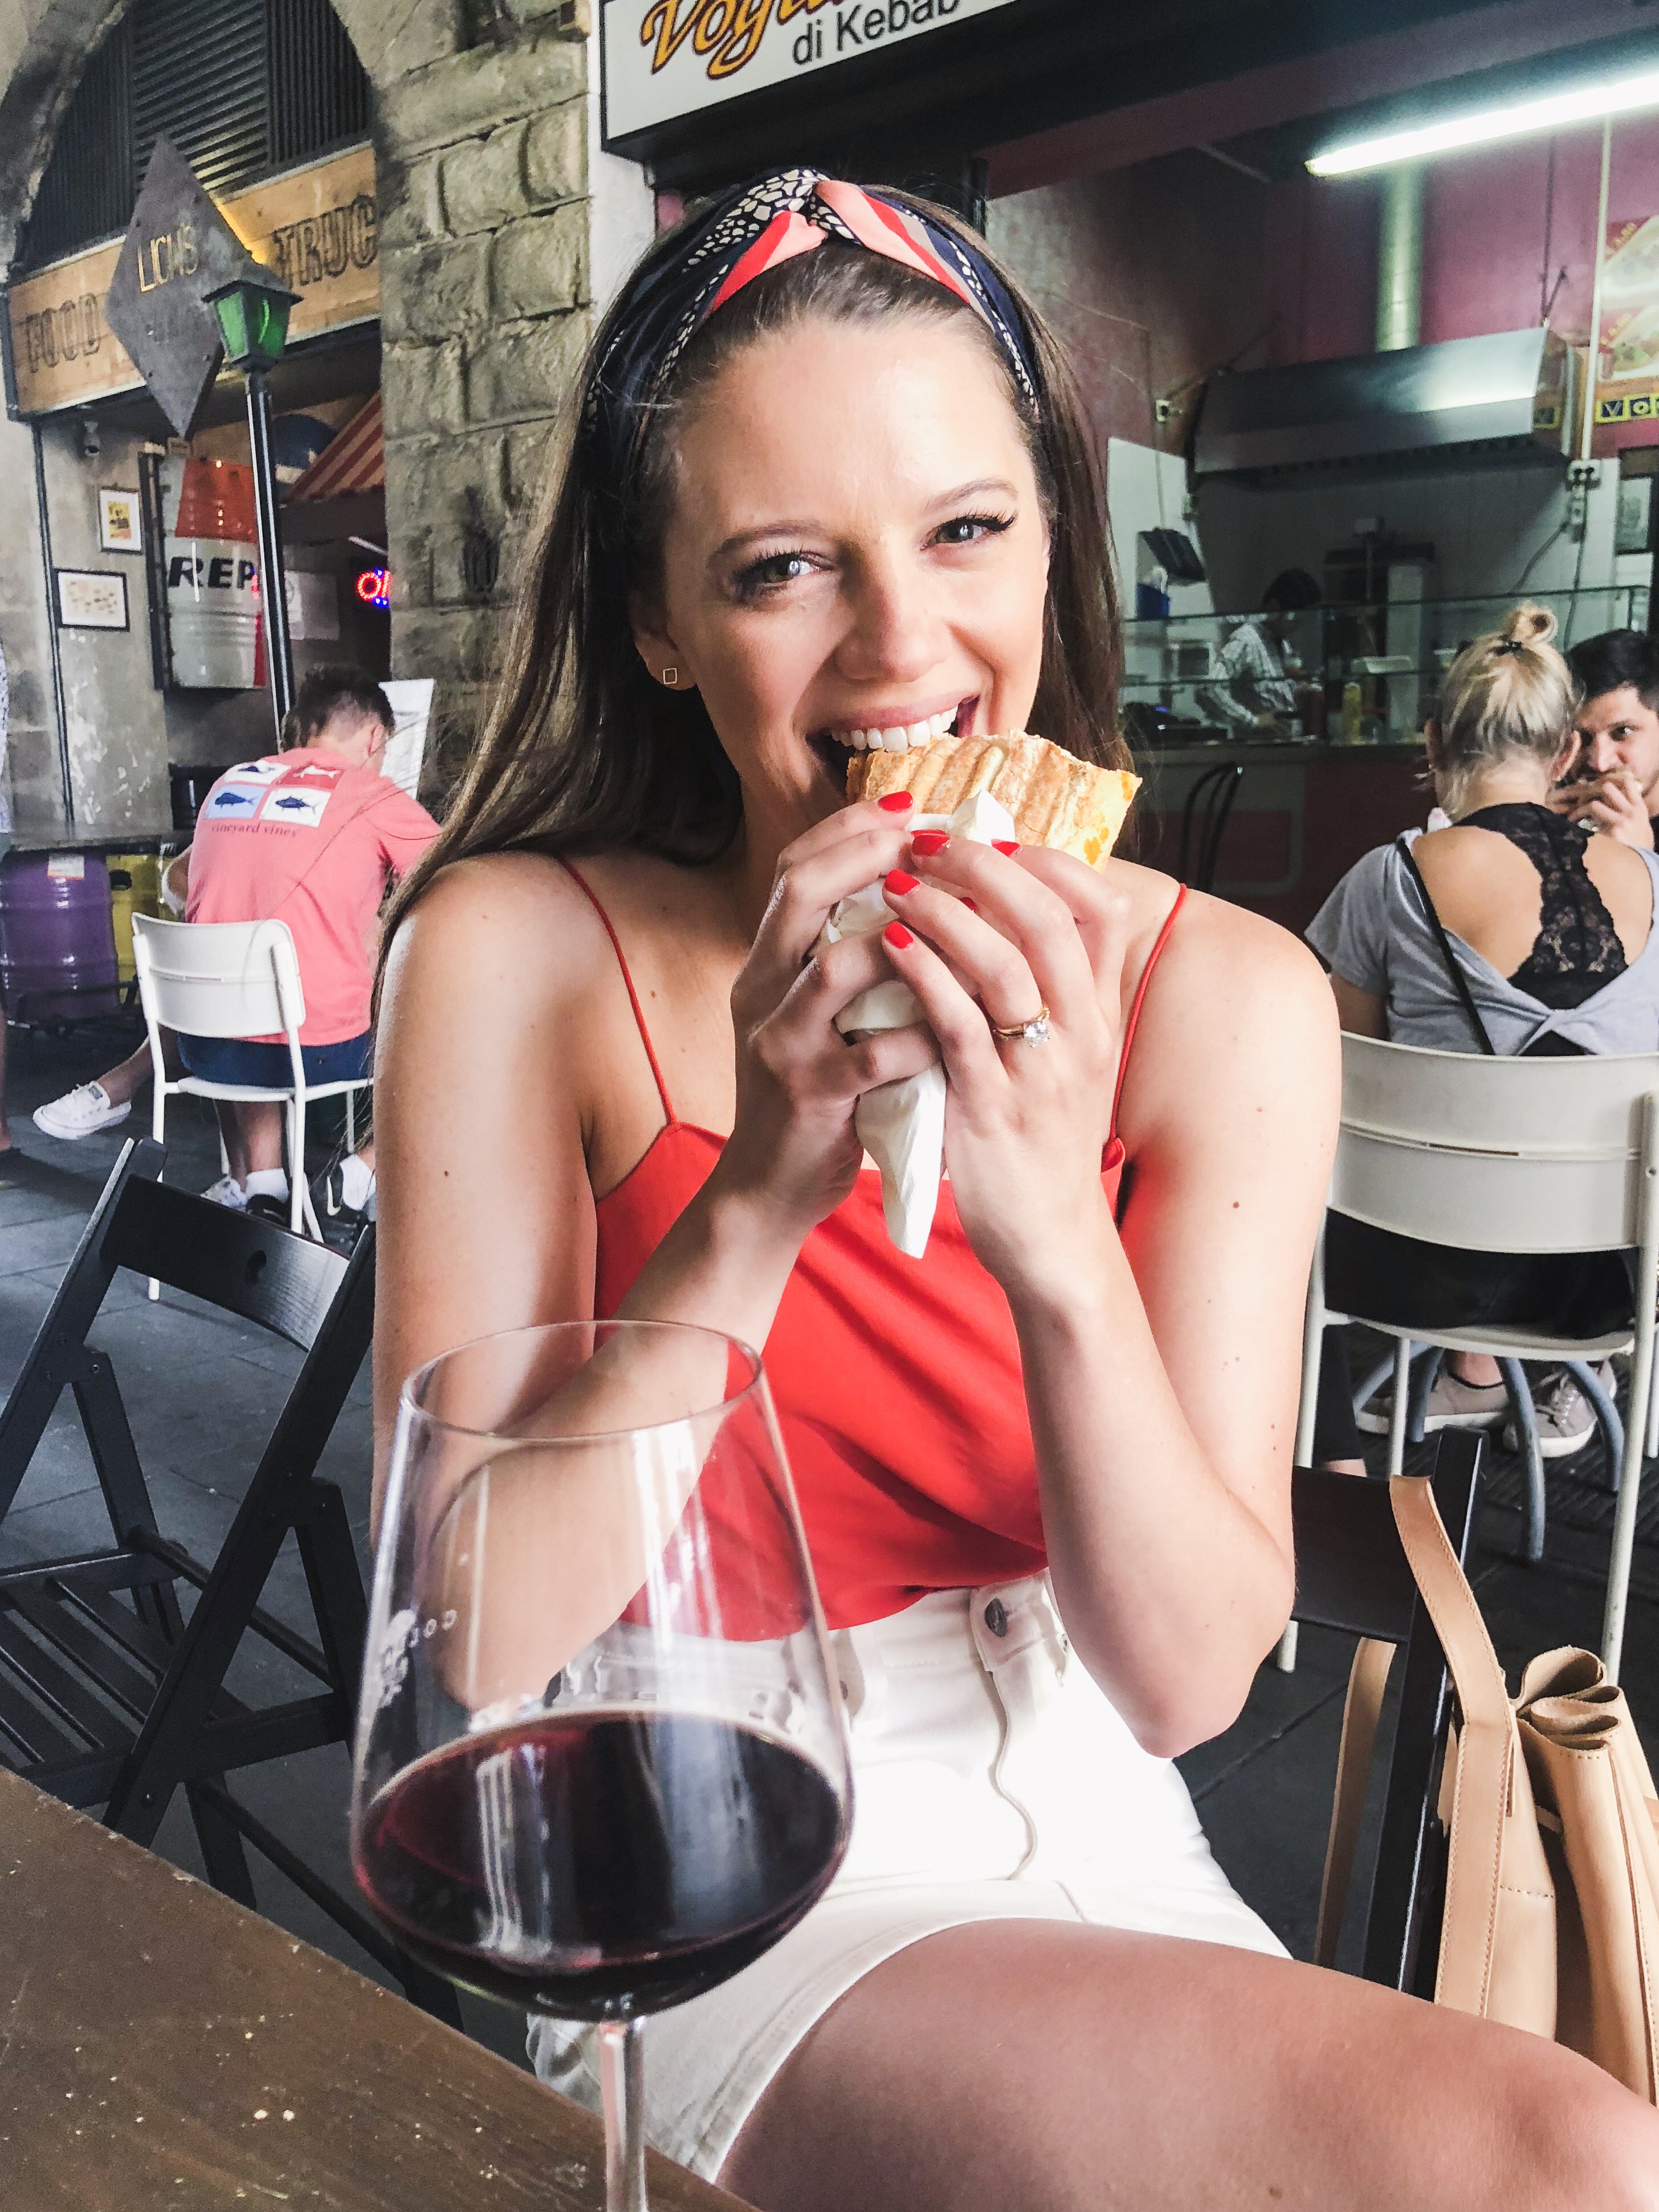
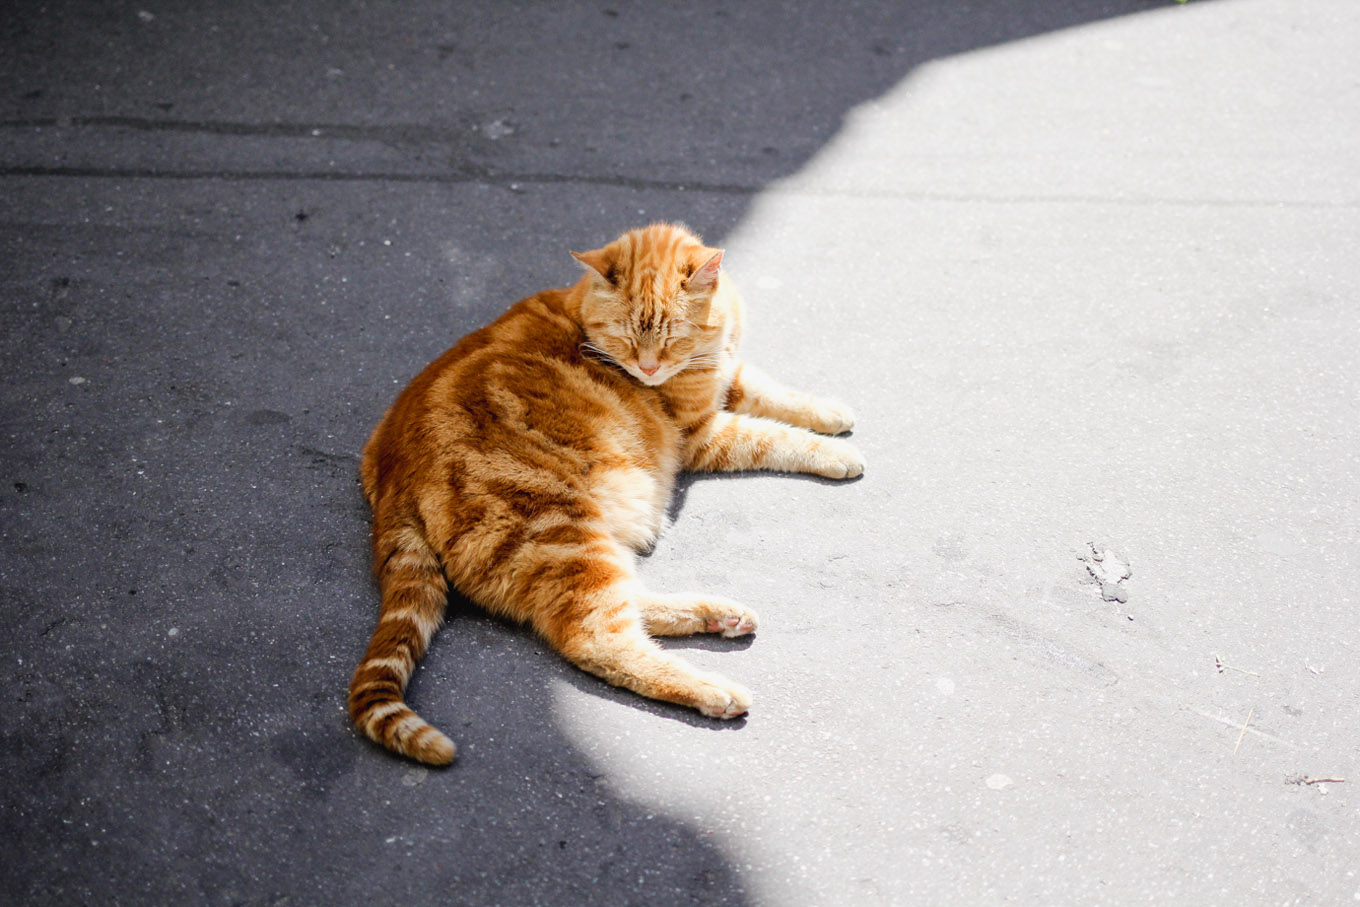
Don’t JUST take pictures posed in front of big monuments. Those often won’t be the ones that really capture the mood of your trip!
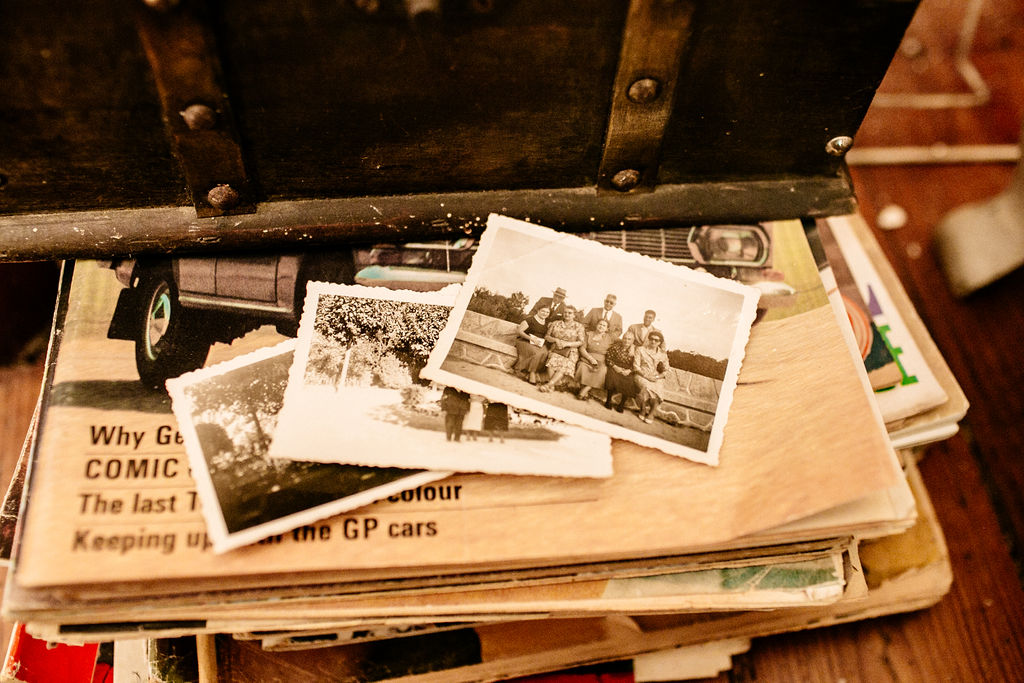
Sometimes, photos of the littlest things are the best. Like, a shot mid-bite of the best sandwich you’ve ever eaten, or how beautifully stacked the dishes are in a local ceramic shop. Or the perfectly symmetrical vignette of a bicycle parked in a doorway. Or the lazy Parisian cat who made himself at home in the midst of a busy sidewalk.
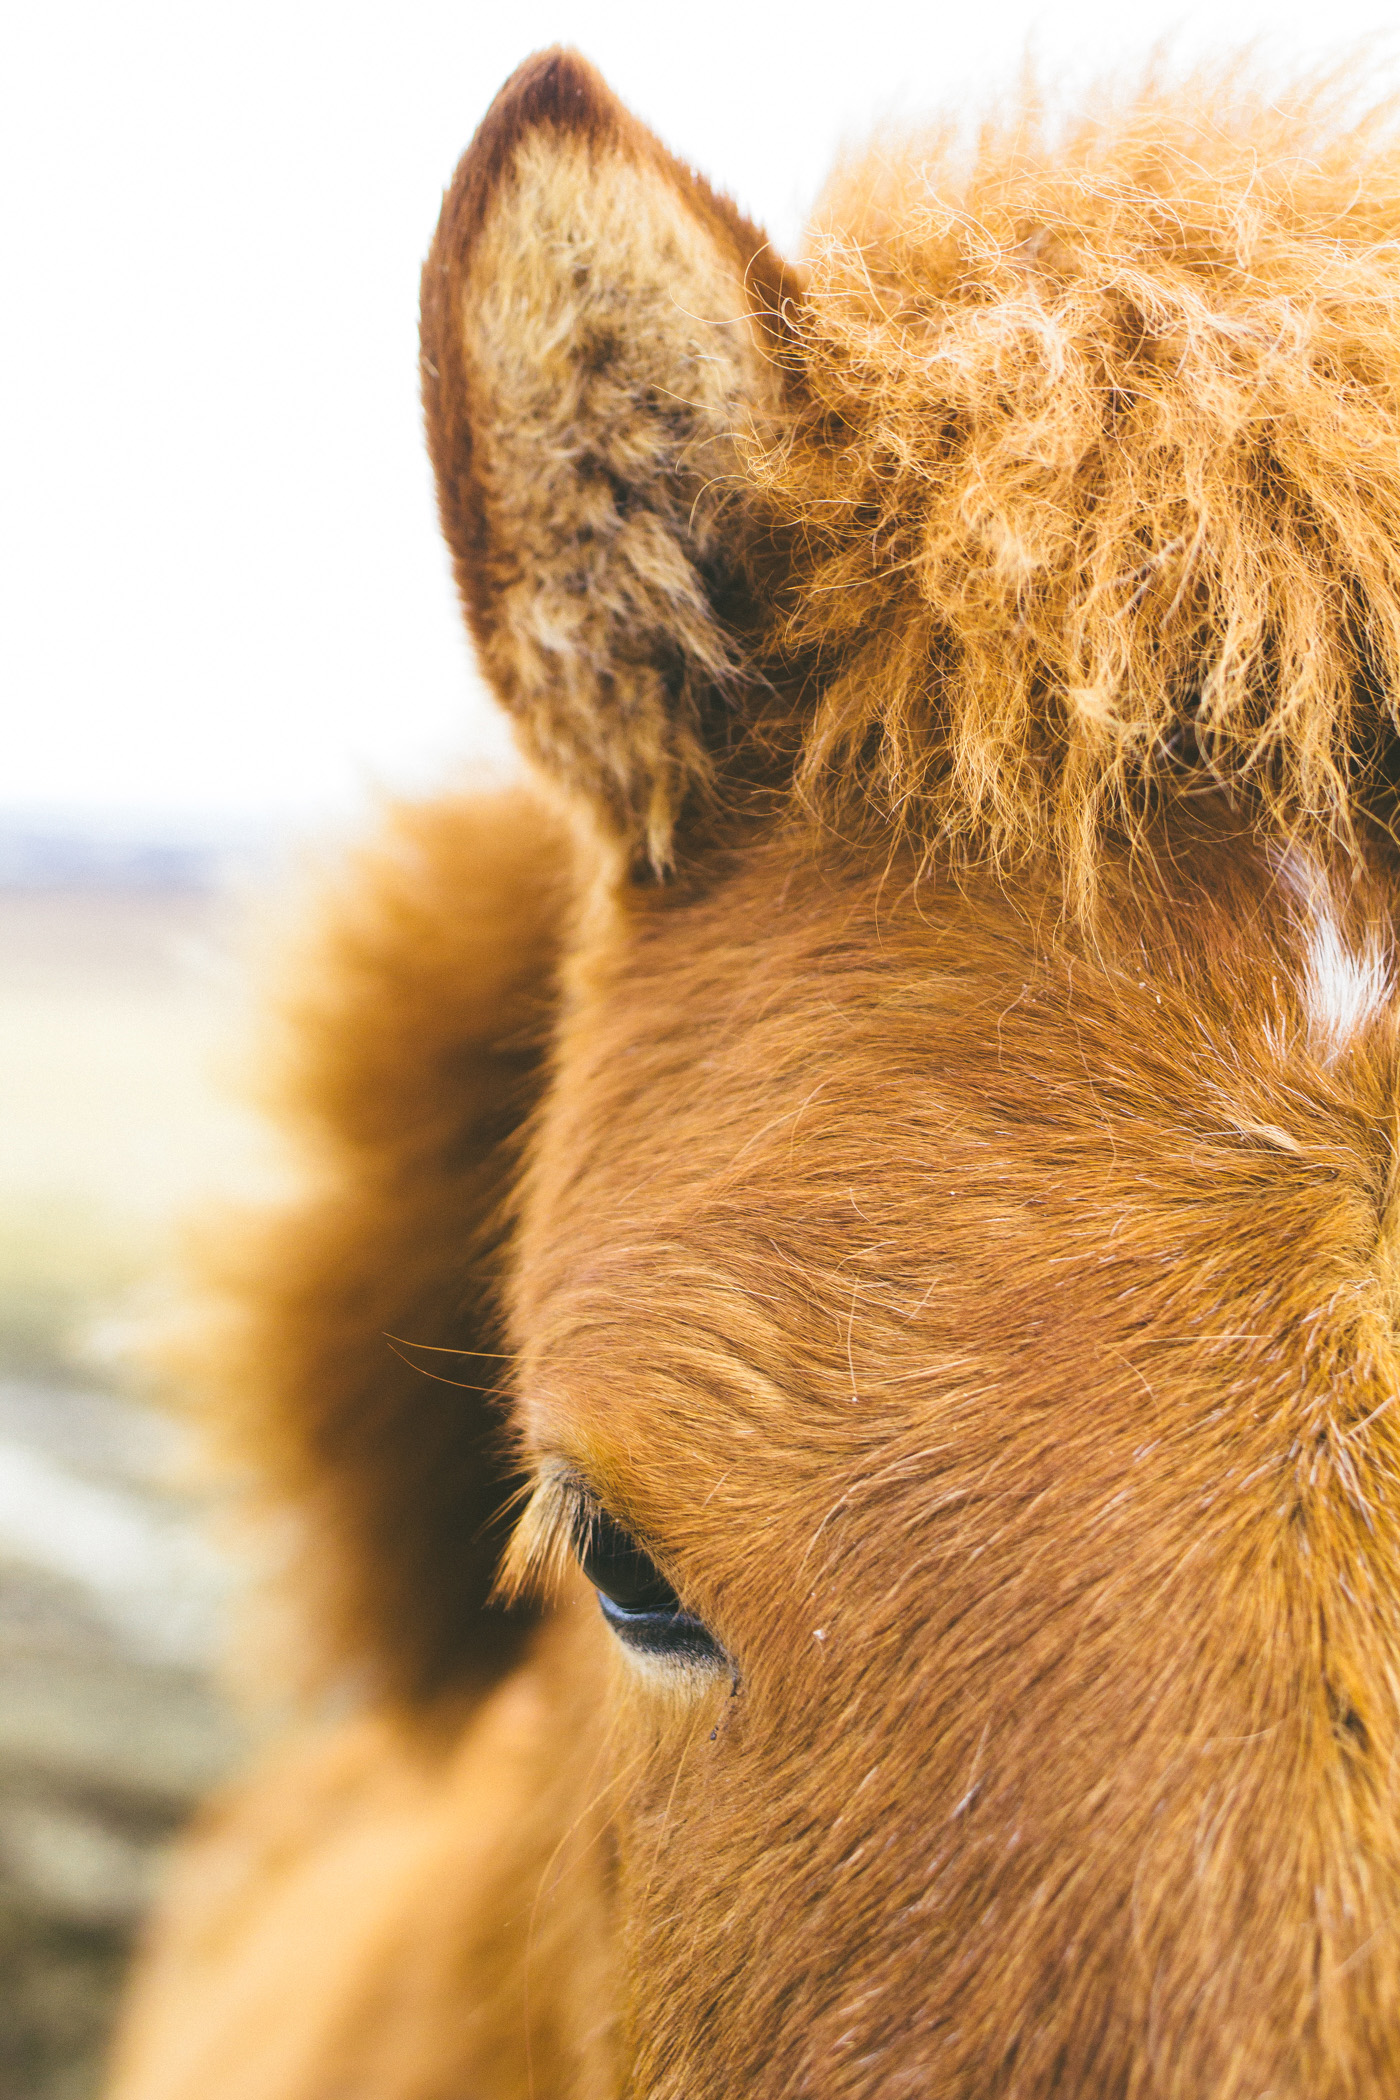
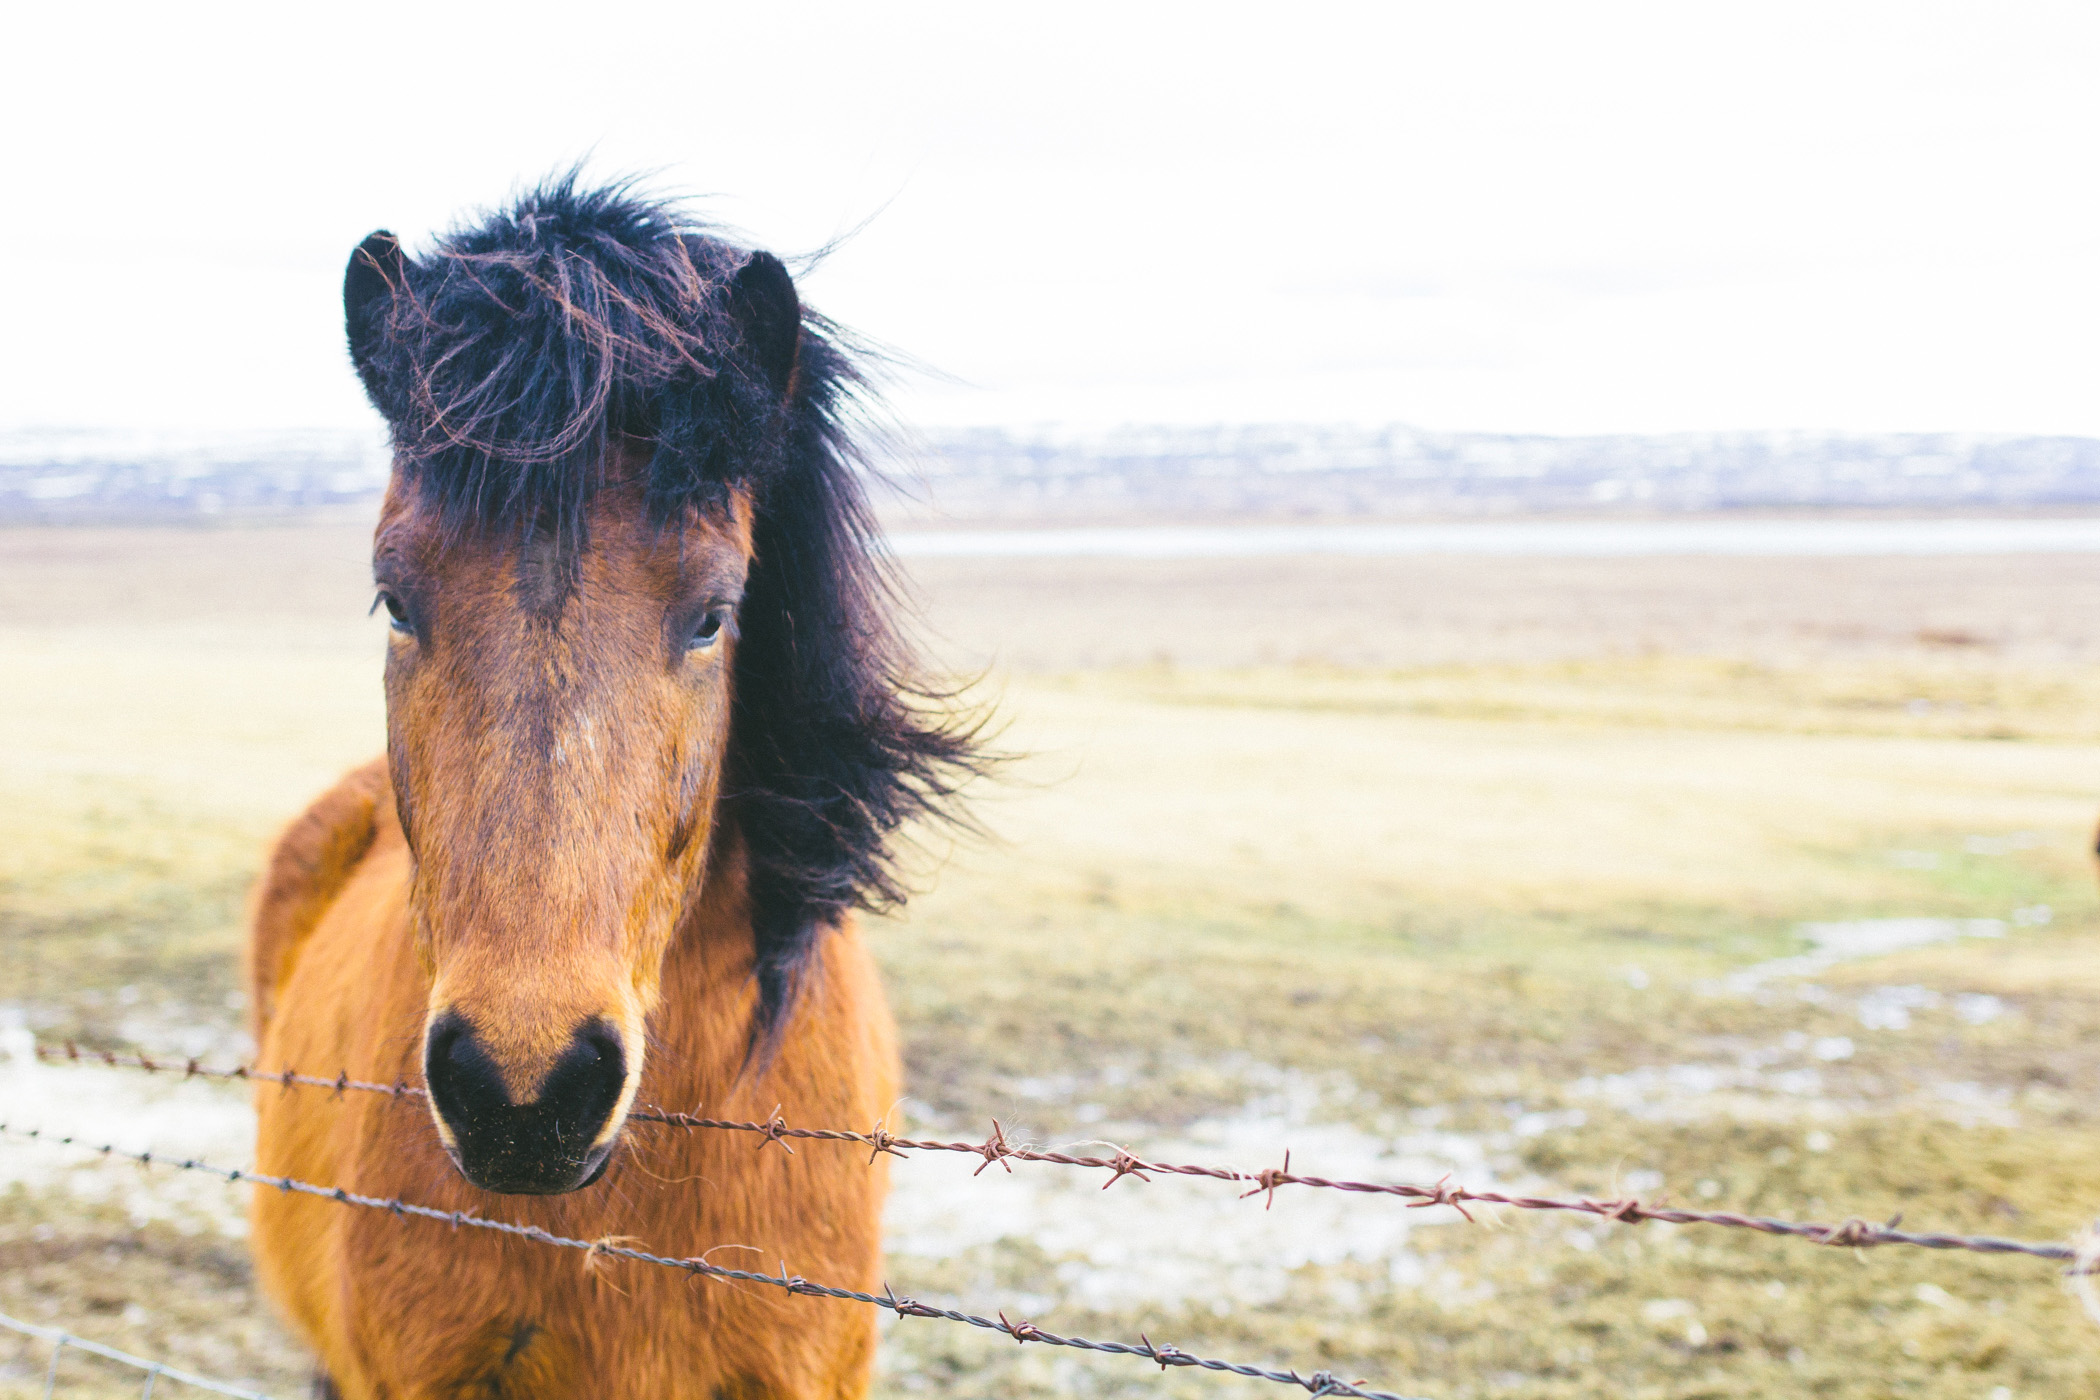
Don’t be afraid to get up close and personal. Take a close-up shot of a beautiful cocktail or an artistic shot of the local horses in Iceland. By capturing the true details of where you are, it will make you feel like you’re re-living your trip all over again whenever you look back on your photos, even if its years later!
Edit your photos!
[one-half-first] [/one-half-first][one-half]
[/one-half]
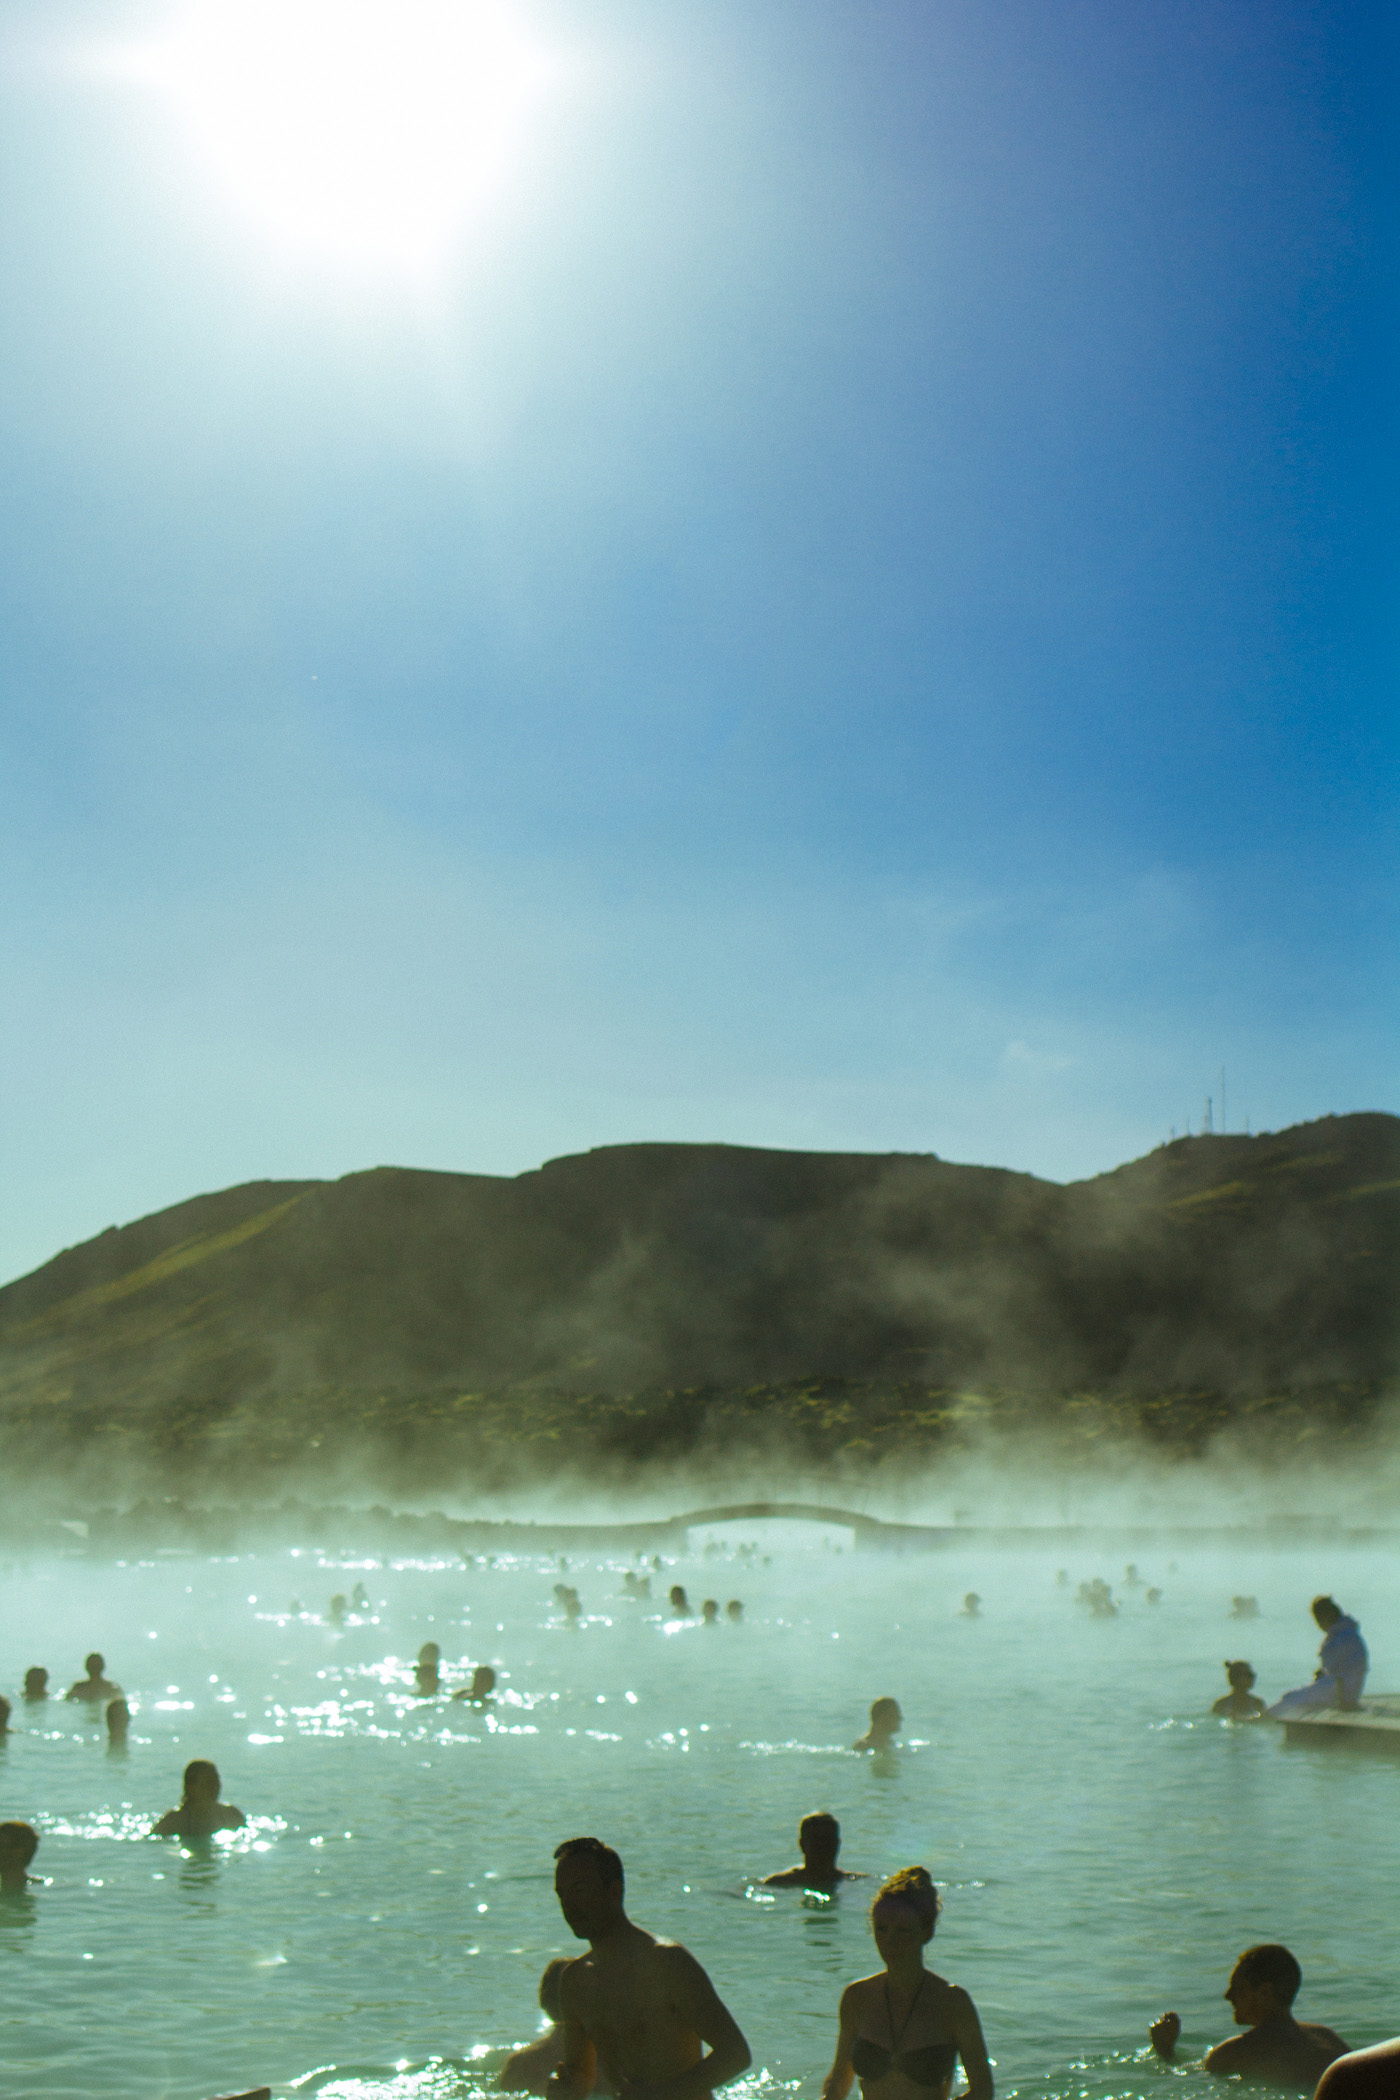
If you’re taking great photos, you need to edit them to make sure they look their very best! You want to bring out the blues of the Blue Lagoon, the green of the fresh guacamole, and all the different colors in the horse’s mane!
I edit my photos with Adobe Lightroom (both on my computer and via the app directly on my phone.) Lightroom is far and away the best tool to get the most out of your photos. But it will take you some time to master as a beginner. For casual photographers, I’d recommend the VSCO app. They make it really easy to edit your photos right on your phone.
OR, another option is purchasing some great presets! Liz from Pure Joy Home just released her own presets and they are really beautiful, plus, she gives you instructions on how to use them, step by step! I got questions about other apps but honestly I haven’t used them so I can’t comment, sorry!
Editing tips:
I typically always adjust the exposure, shadows, highlights, and make sure the image is straight. All my other edits are stylistic edits (I don’t have a preset that I use but I have specific things I edit the same way in each photo to ensure they’re all consistent). If you are really serious about improving your editing, you can find the answer to literally anything you would ever want to do, for free, with google and Youtube. You just have to take the time to learn! This is a good video that will show you the basics of using VSCO to edit your photos!
How to brighten dark photos:
The biggest editing question you guys asked on Instagram was how to brighten up dark photos! There are a couple things I do to help this! First–bring up the shadows so it makes them less dramatic. Then, up the exposure. You’ll have to play around for the happy medium between the two, but this always does the trick.
At the end of the day, the only way to master your photography is PRACTICE. I have never taken any photography or editing classes. I’ve just learned by doing (and with the help of Kelly–I owe a lot to her! Check out her photography guide if you’re interested!) Happy shooting!
