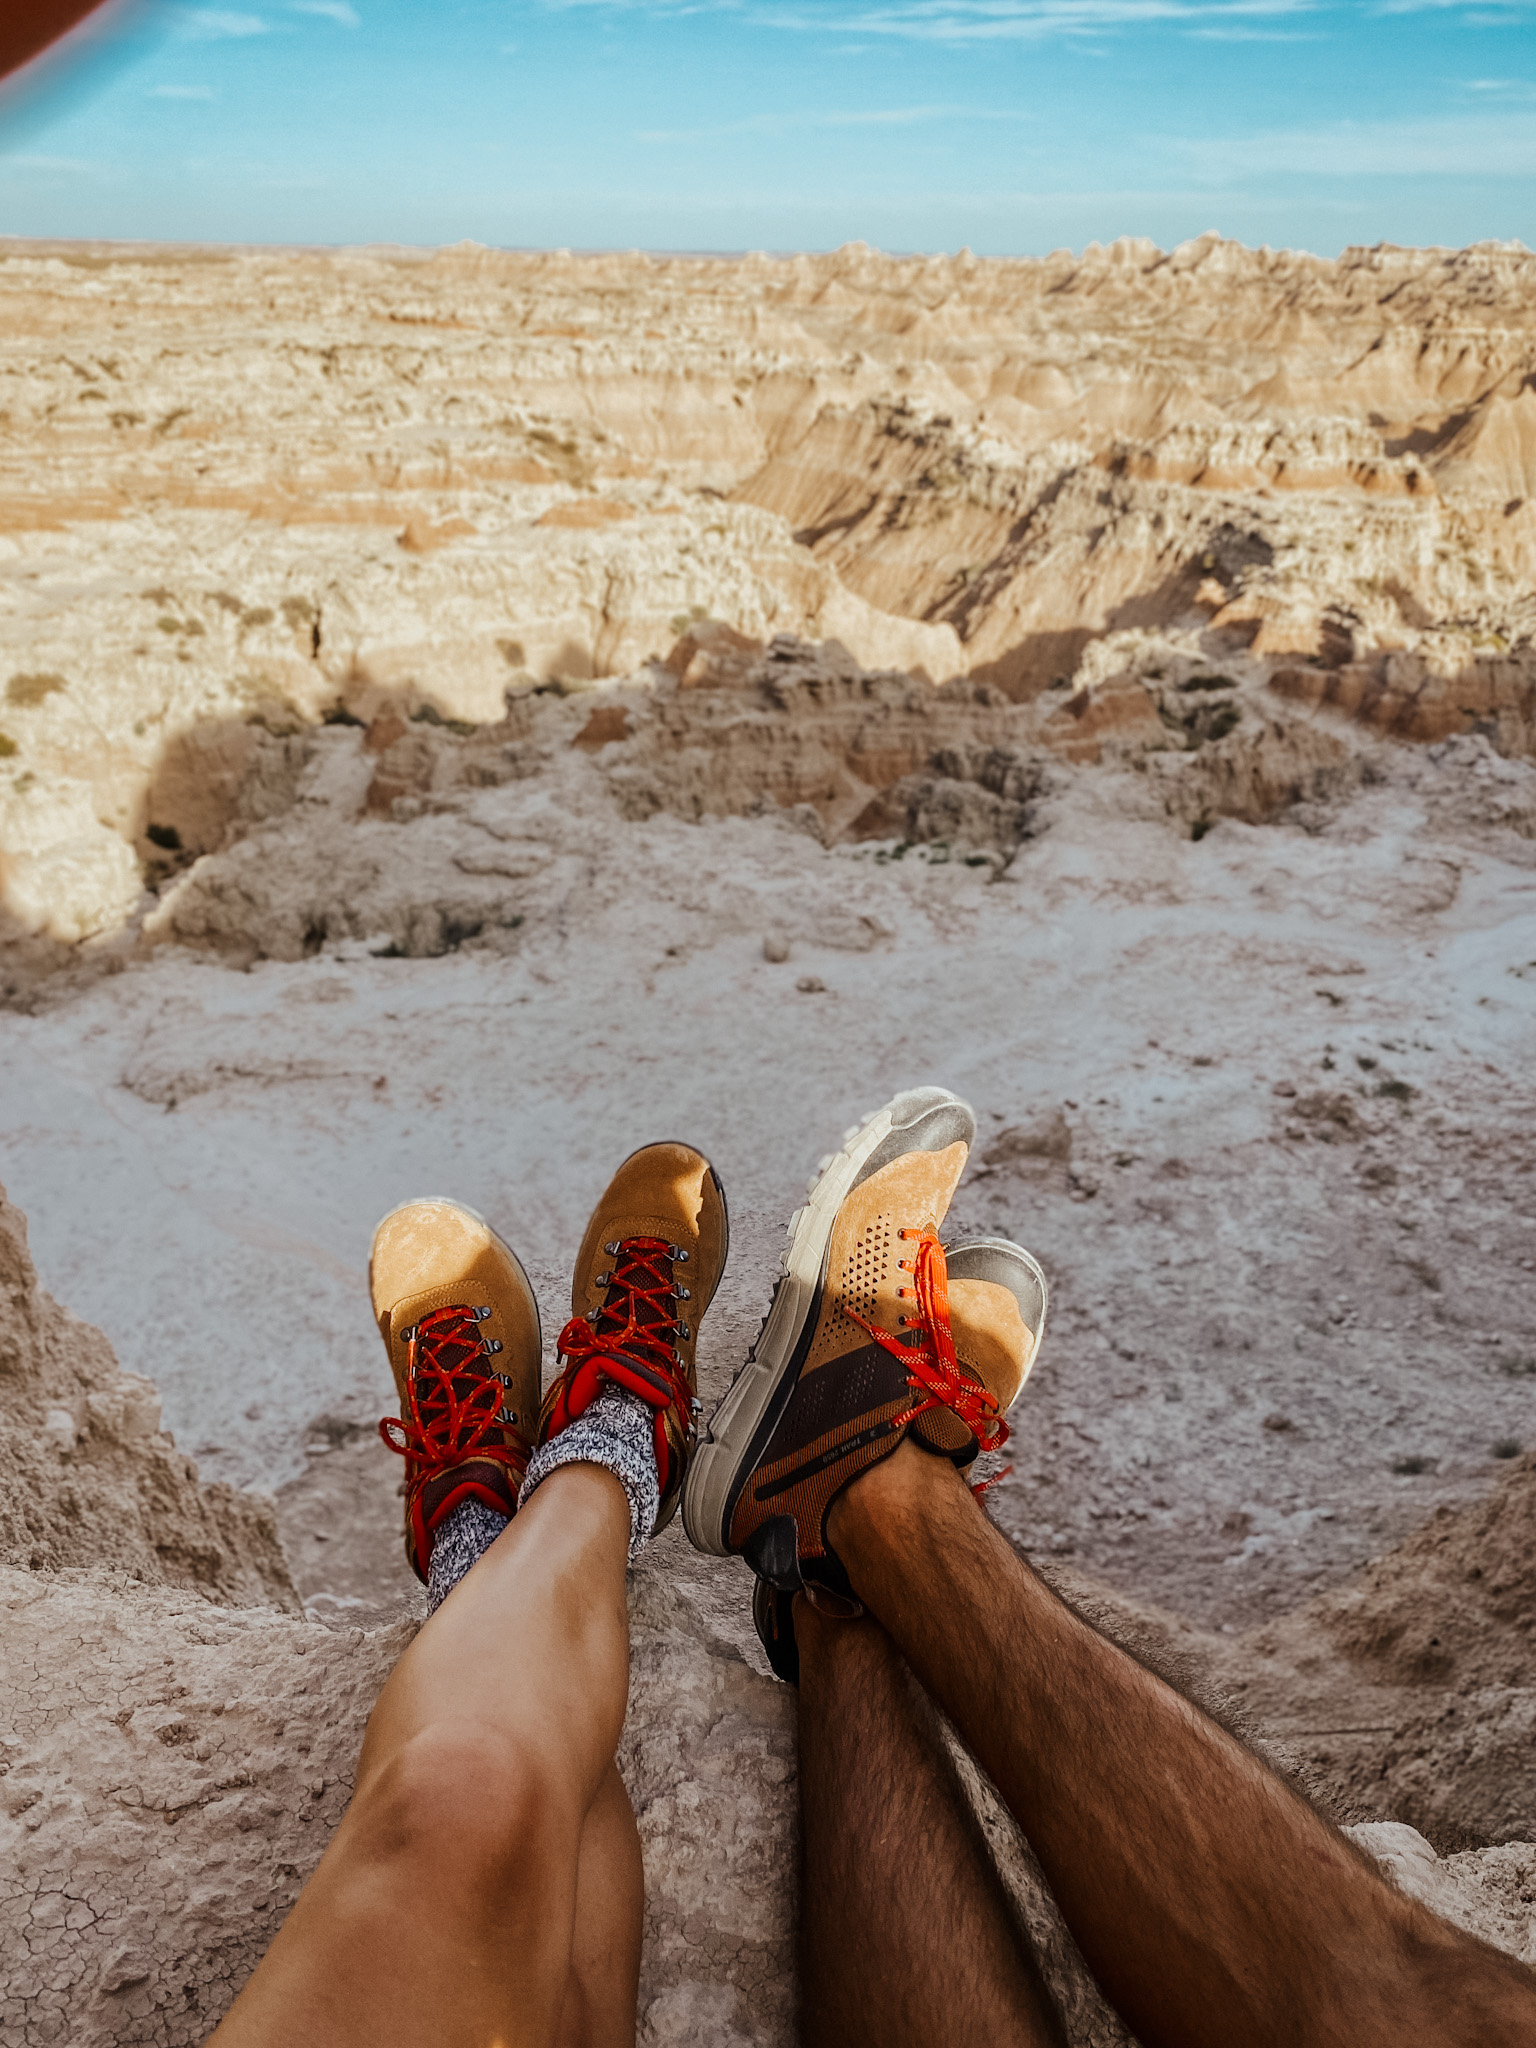
The time has FINALLY come for my Badlands guide. No big deal, just like, 7 months late. It’s okay, better late than never, right? If you’re looking to plan a domestic adventure in the next few months, I can’t recommend South Dakota enough! (Especially if you’re driving from the midwest–we don’t have a lot of access to the “cool/hip” national parks.) I had absolutely no idea how beautiful South Dakota is, and if not for the pandemic, we definitely would’ve never thought to plan a trip there!
This post will be broken into two parts, because there is a lot of ground to cover, and I think you definitely need to hit both the Badlands and the Black Hills/Custer State Park in one trip. (They’re all within an hour’s distance from one another!)
In this post, we’ll be focusing exclusively on my tips for visiting the Badlands.
Everything you need to know about visiting the Badlands, SD
What are the Badlands?
“The Badlands” is a national park in South Dakota, which gets its name from the Lakota people, who coined the name referring to the inhospitable terrain. They’re a collection of vast geological formations–canyons, ravines, mesas, and hoodoos which are all of varying colors (and often change based on how the light hits them)–from black to brown to red.
What is the best time to visit the Badlands:
The best time to visit the Badlands is said to be August-September, as spring can be rainy (where the trails turn to clay and mud) and the mid summer temps can reach over 100. We went in early September and the weather was amazing–hot, but not unbearable.
Getting to the Badlands:
Here is our road trip itinerary from Chicago:
Our Itinerary:
Day 1: Chicago to Sioux Falls. Stay at AirBnB in Sioux Falls.
Day 2: See “the falls” before leaving Sioux Falls. Drive to Badlands (4 hours). Camp at Cedar Pass that night.
Day 3: Badlands hike and night two camping at Cedar Pass.
Day 4: Get up, enjoy breakfast at camp, taking in final views of the Badlands. Pack the car, drive from Badlands to Rapid City. Walk around Rapid City, grab lunch at Firehouse Brewery, hit Mt. Rushmore, end with Check-In at Under Canvas. Dinner at Under Canvas.
Day 5: Explore + Hike Custer State Park. Second night at Under Canvas.
Day 6: Drive from Custer State Park to Tetons, continue trip from there.
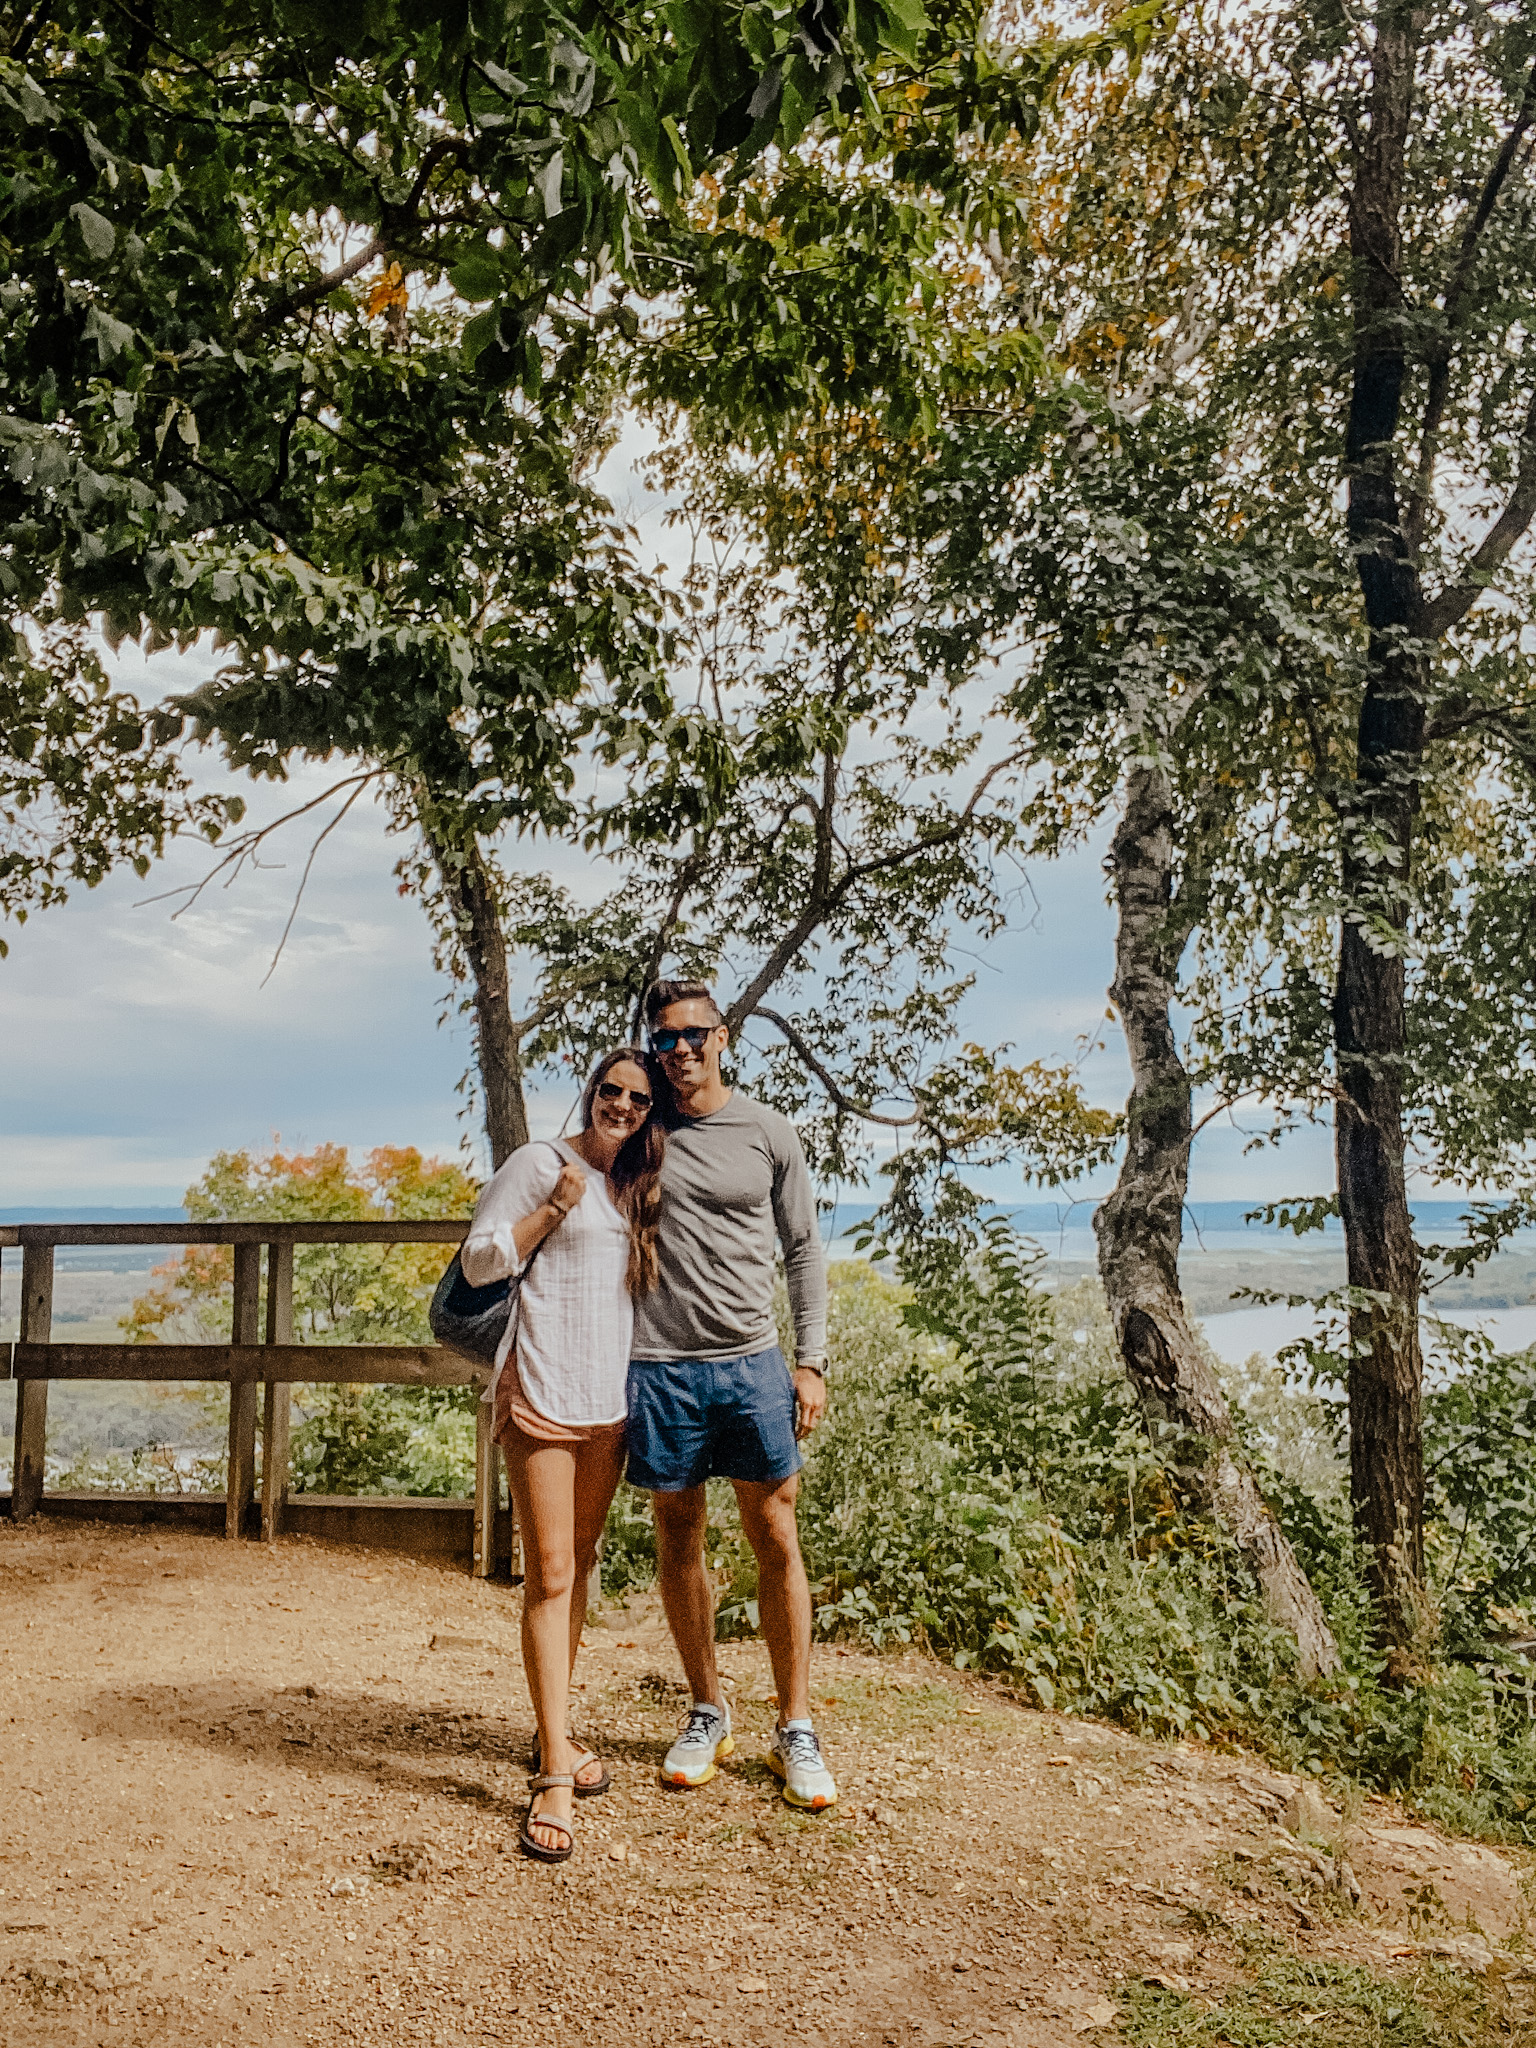
Overlook at Great River Bluffs State Park
Stop and take a break at Great River Bluffs State Park:
We drove from Chicago to Sioux Falls, SD in one stretch, and stayed at an AirBnB in Sioux Falls. There is a beautiful park in Minnesota called Great River Bluffs State Park that we stopped at to have lunch to break up the drive. I packed some sandwiches and we ate at one of the picnic tables and walked the short trail to the overlook to stretch our legs. It was the perfect little break!
Once we got to Sioux Falls, we didn’t do much while we were there because we were exhausted from the drive, so can’t really give any reccos there, but we did manage to see the falls the next morning before we left! Being a Pacific Northwest native I can’t say I would really call them “falls” per say, but, it was a really pretty park! I also liked seeing the ruins of the old mill next to the falls and learning about the history of them was really cool! Worth stopping by on your way out of town for 20 minutes or so!
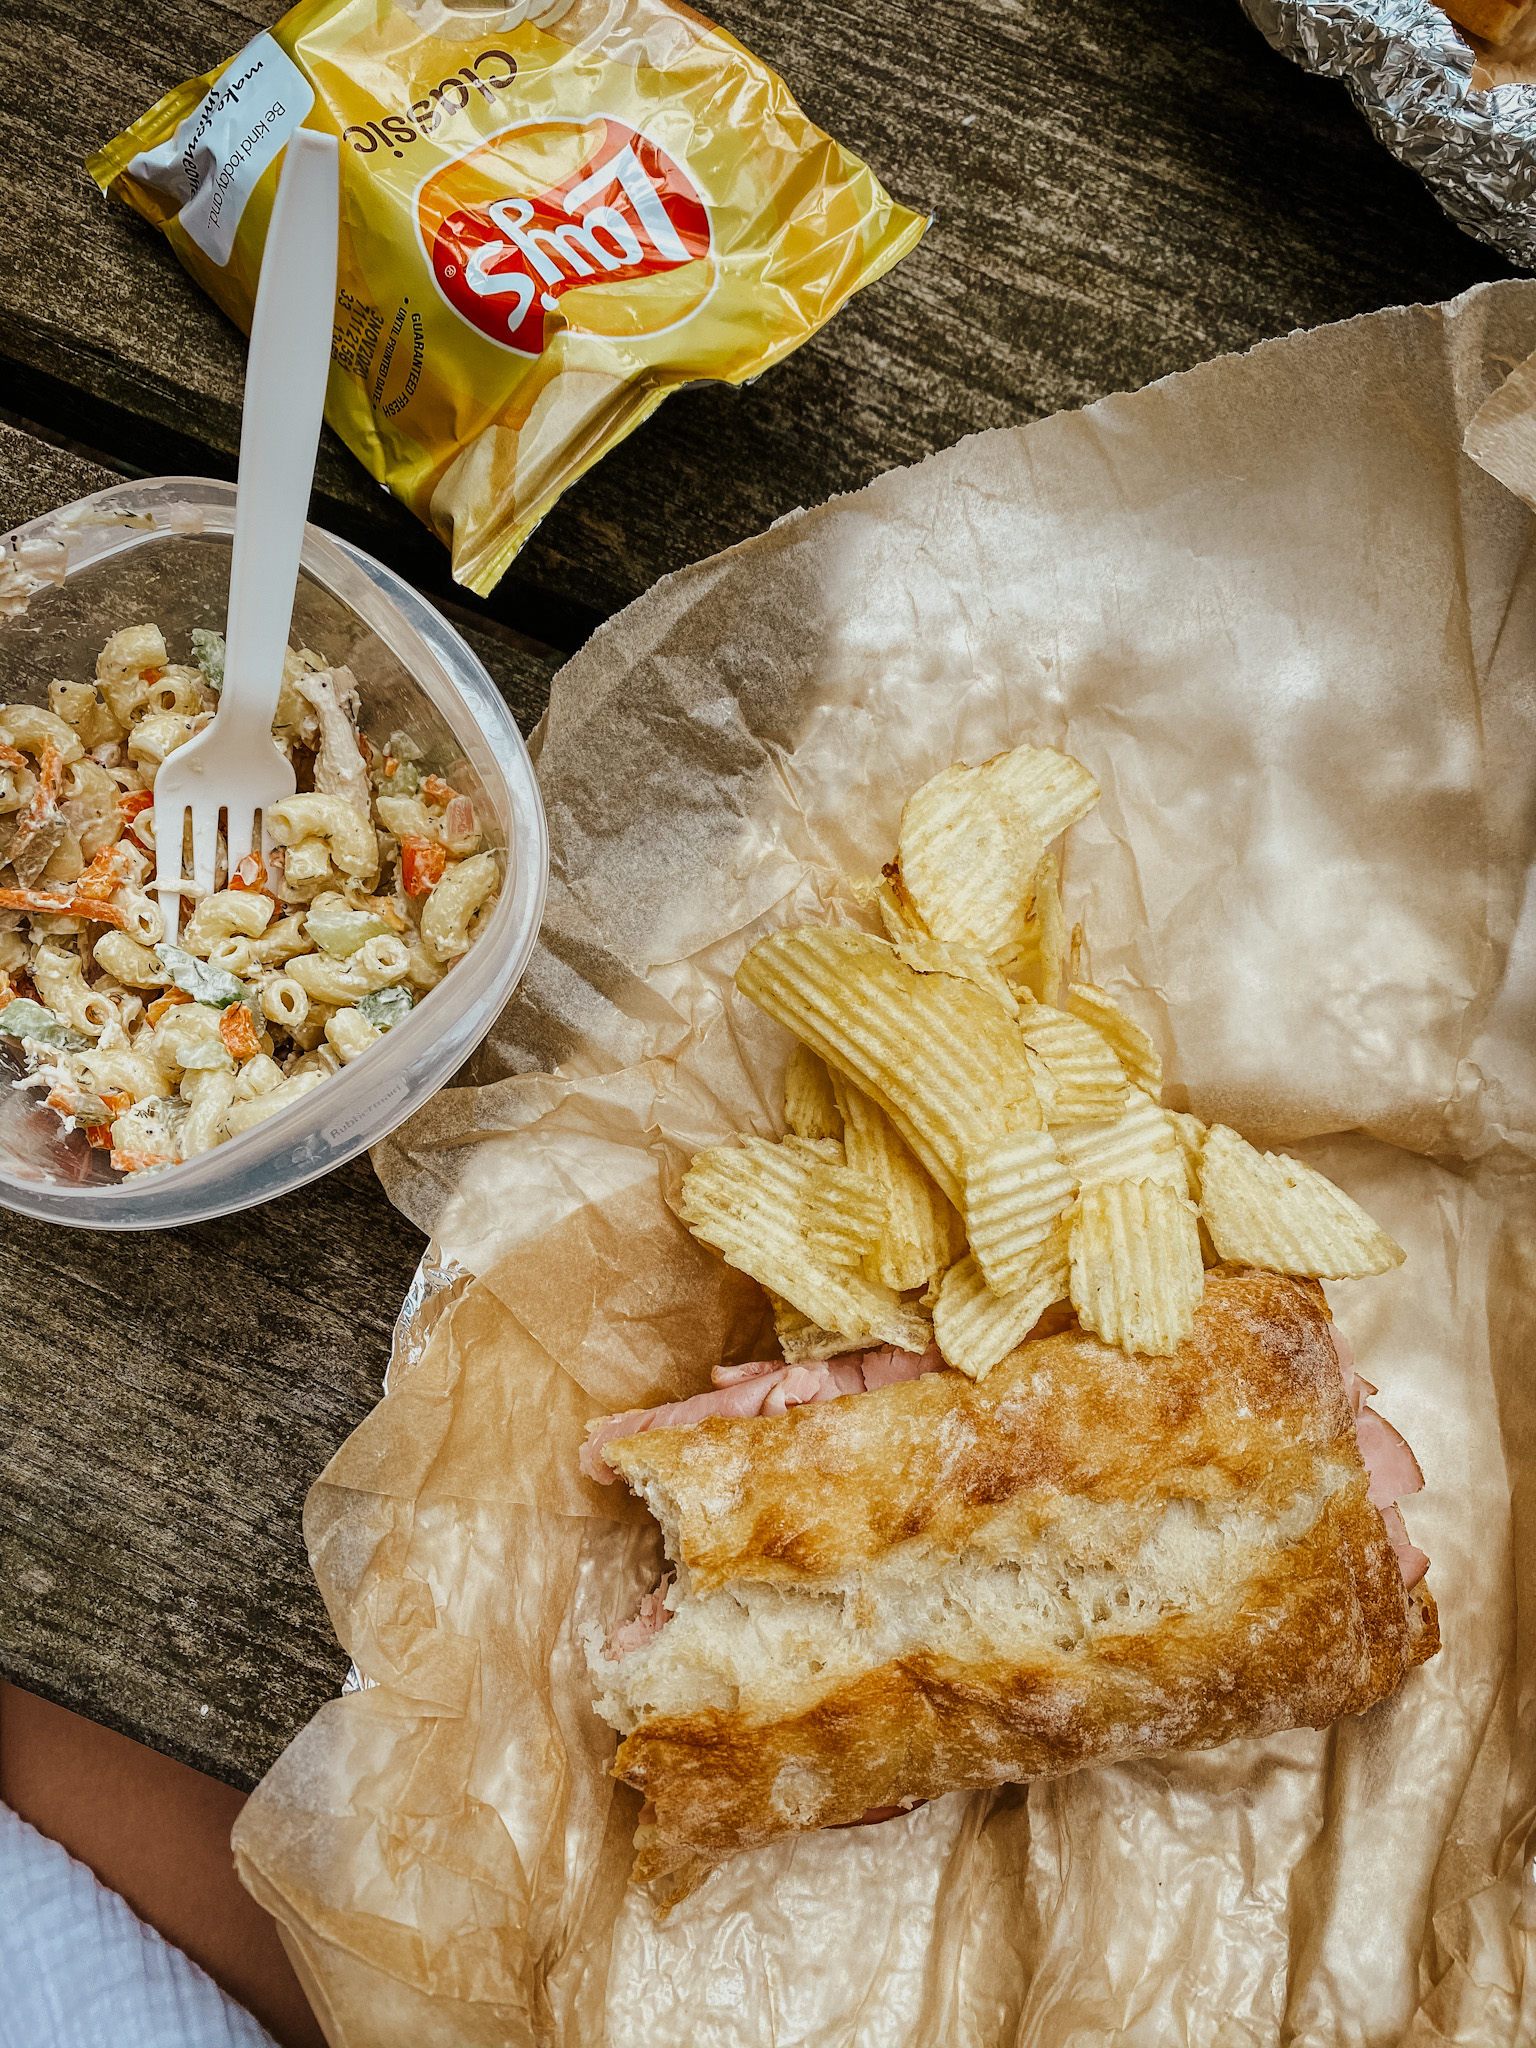
Above: Our little hour-long break at Great River Bluffs State Park on the way to South Dakota! I packed us a picnic lunch to eat and then we walked along the path to the overlook to stretch our legs. It was the perfect road trip break!
Camping at Badlands Cedar Pass Campground
We left Sioux Falls early morning and made it to the Badlands by late afternoon! We decided to camp at Cedar Pass campground in the actual park. And all in all we had a great experience at the campground! We had what I would describe as a very fun adventure–the Badlands weather can a little unpredictable, so I wouldn’t say it’s for the camping-skeptical but I would do it again in a heartbeat (and hope to be back someday!)
Important: Make a reservation!
You need to reserve your spot at Cedar Pass ahead of time, as they tend to fill up, especially during busy season and on weekends! You can do thatonline very easily! Costs $23 per night.
Benefits to camping in the park:
Undoubtedly the best perk: you get to be there for sunrise and sunset! If you don’t decide to camp in the park, I would tell you to definitely plan a picnic and to eat in the park to watch the sunset if you can–it’s absolutely breathtaking. Whether you’re eating in your car or you find a spot to set up your picnic somewhere along the rock formations–it’s for sure a sight to see!
It’s also nice to be IN the park when you start your day as depending on the weather, you’ll probably want to hit the trails fairly early to avoid being out hiking in the sun in the heat of the afternoon. Just saves some time that way!
And of course, as I mentioned above–adventure! Camping in the park was SO FUN.
Considerations for camping in the Badlands:
The weather is hot during the day and can get cold at night. It was in the 80’s for us during the day (which I was worried about, I really REALLY hate being hot) but as soon as the sun starts getting lower in the sky, it cools off quickly, and it even got chilly at night–it was perfect sleeping temperature. There was no point in time where I was like “it’s too hot and I’m not having fun anymore.”
Wind storms:
The REAL kicker though, is the wind. Luckily, many of you had warned me about wind storms that can roll in at night, so it didn’t catch us completely off guard. It comes out of nowhere and wind storms can be very common in the Badlands.
Do not forget stakes for your tent, and make sure you have the right tools to hammer them into the ground! (Neal has a multi-tool like this one). The ground in the Badlands is VERY hard! (And on that note, make sure not to forget your air mattress/pads for sleeping!)
Our first night, a wind storm picked up and it was so windy we basically HAD to crawl inside our tent because it was impossible to stay outside. There was a point where we looked at each other like, “should we be going to sleep right now?! Do we think our tent is going to blow away with us inside of it!?!” We had to put load EVERYTHING from our campsite back into the car so we wouldn’t lose it. I can’t say we got a lot of sleep that night because the wind was so loud–but we just had lots of wine and it was was a hilarious adventure. The second night was totally fine, and that was really the only thing that went a little haywire, so all in all, a very successful experience.
I tell you this not to dissuade you from camping, but I’m just being honest because I know this isn’t everyone’s idea of a fun time!
No campfires:
One more thing–there are no campfires allowed in the Badlands, so if you plan to cook or prep your own food, you need to bring a portable stove, or plan for no-cook meals, like sandwiches, or just plan to hit up the snack bar at the lodge for your meals.
Best campsites at Cedar Pass Campground
Snag campsite 81 if you can! (That’s what we had, and it was nice and secluded!) I looked up the best campsites on campsitephotos.com (a great website I highly recommend if you’re scouting campsites!) It listed 13, 15, 17, 19, 22, 24, 28, 30, 32, 40, 52, 56, 62, 63, 77, 81. They are available for both tent campers and RV’s.
Amenities at Cedar Pass Campground:
We may have been camping in a tent, but we are not hardcore campers. We want access to showers and bathrooms, so Cedar Pass fit our criteria. There is also a dispersed campsite you can hike to from Cedar Pass, but that is NOT our thing. We need plumbing.
Showers and bathrooms:
The facilities at Cedar Pass were very satisfactory–bathrooms and showers were definitely bare bones, but clean. Make sure to bring quarters with you because to use the showers, you need quarters! I don’t remember how many per shower (maybe $1 per 5 minutes?) but I would just bring lots of quarters just in case. Don’t forget shower shoes! (Waterproof Birks and Tevas came in handy here!)
Each campsite has a picnic table with a little shelter over it, which came in very handy and we used a lot!
Food/snacks:
There is also a little food truck up/snack bar at the lodge up the road if you aren’t really into hauling a bunch of food and camping cooking equipment with you. (TBH my favorite part of camping is the cooking, but I know it’s not everyone’s cup of tea!) You could easily get by with some PB & J supplies, snacks, and then eat your main meal of the day at the snack bar if that’s more your kind of scene. They had a cute setup with picnic tables and they serve alcohol and it was a fun spot to grab a beer after a long day of hiking!
We also saw a couple saloons not far from the park turn-in, but seeing as we were in the height of covid, we didn’t venture to check those out. If you’ve been vaccinated and are comfortable with that setting, might be fun to check out!
What should I bring to camp in the Badlands?
My giant camping packing list has everything listed that we used to camp–from our tent, to chairs, coolers, stove, and more! Make sure to pop over there if you need any reccos!
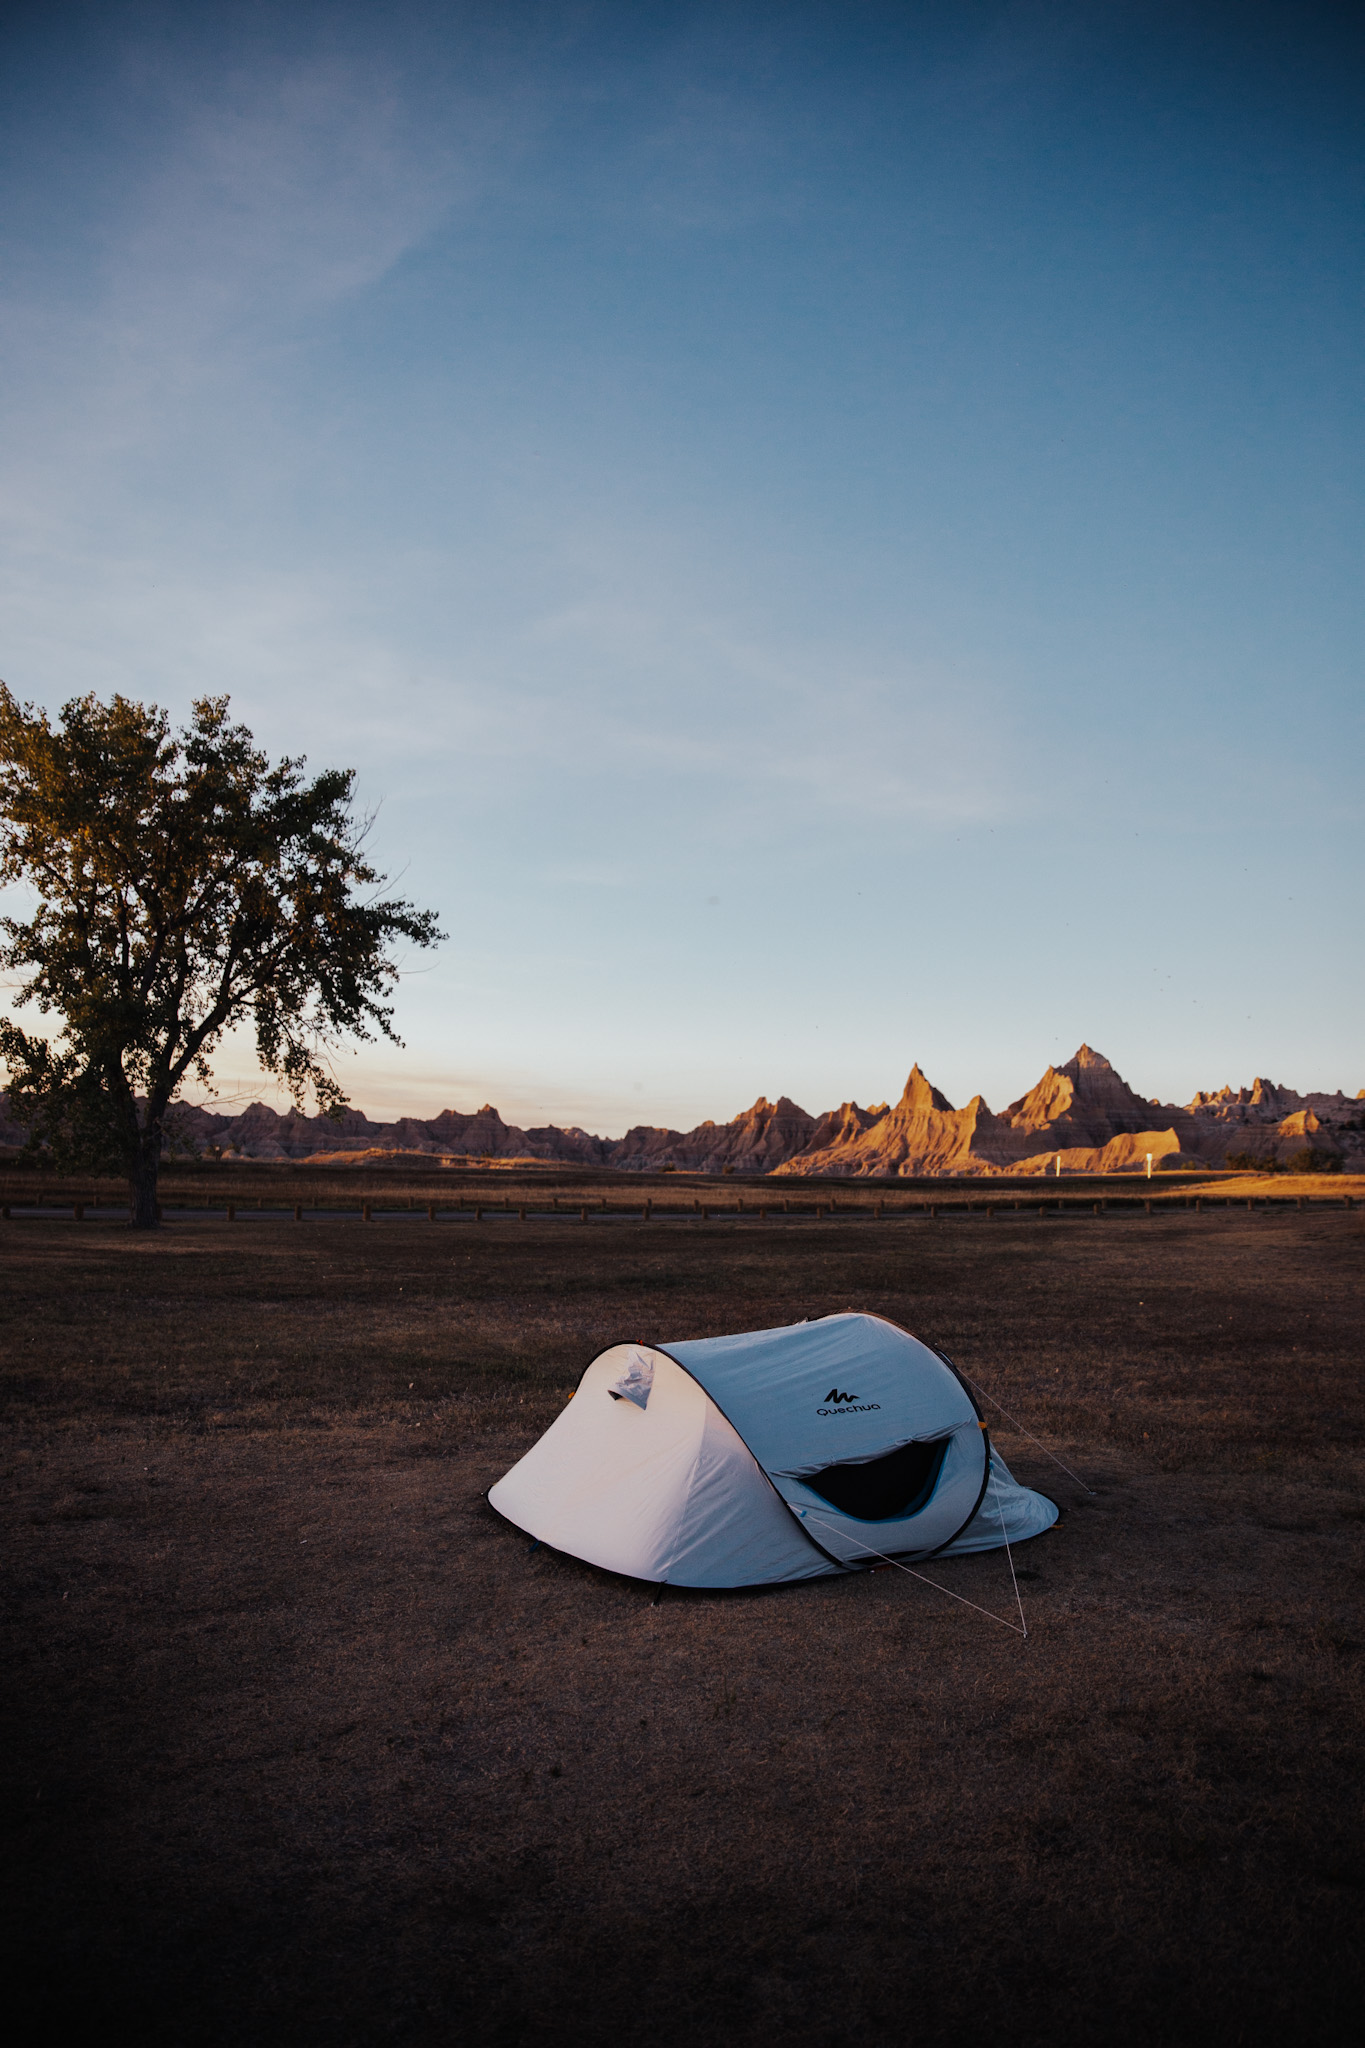
We snagged Cedar Pass Campsite 81 in the Badlands, which was awesome and more secluded than others
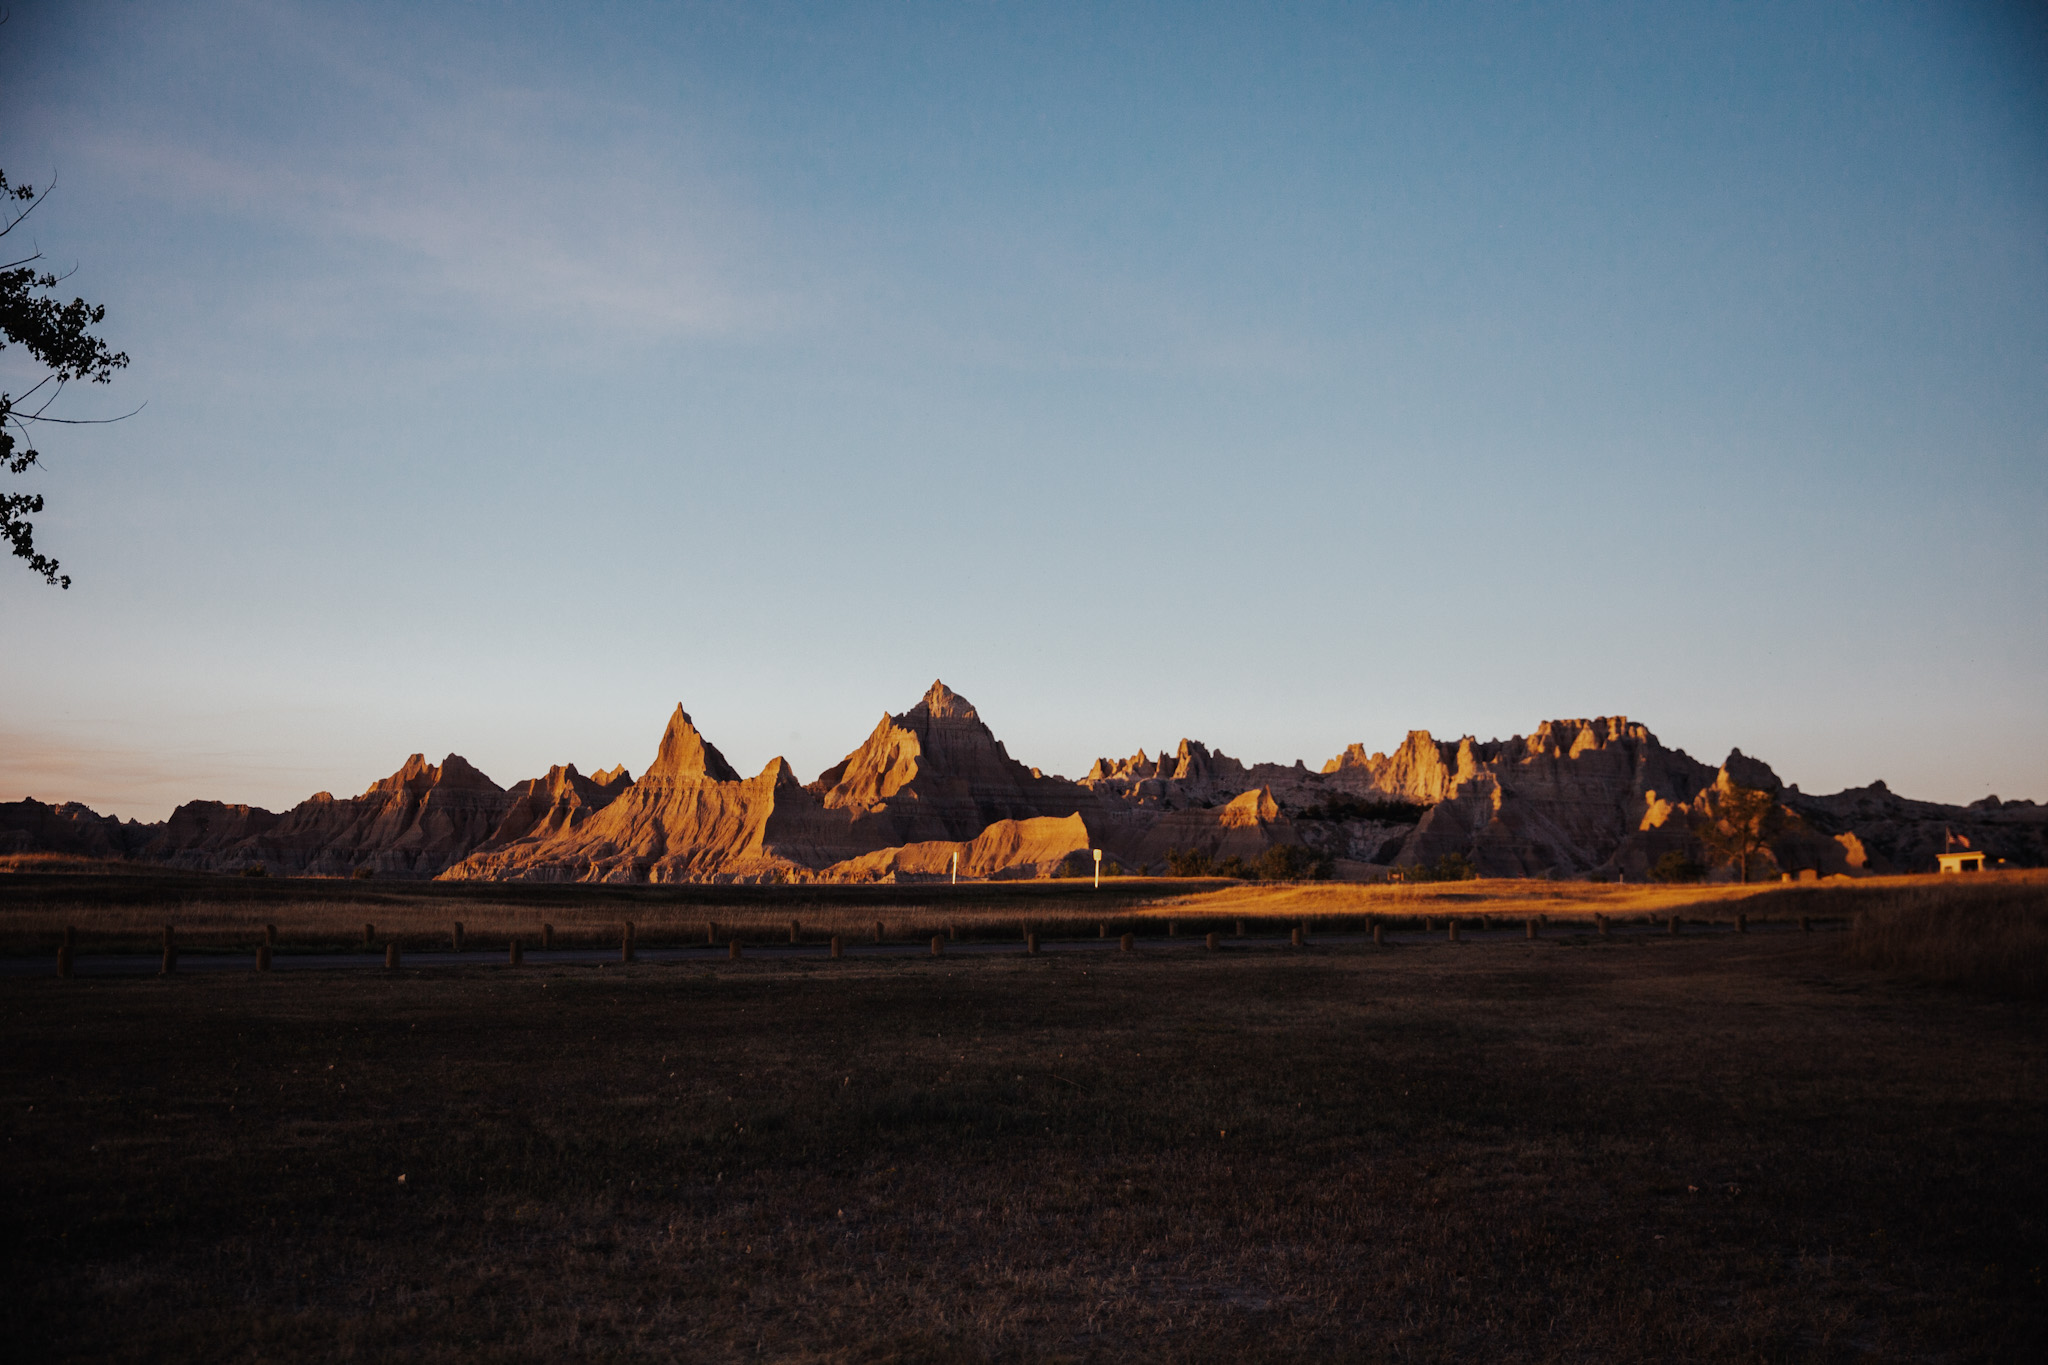
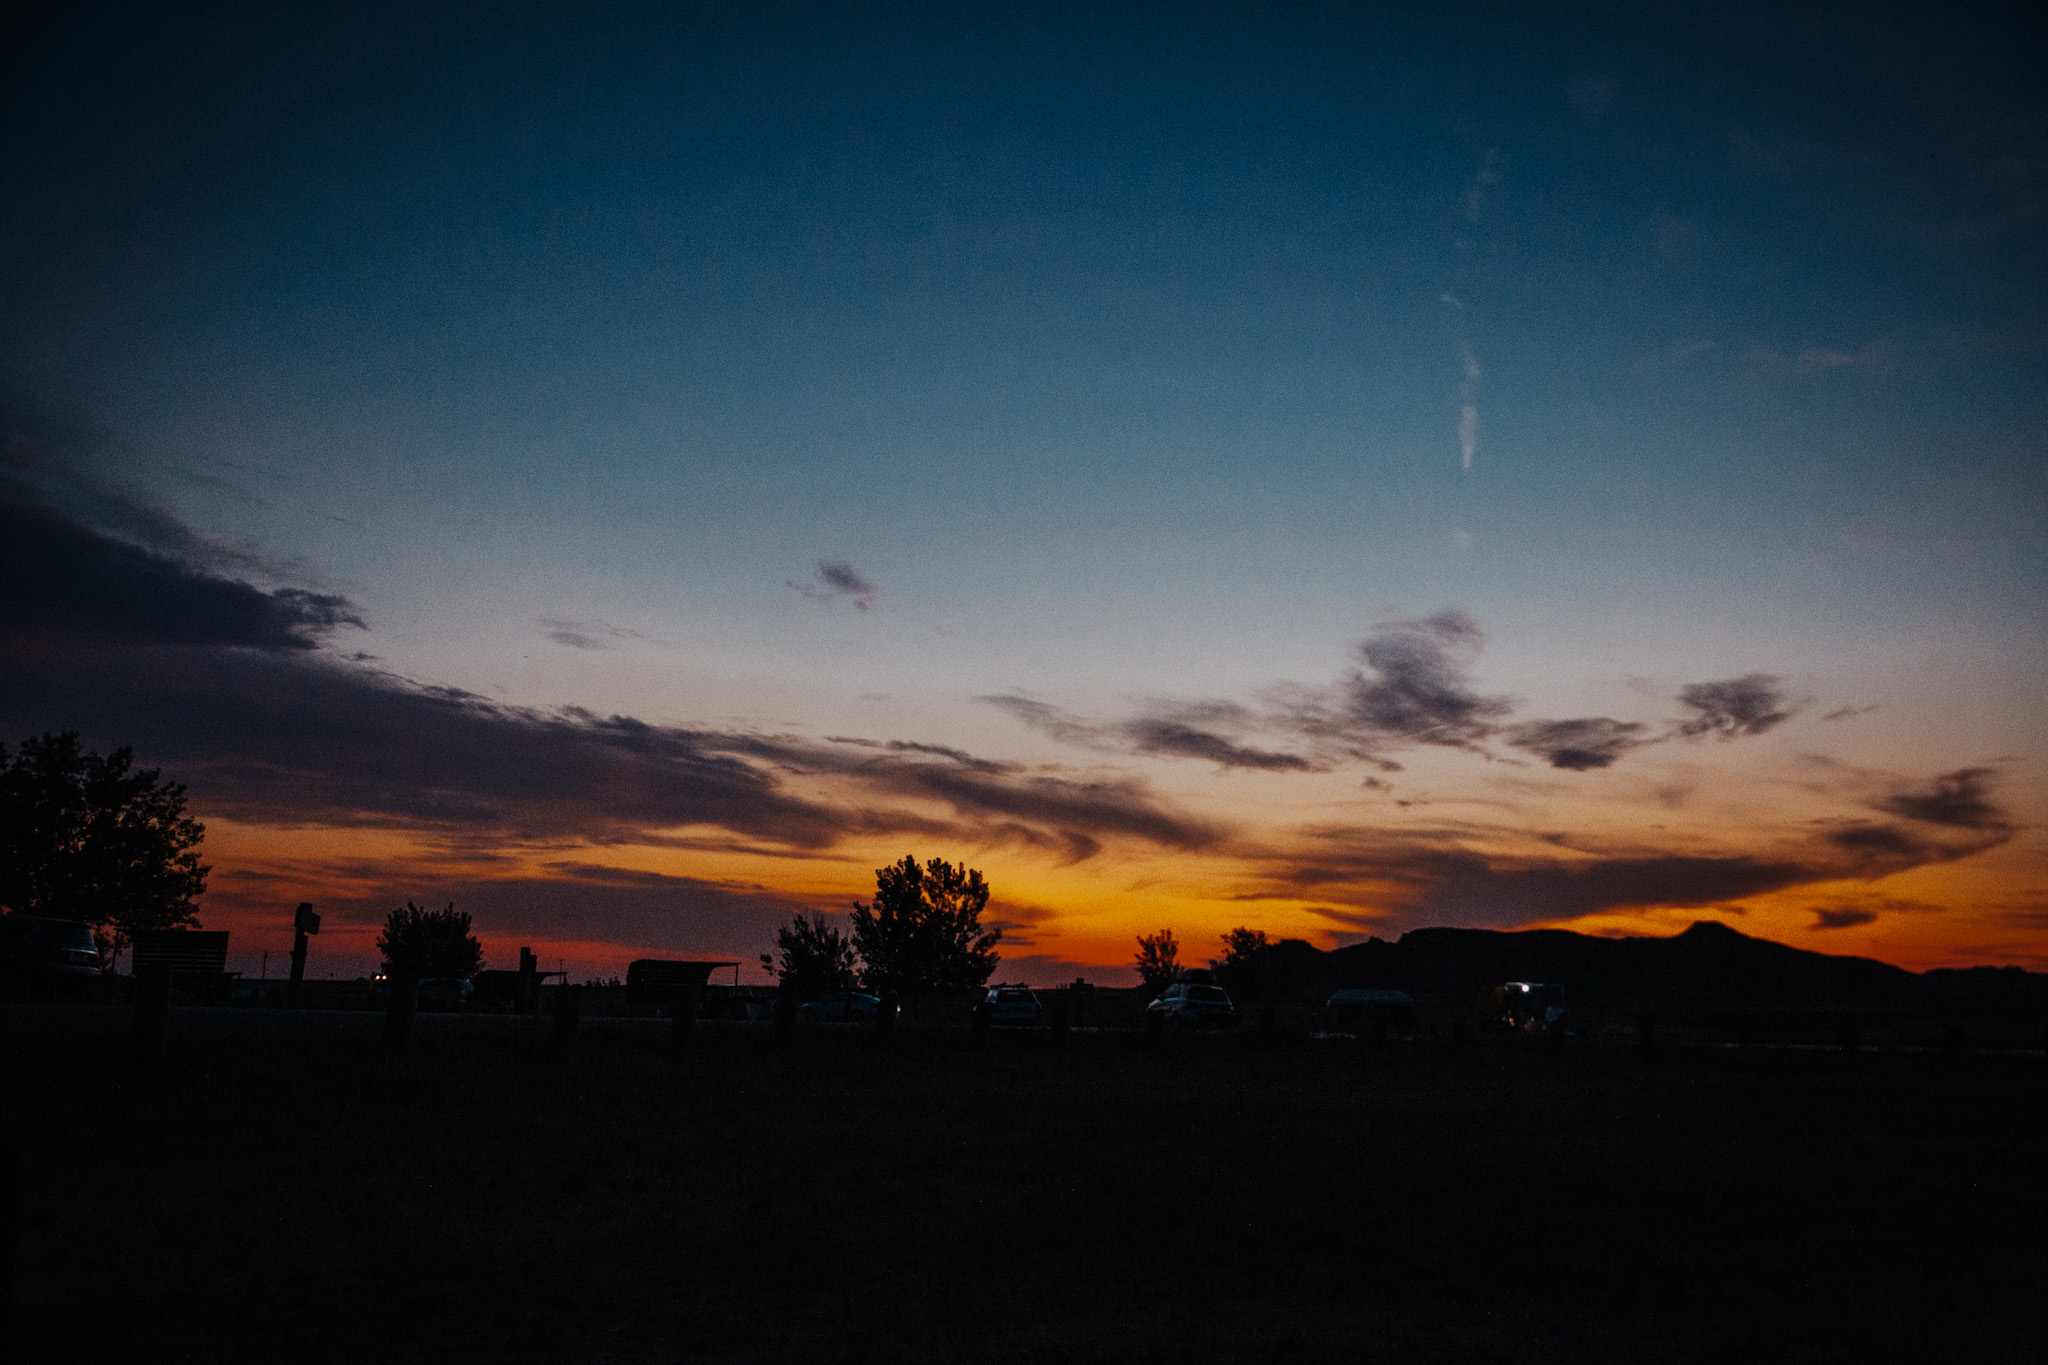
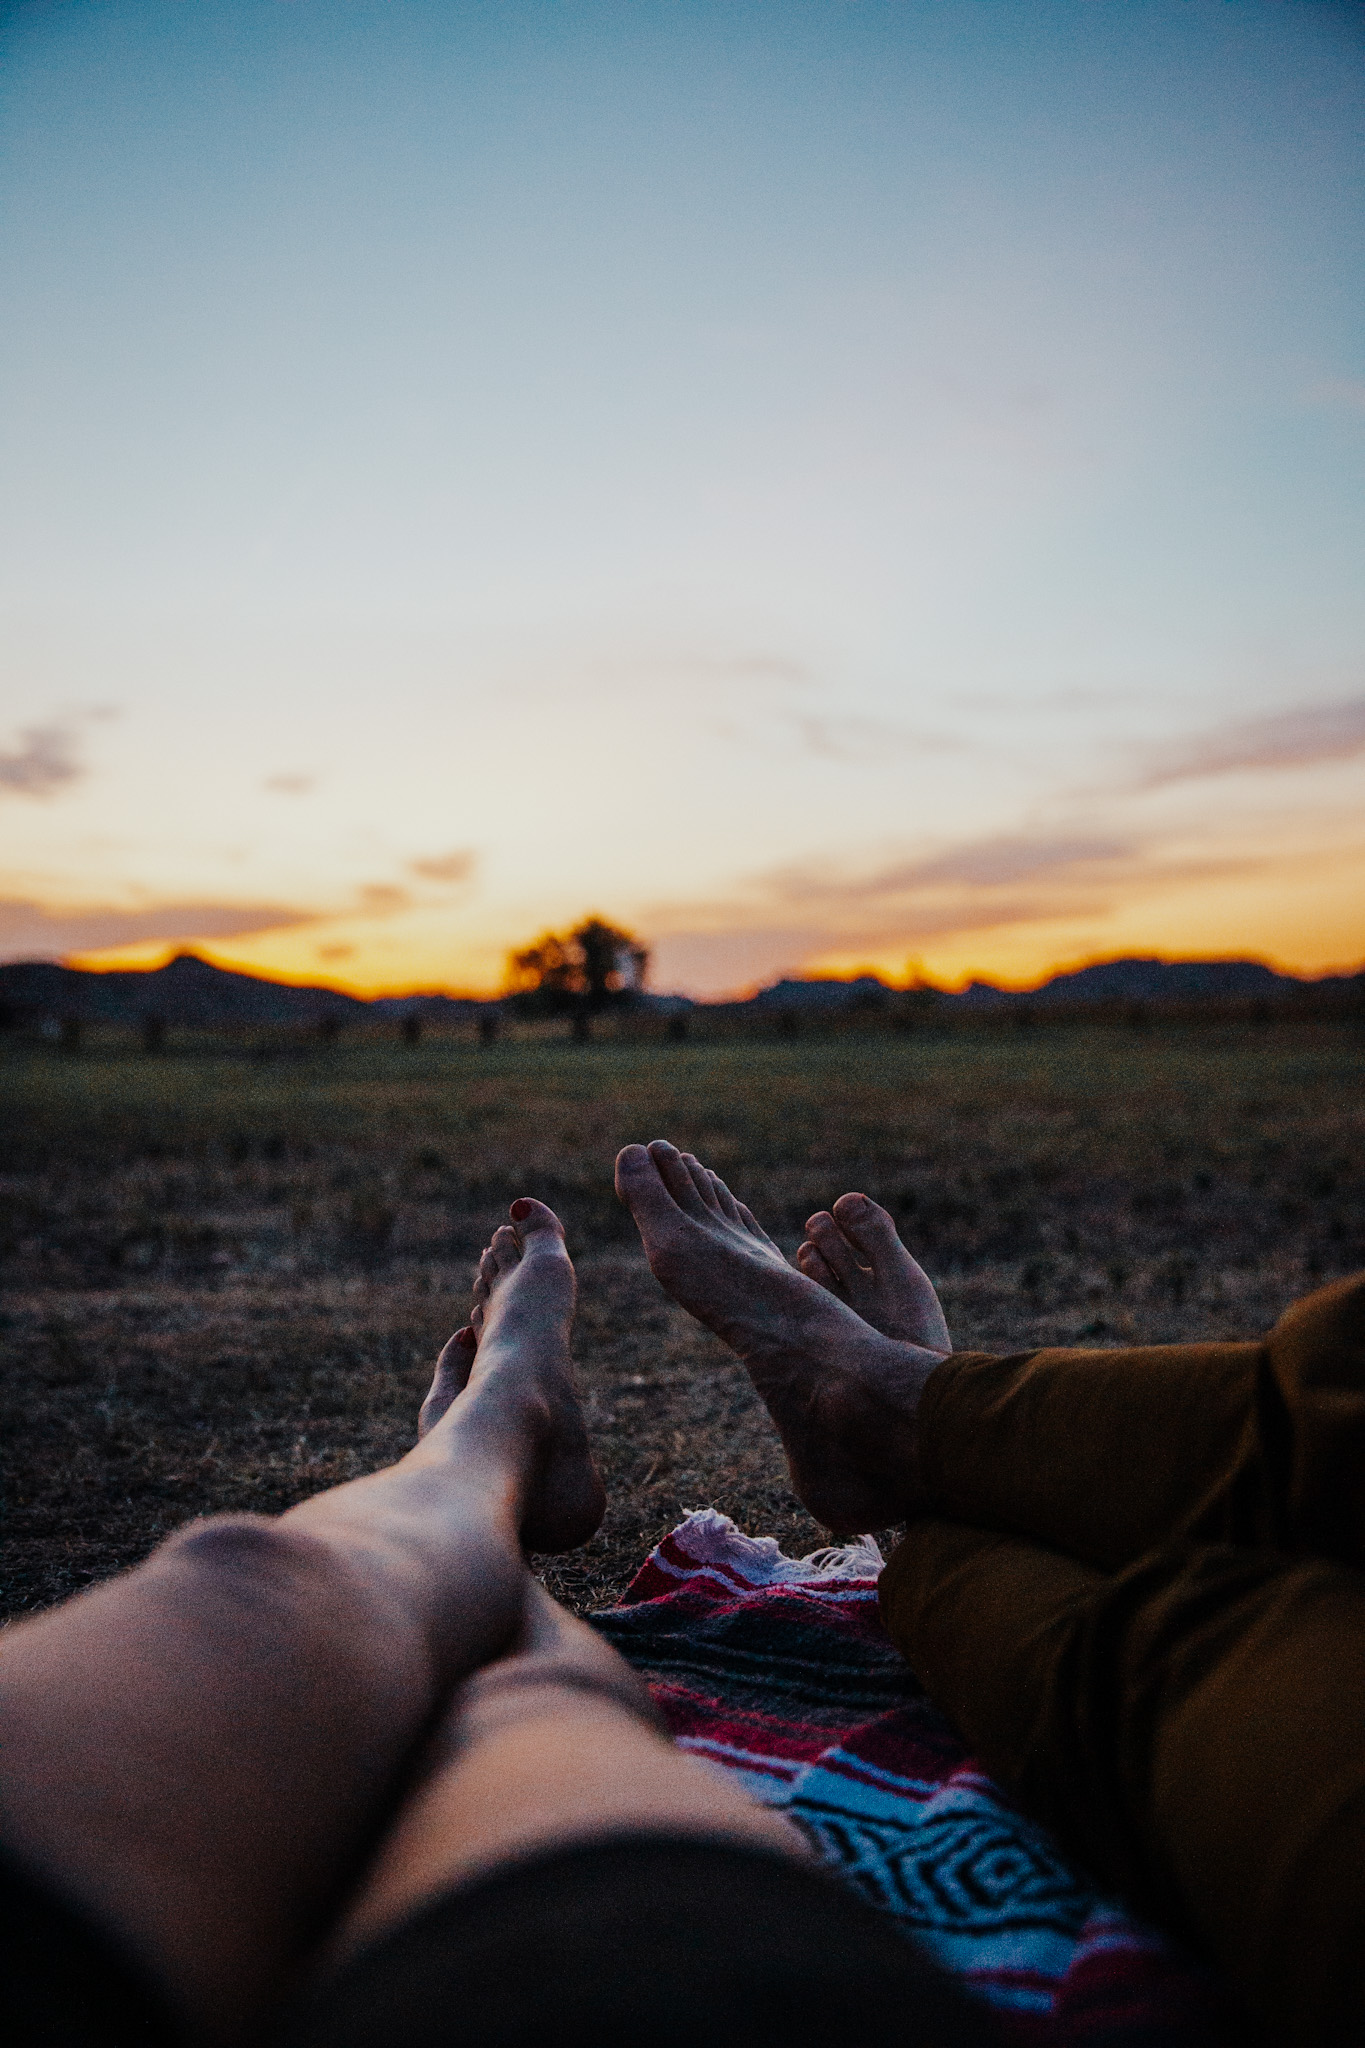
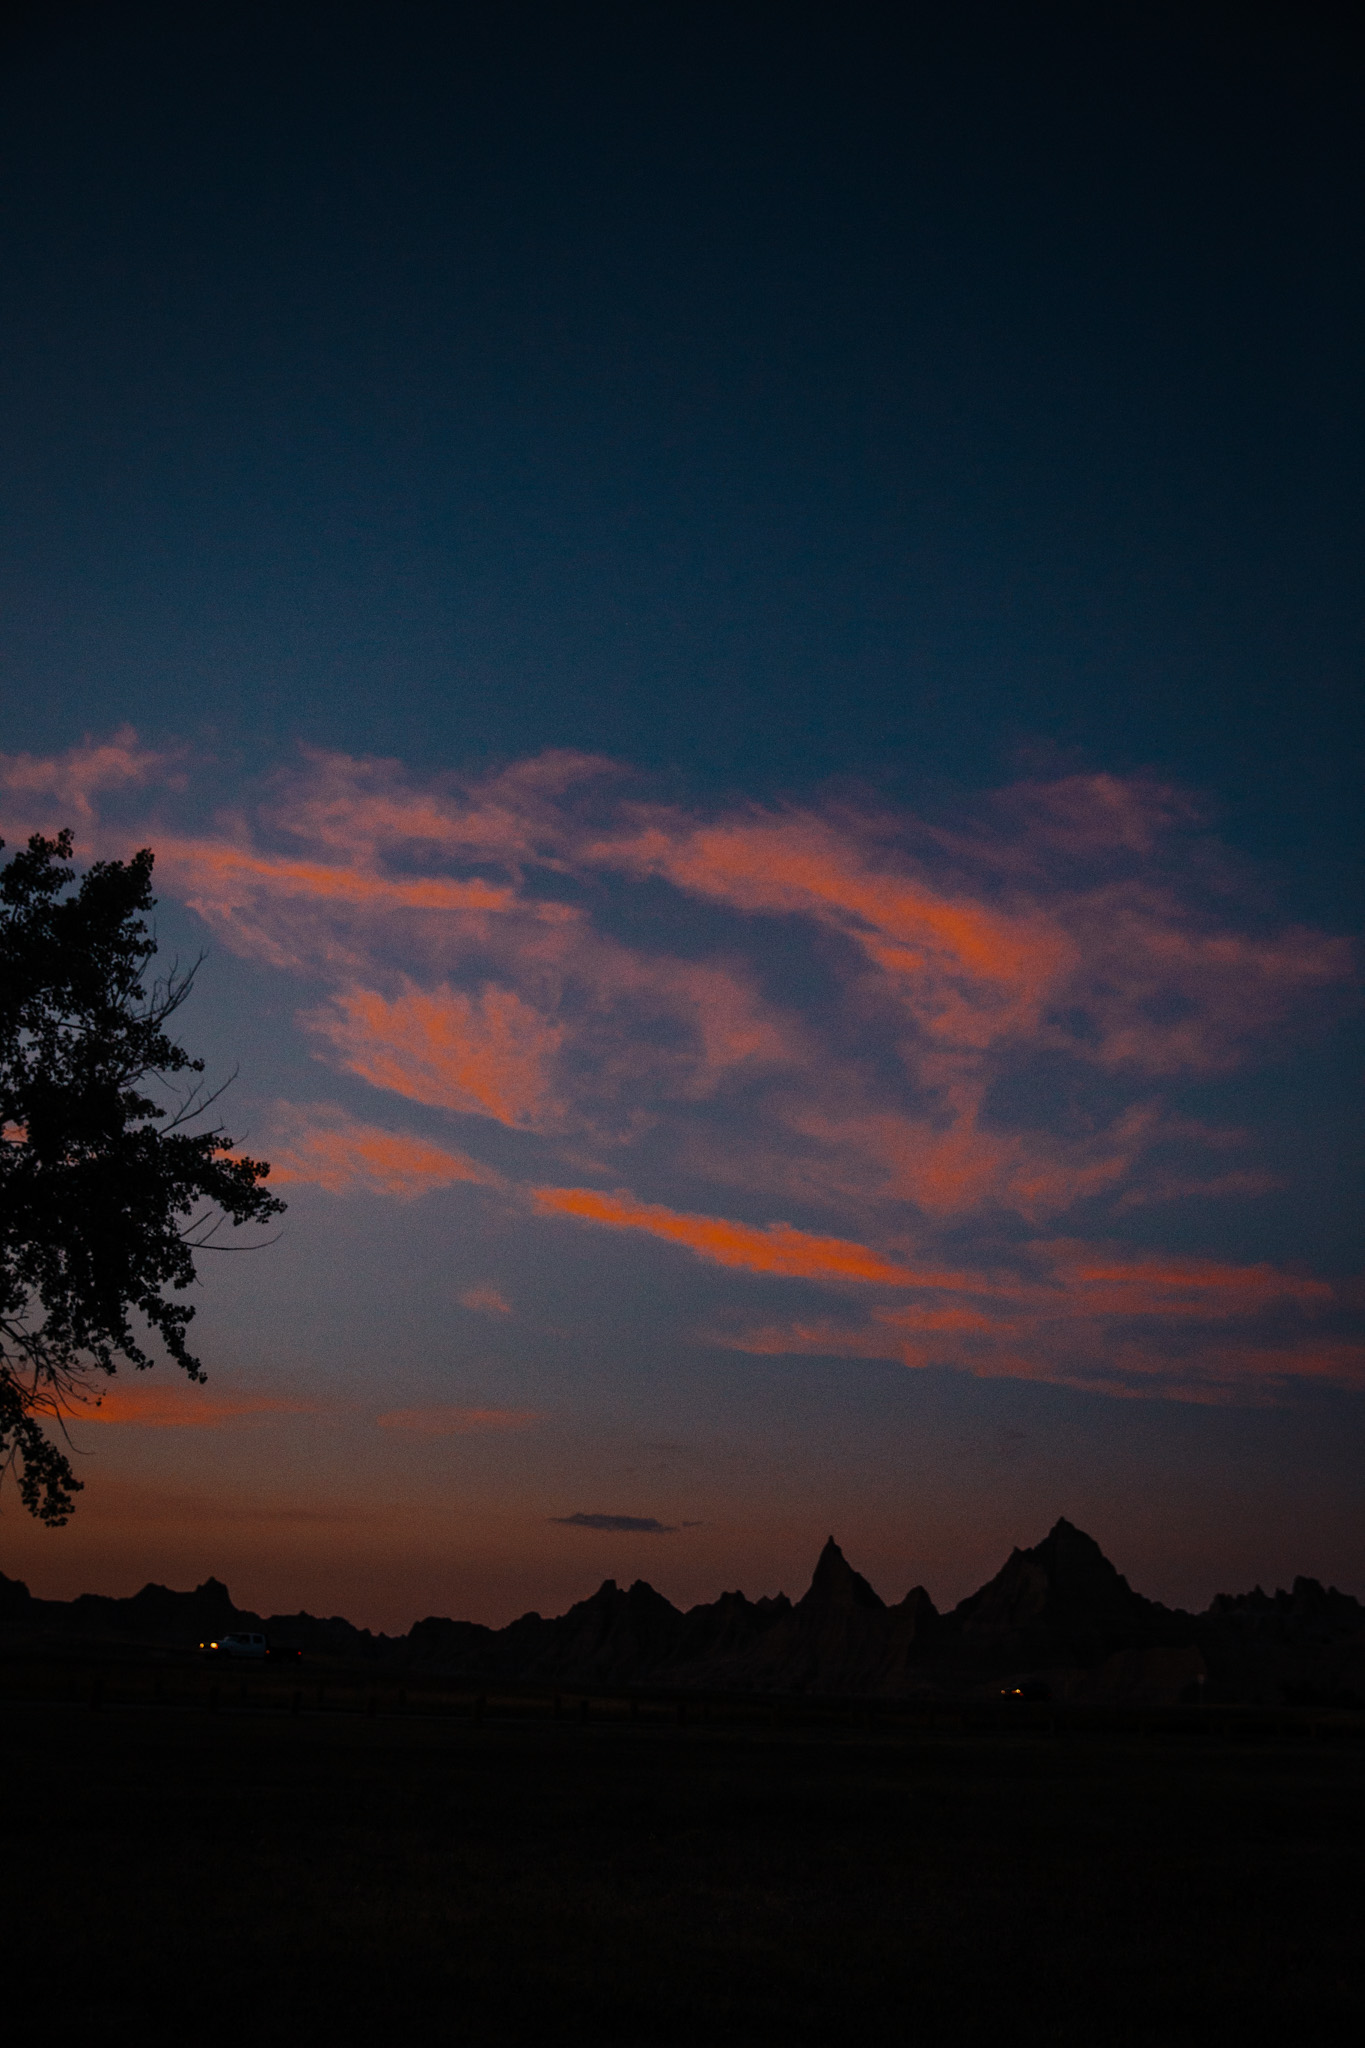
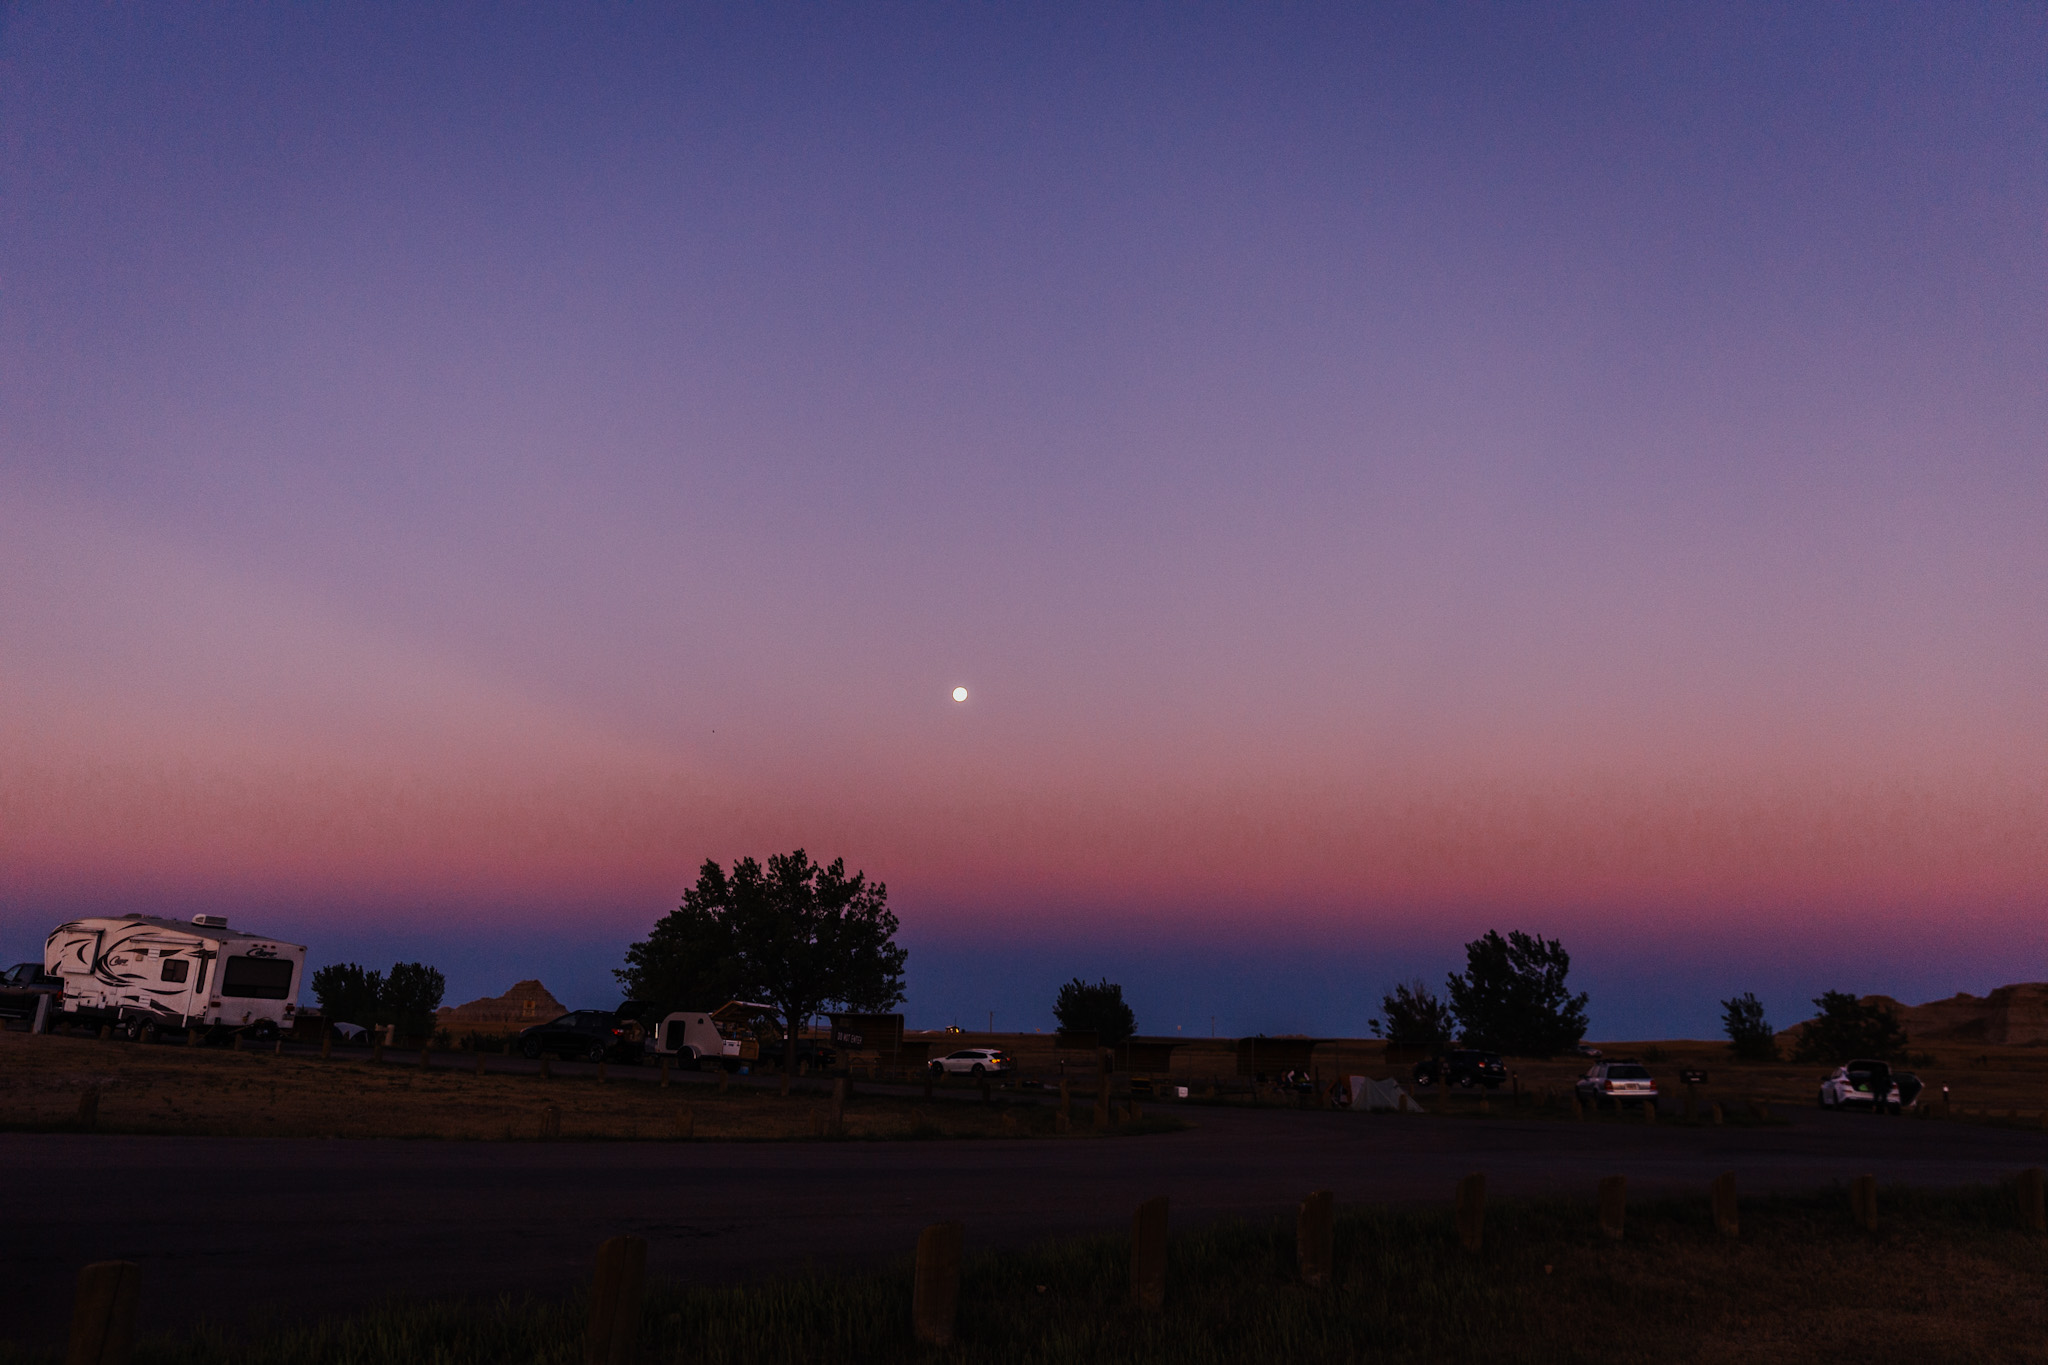
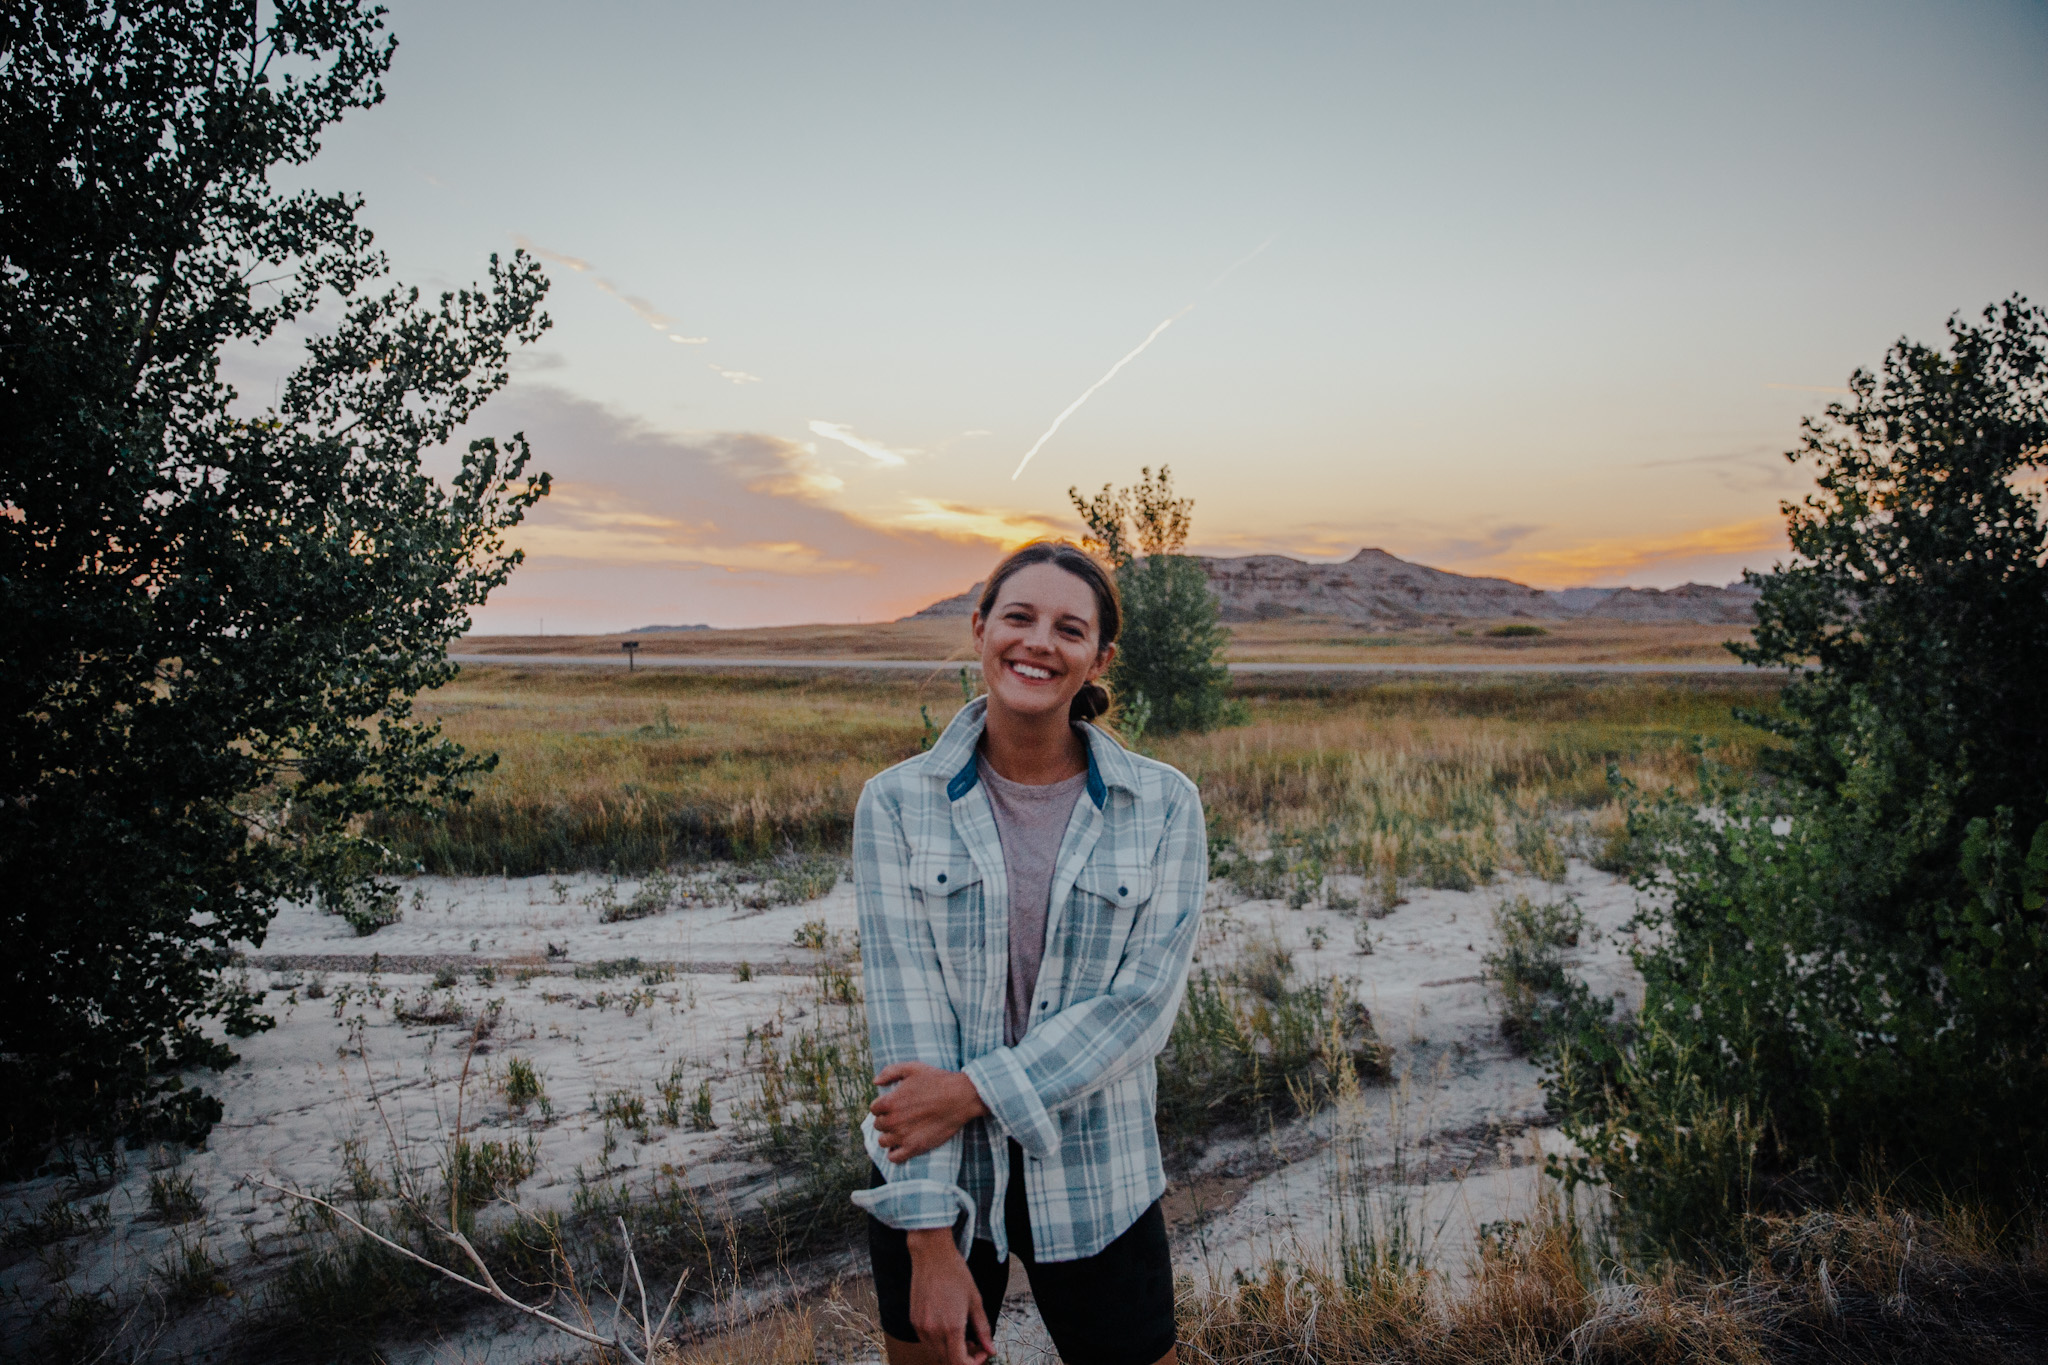
Sunset in the park was my absolute favorite, these photos were all taken from our campsite
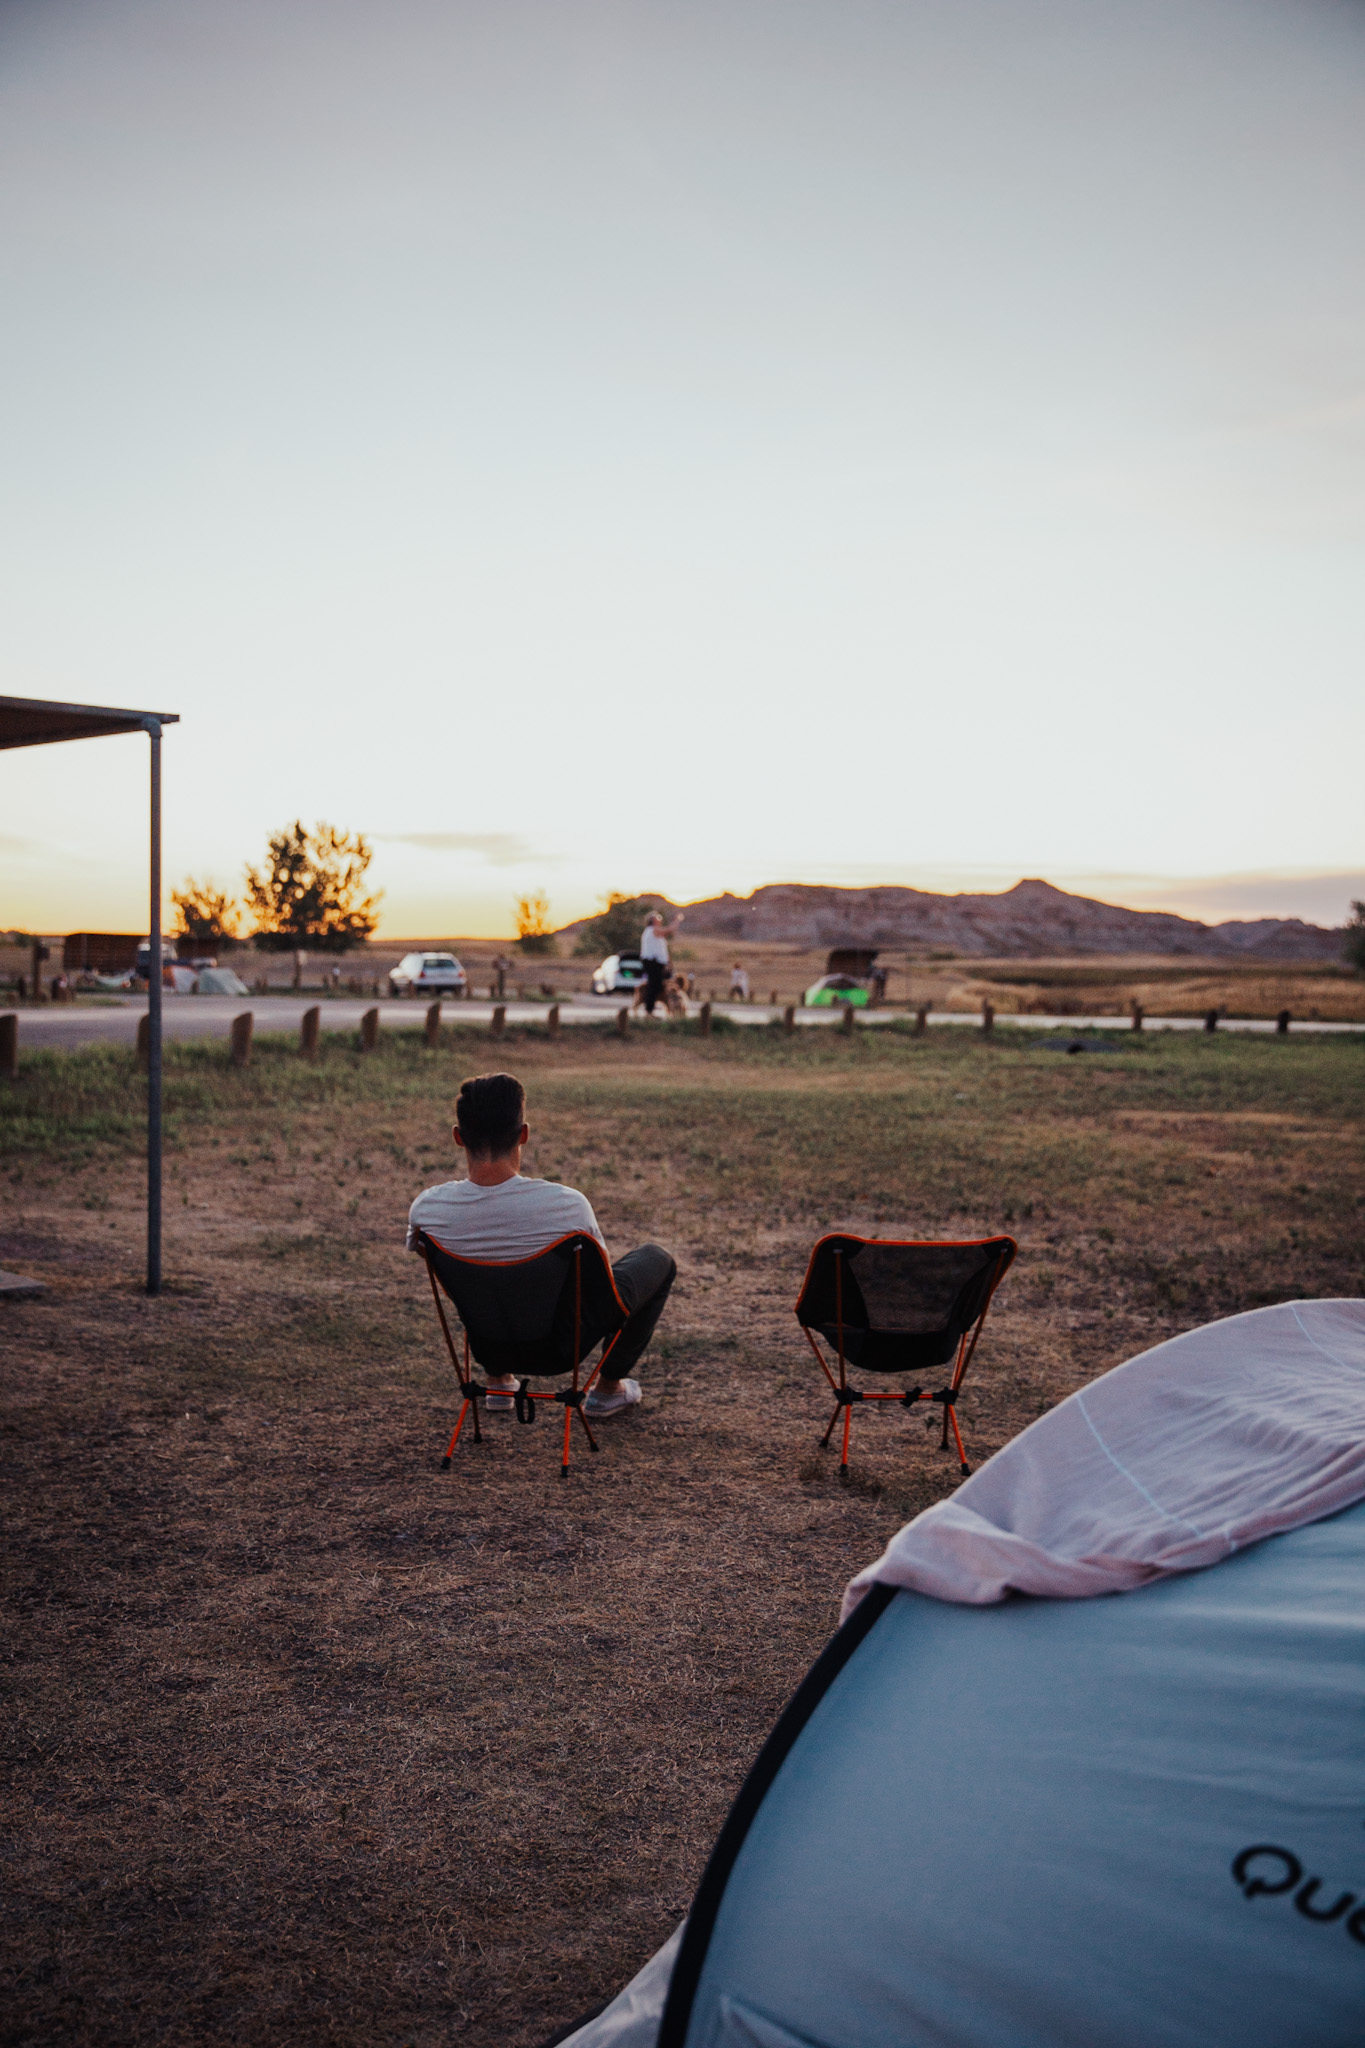
By the way, links for our tent, camp chairs, and everything else we brought can be found here
Other questions about the Badlands:
What should you bring to wear in the Badlands?
Again, definitely reference my hiking and camping essentials packing list, because it includes ALL my favorite items that I brought with me to the Badlands, but in general, you want things that are breathable, lightweight, comfortable for daytime (it gets HOT!) and some layers for nighttime when the temps drop. (I slept in a sweatshirt and long leggings.) Keep in mind this is at the beginning of September! Overall here are my main stand-outs:
Lightweight tank tops and tees:
For any daytime activities on a hot day! Go with something with an ultra-lightweight blend for extra breathability! Everlane’s Air Tank and Air Tee are my absolute favorites. They are truly the most weightless tops I own. I have them in several colors, the oldest being many years old and it’s held up so well–a must for the hottest days. I like how drapey they are so they’re perfect for tying, too! I’d recommend having both tank and tee options (again, the sleeves come in handy for sun protection!)
Comfy pull-on linen shorts:
J.Crew and Nordstrom have my favorite pairs. Another item that is great for hanging out in, but also breezy and cool enough to hike in! Both run a little oversized but I ordered my normal size and since I wanted them loose, I was happy with the fit! Looks like Lou and Grey are making a cute pair this year too with an elastic vs. drawstring waist if you prefer that style! (See more ways to style your linen shorts here.)
Hiking shorts:
If you do want to get some shorts specifically for outdoorsy activities, I got these from Amazon (the shorter shorts with the elastic wasitband–there are some other weird ones thrown in there too, but disregard those, haha!) They are AWESOME for outdoorsy/hiking/camping/whatever! A great alternative to something like Patagonia. For the price, I feel like you can’t really beat them! They aren’t lined so they’re very cool and they have a mesh lining for the pockets. Run TTS!
Bike shorts:
For active bike shorts, I love this Lululemon pair (pictured above–runs small, even for Lulu!) and my Alo pair (runs TTS!) for hiking/hanging! See my big favorite bike shorts roundup for my fave bike shorts on any budget.
Sweatshirt:
A pullover sweatshirt is definitely a must, as I said above, nights can get chilly! My favorite is this men’s Patagonia fleece–I love that it’s men’s so it’s oversized. It’s so cozy.
Leggings:
It was WAY too hot for long pants during the day, but I slept in leggings, so any old comfy pair you have is great! If you don’t have any leggings comfy enough to sleep in, I can’t recommend Aerie’s Offline leggings enough–feel just like Lululemon Align leggings and will only set you back $30.
Breathable “invisible undies”:
I bought these Under Armour thongs (reviewed here!) for hiking because they’re moisture-wicking, breathable, and don’t show under workout pants. What I did not anticipate was loving them SO MUCH that they have become my regular everyday underwear! Seriously, the absolute best!
Packable sun hat (with a tie!)
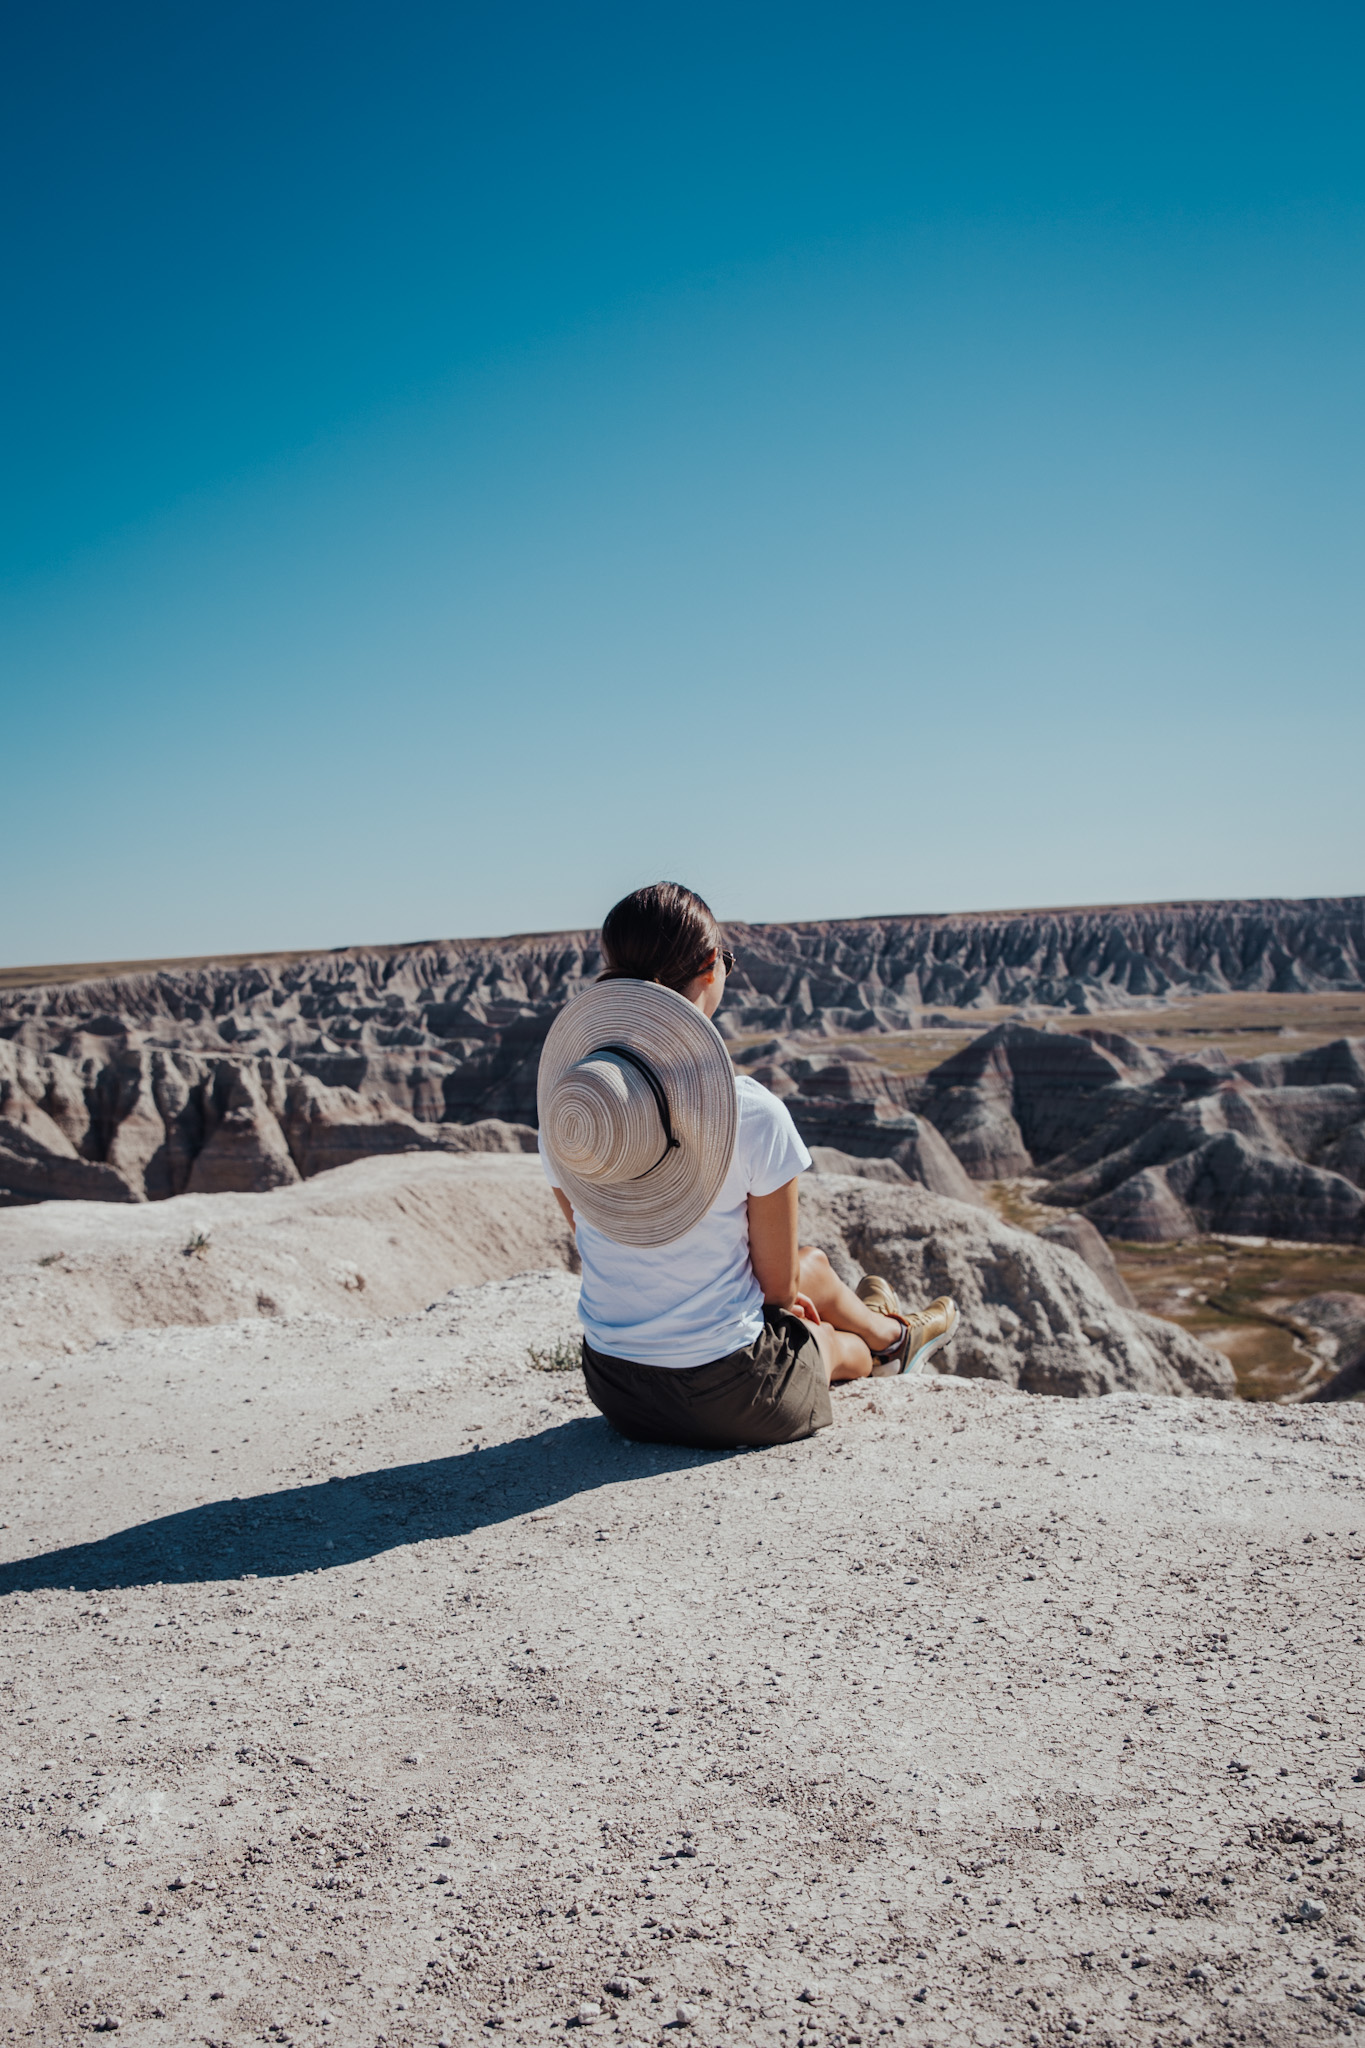
If you plan to be hiking, especially anywhere without coverage, a hat is an absolute must. I loved this packable sun hat–so affordable (so you don’t worry about getting it dirty), super cute, and has a chin string to ensure it doesn’t blow away!
A tripod!
Wondering how I take photos of the two of us? An iPhone tripod! It’s a must-have for any travel adventures. This little thing has come all over the world with us. The key is to get one with a remote. (It’s so easy to hide in your hand or your pocket when taking photos). Always remember take photos with you and your loved ones in them–not just photos of landscapes or things! (Related: How to take great photos on vacation.)
Waterproof Birkenstocks:
I’ve officially crossed over to the Birkenstock dark side and these waterproof birks absolutely live up to the hype. (See my review of them here!)
I have never been a Birk girl previously but my friends who have say these are even more comfortable than the original kind! They’re made of a foam-like material, so they don’t rub and give you blisters–it’s very soft! Definitely way more supportive than a flip-flop, too! (And most definitely cuter!) These are also great for shower shoes and having a pair of slip-ons is a must for slipping on to go to and from the bathrooms.
Tevas:
Another thing that goes on the list of “things I never thought I’d wear”–I am IN LOVE with my Tevas! I got the fun deserty cactus colorway and they make me so happy. When I first ordered them I really only envisioned wearing them camping but I’ve gotten so much more wear out of them than I ever dreamed because they just bring me joy!!
Hiking in the Badlands:
Do you need legit hiking boots?
So, I read a lot of mixed reviews on this, and a lot of blogs I read said you could easily get by with regular sneakers, and I’m VERY glad I didn’t listen to them–some of the trails are STEEP and ROCKY. We watched people in Nikes slipping down cliffs like it was no big deal. I might just be overly cautious, but I don’t think you could’ve paid me to hike some of those trails in sneakers. Granted, if you’re only planning on staying on the “easy” trails, then yes, regular sneakers will suffice.
That being said, I bought both my Columbia hiking boots and Danners (see my hiking and camping essentials packing list here) and both are great options. You just want something with real traction!
What other essentials do you need when hiking the Badlands?
SUNSCREEN and WATER. We were astonished at how many people we saw on the trails without anything on them–you absolutely should not be hiking anywhere, period, without water and sunscreen on you at all times. A hat (whether that’s a sun hat–I love this one– or a baseball cap) and sunglasses are also non-negotiables. We really like this water pack that Neal puts in his backpack–a hiking/road trip must-have (it’s great for the car too because then you don’t have water bottles taking up room in your cupholder or sliding around on the floor!) You definitely want your hands free because you’ll need them for climbing!
Best Badlands hiking trails:
We actually did Window trail the evening we arrived after we set up our campsite. It was the perfect thing to do to get a feel of the Badlands. It’s totally flat the whole time and looks like you’re on the moon! It’s basically just a quarter mile out and back trail that looks like it goes on forever. Very easy for kids, maybe not for grandparents as the footing is still uneven.
The other trail we did that night was Door Trail, which is actually a boardwalk. It has some beautiful views and is a good introductory little walk, but I would not call it a “hike” by any stretch of the imagination. (We were kind of like, “okay…that’s it?) If you’re visiting with littles or anyone who needs even ground, this would be the trail for them.
The next morning, we got up and did…
My favorite was Notch trail–it was a really good moderate trail and has some absolutely spectacular views! Not recommended for anyone with a fear of heights though. You can see the list of trails on their website–I would say even the moderate ones require some scaling over rocks, just so you know!
Saddle Pass was really cool but by far the most strenuous (Neal would say this was probably his favorite), and there were times where I was a little nervous because of the steep incline, but it was worth it for the views–I would liken it to climbing Camelback in Scottsdale, if you’ve ever done that–but it’s short–only about a quarter of a mile, and it puts you out onto Medicine Root Trail up on top of the butte.
A heads up that Medicine Root Loop is LONG.
It’s only 4 miles and it’s totally flat, but it seems to go on forever and there is not one bit of shade in sight. However, it’s where we saw a bunch of big horn sheep, so it was totally worth it! Just another heads up.
Are the trails pet/parent/kid friendly?
It definitely depends on the trail. I would consult this page on their website for an overview of the trails and what to expect. It’s definitely worth consulting with them if you’re unsure of which trails are doable for your group!
I think all trails are kid friendly as long as your kid is old enough and a good climber/not scared. For smaller kiddos and parents who might need more steady footing, not all trails will be the right fit for them, but others are! I would also make sure that your child is old enough to listen to directions, because there are rattlesnakes on the trails and I would want to make sure they were old enough to understand that they need to be alert/listen to you at all times/what to do if they stumble upon a snake.
Most of them are doable with a baby in a pack, but Neal said he wouldn’t scale Saddle Pass with a baby. (Again, we’re more cautious than others, if you’re a really seasoned hiker/climber, I’m sure you wouldn’t think twice.)
Dogs are not allowed on the hiking trails, so it’s best to leave your pet at home!
For parents who have a harder time walking, there are definitely some easy trails they will still enjoy! Also, keep in mind that the drive on the highway through the Badlands is also absolutely stunning! There are lots of places you can pull over to admire the views!
How long do you need to hike the Badlands?
I think it depends on what else you plan to do on your South Dakota trip, and how much you want to pack in. A lot of people will do Badlands in the morning and end in Custer State Park, and that’s very doable! We did two nights in the Badlands because we had to drive so far, wanted to take our time, have plenty of hang out time camping, etc.
The park itself doesn’t have a ton of trails, we were probably on our first trail at 8am and we were definitely done by 2pm. We were pretty beat though, I don’t think I would’ve wanted to get in the car and drive somewhere and see more sights that day.
To sum up I would say, you can easily do it in a half-day if you want to keep your trip itinerary moving, and you aren’t planning to camp (and hanging out camping isn’t your idea of fun).
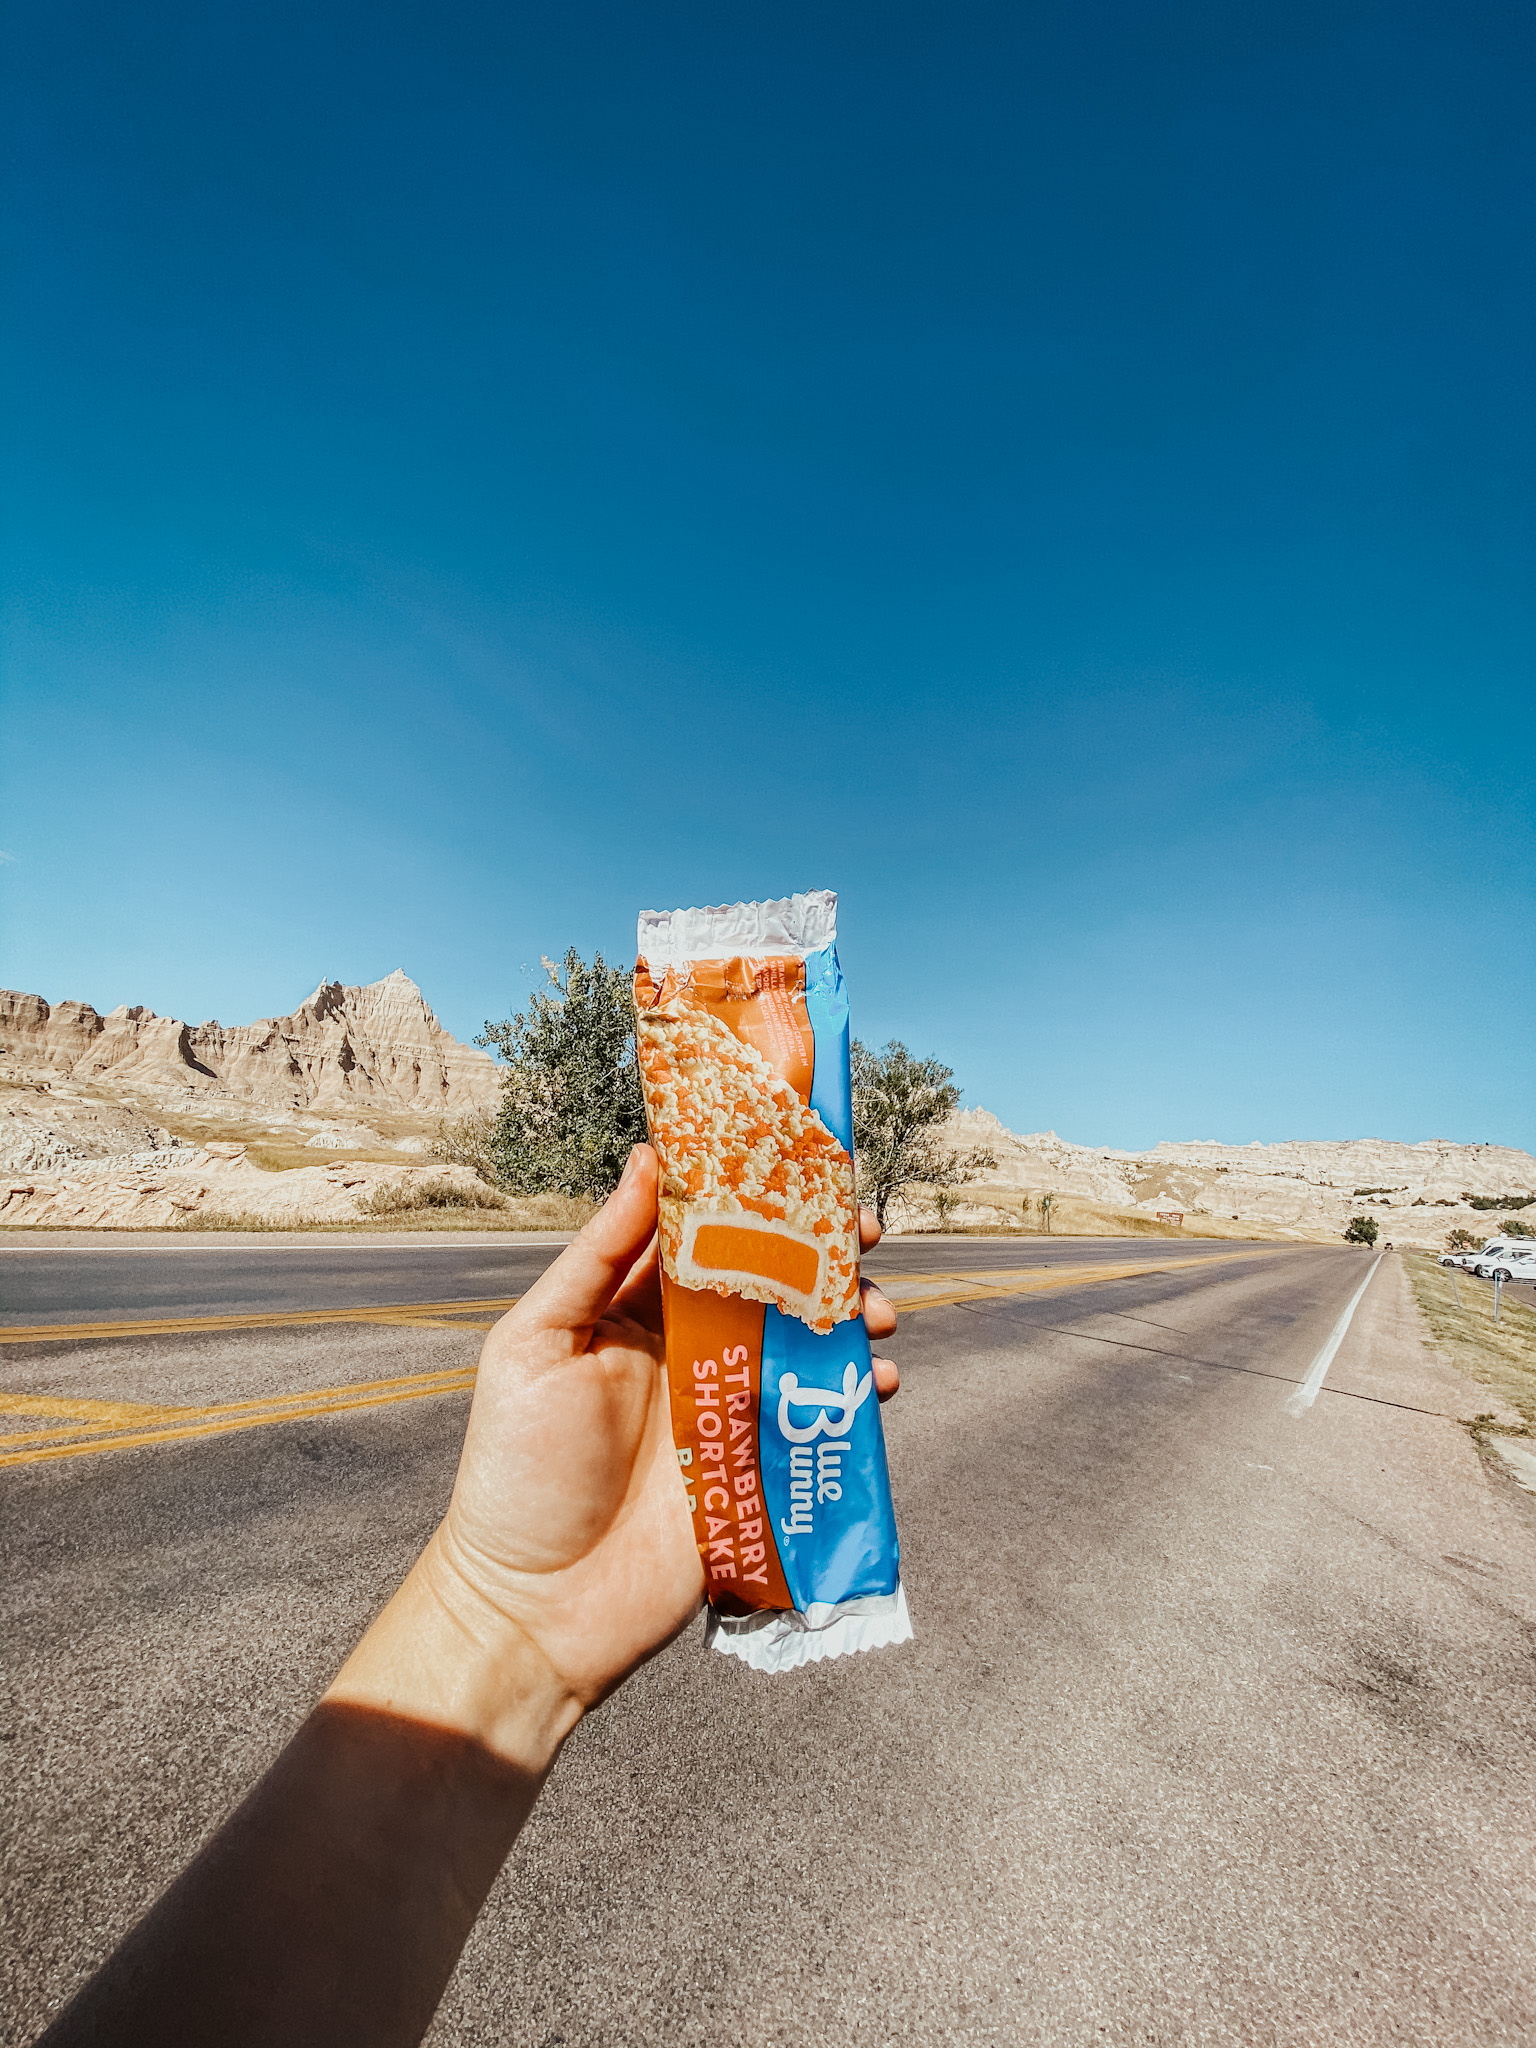
A much deserved treat: Grab some Blue Bunny in the Cedar Pass Lodge gift shop!
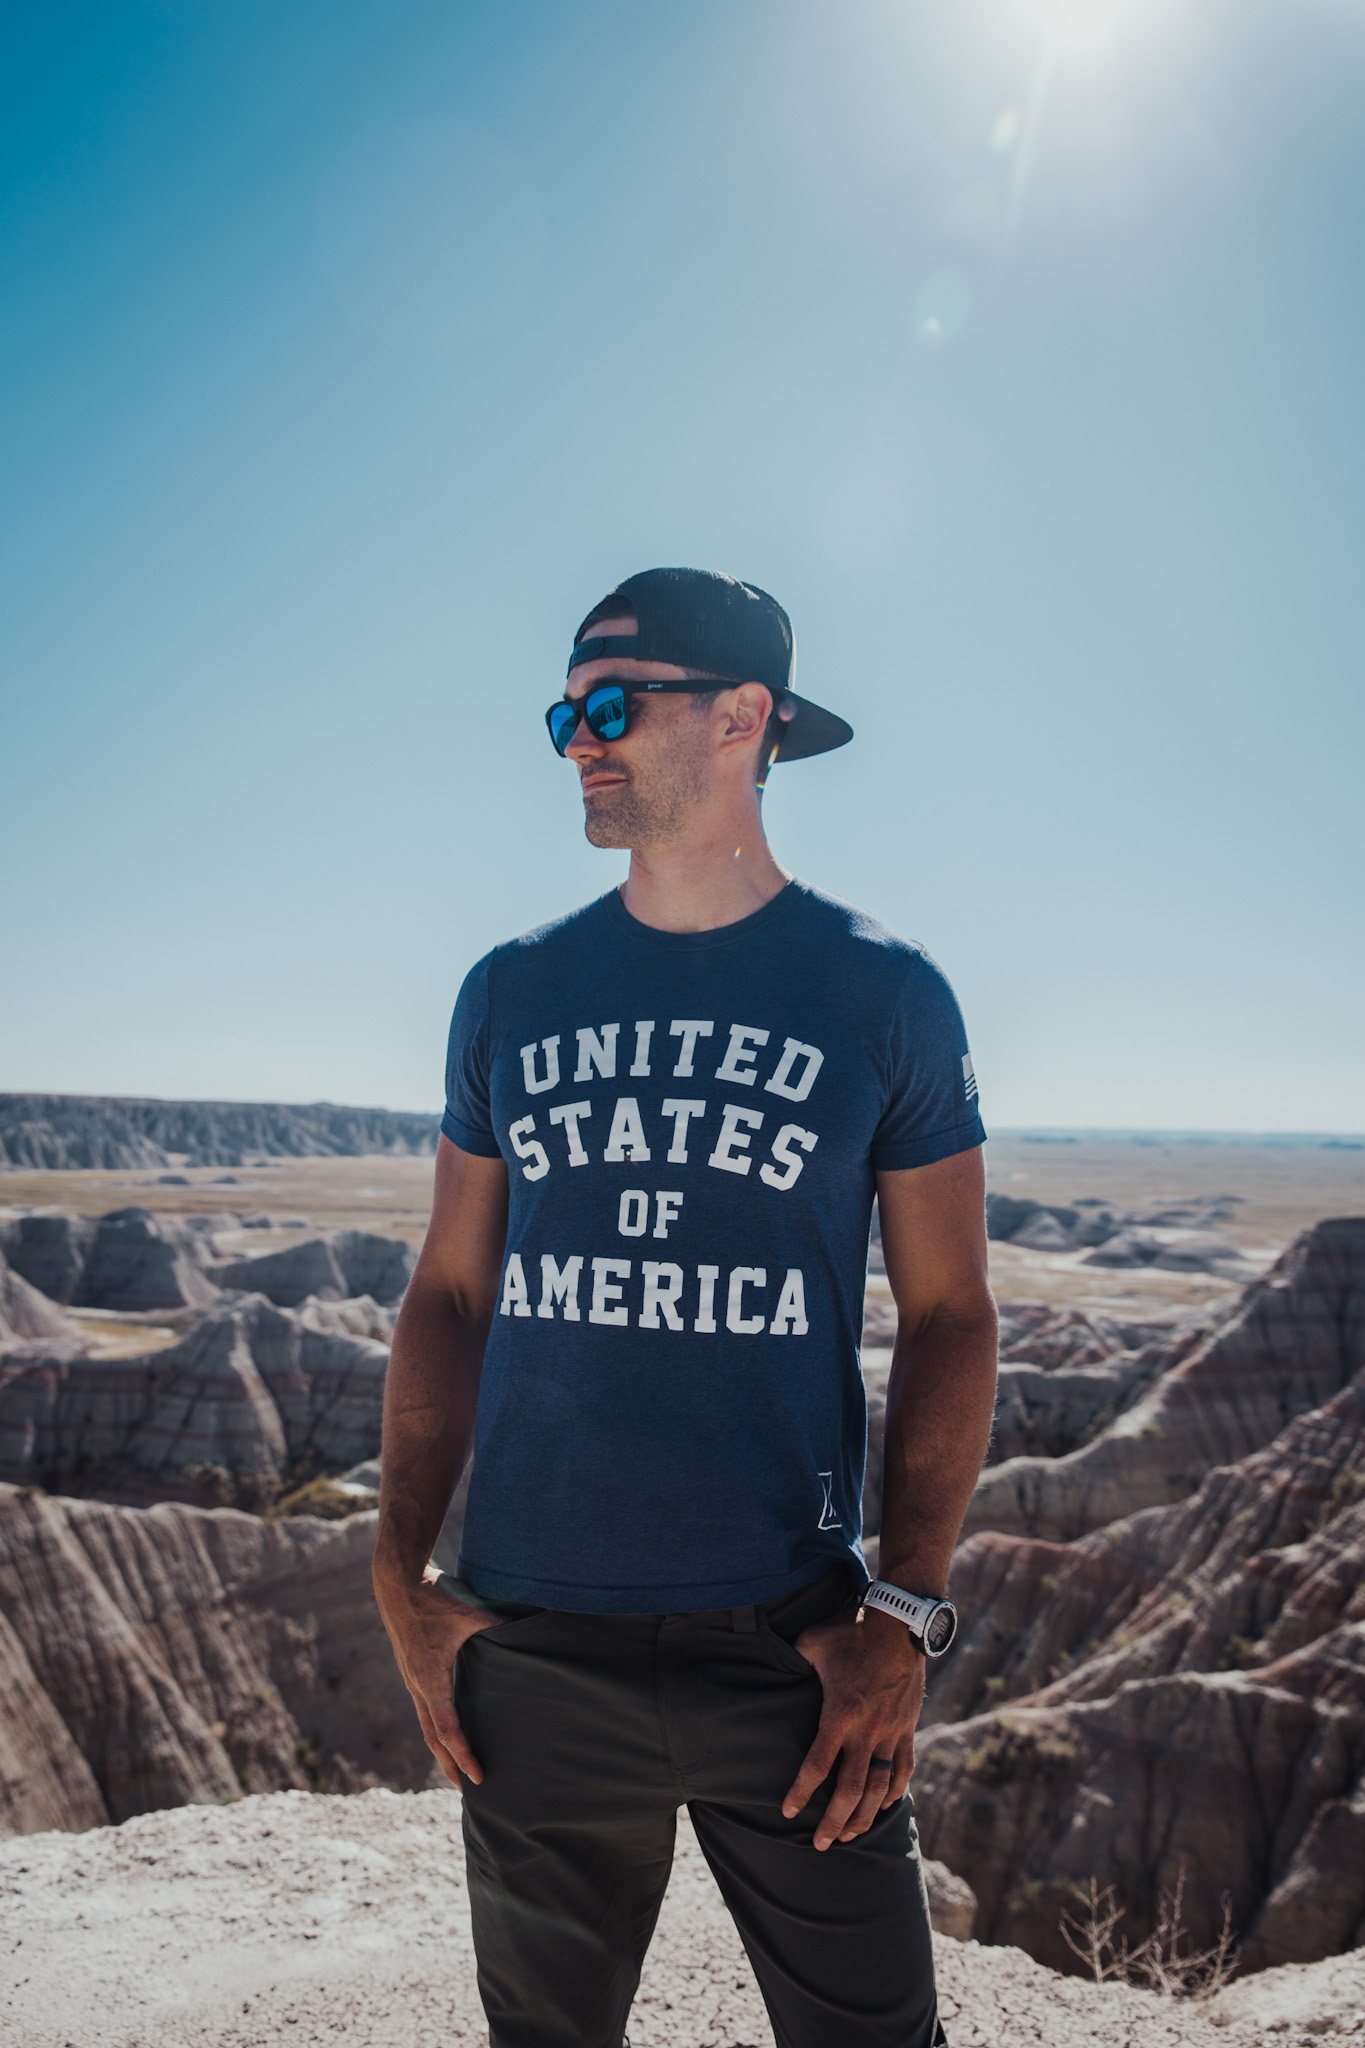
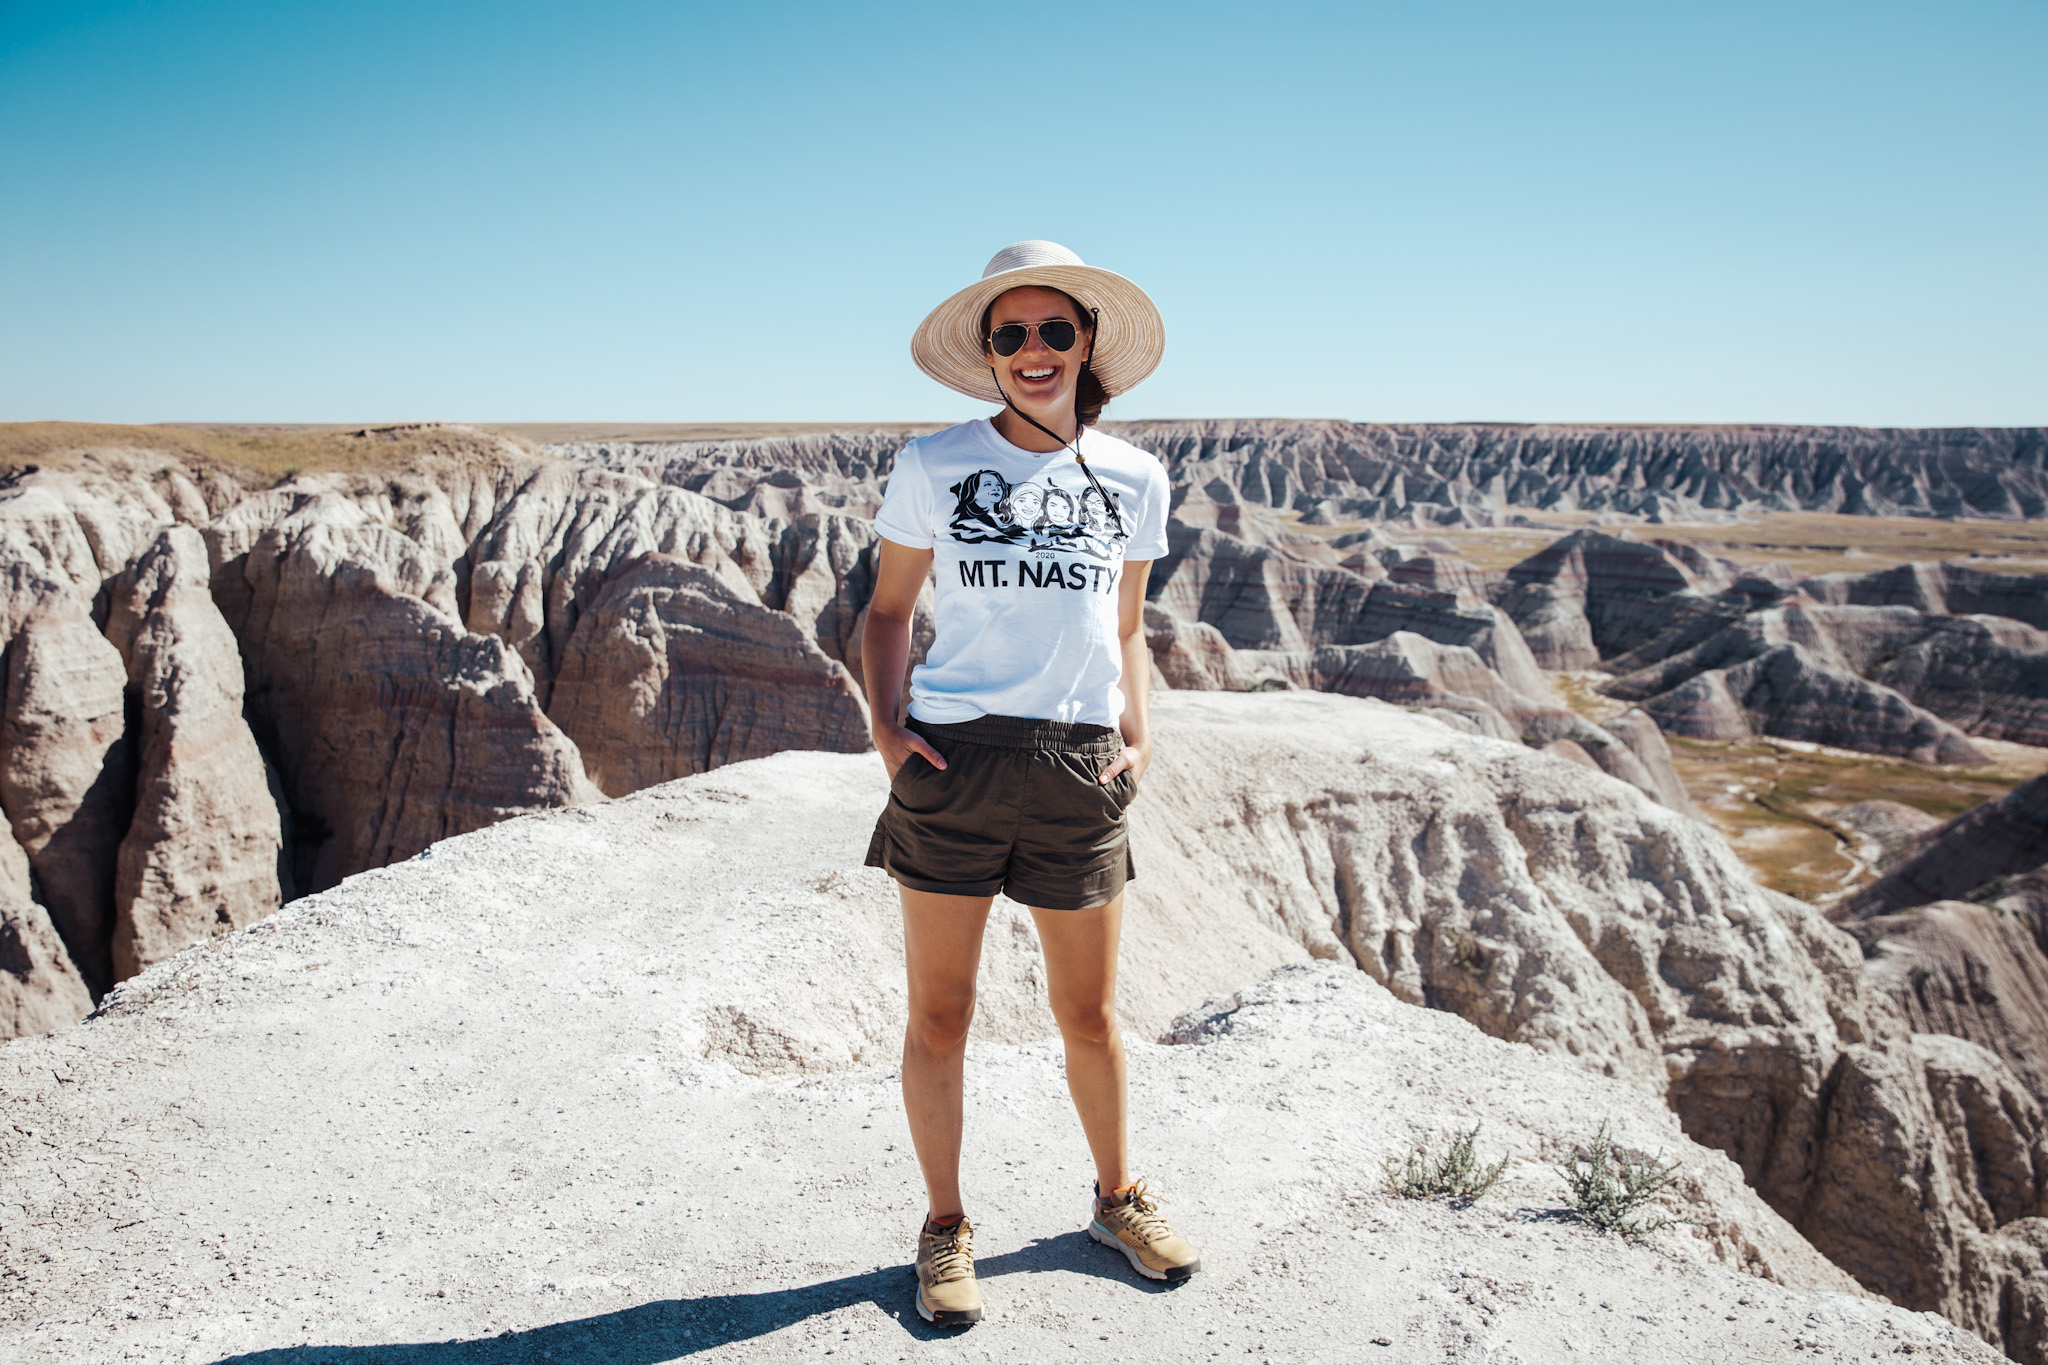
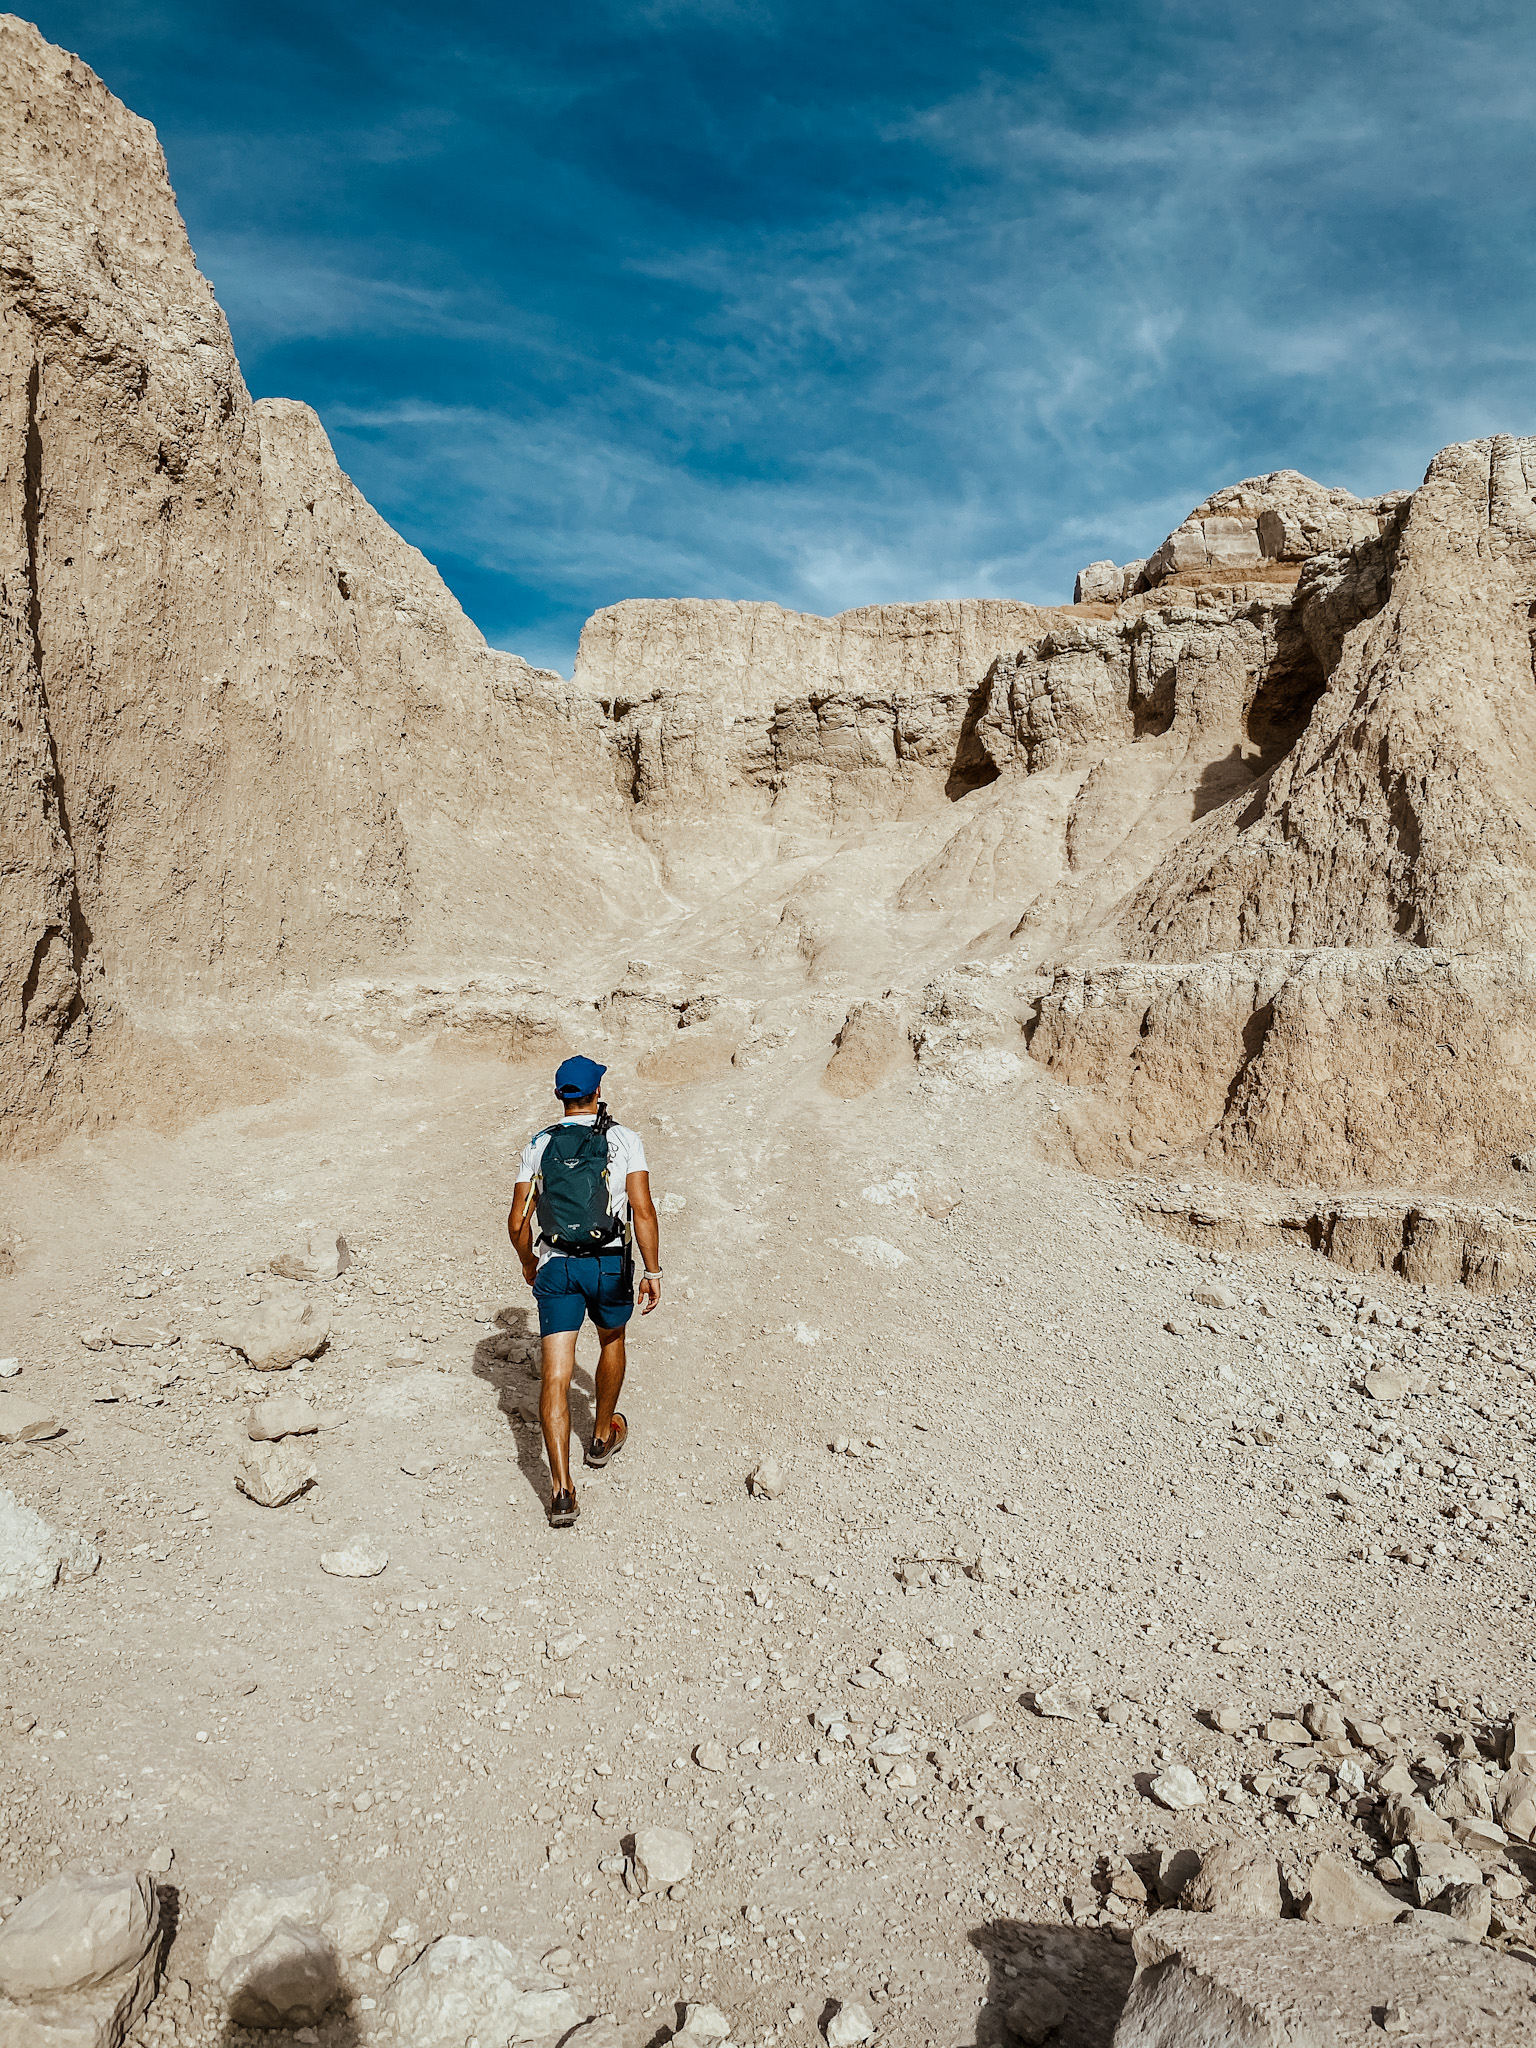
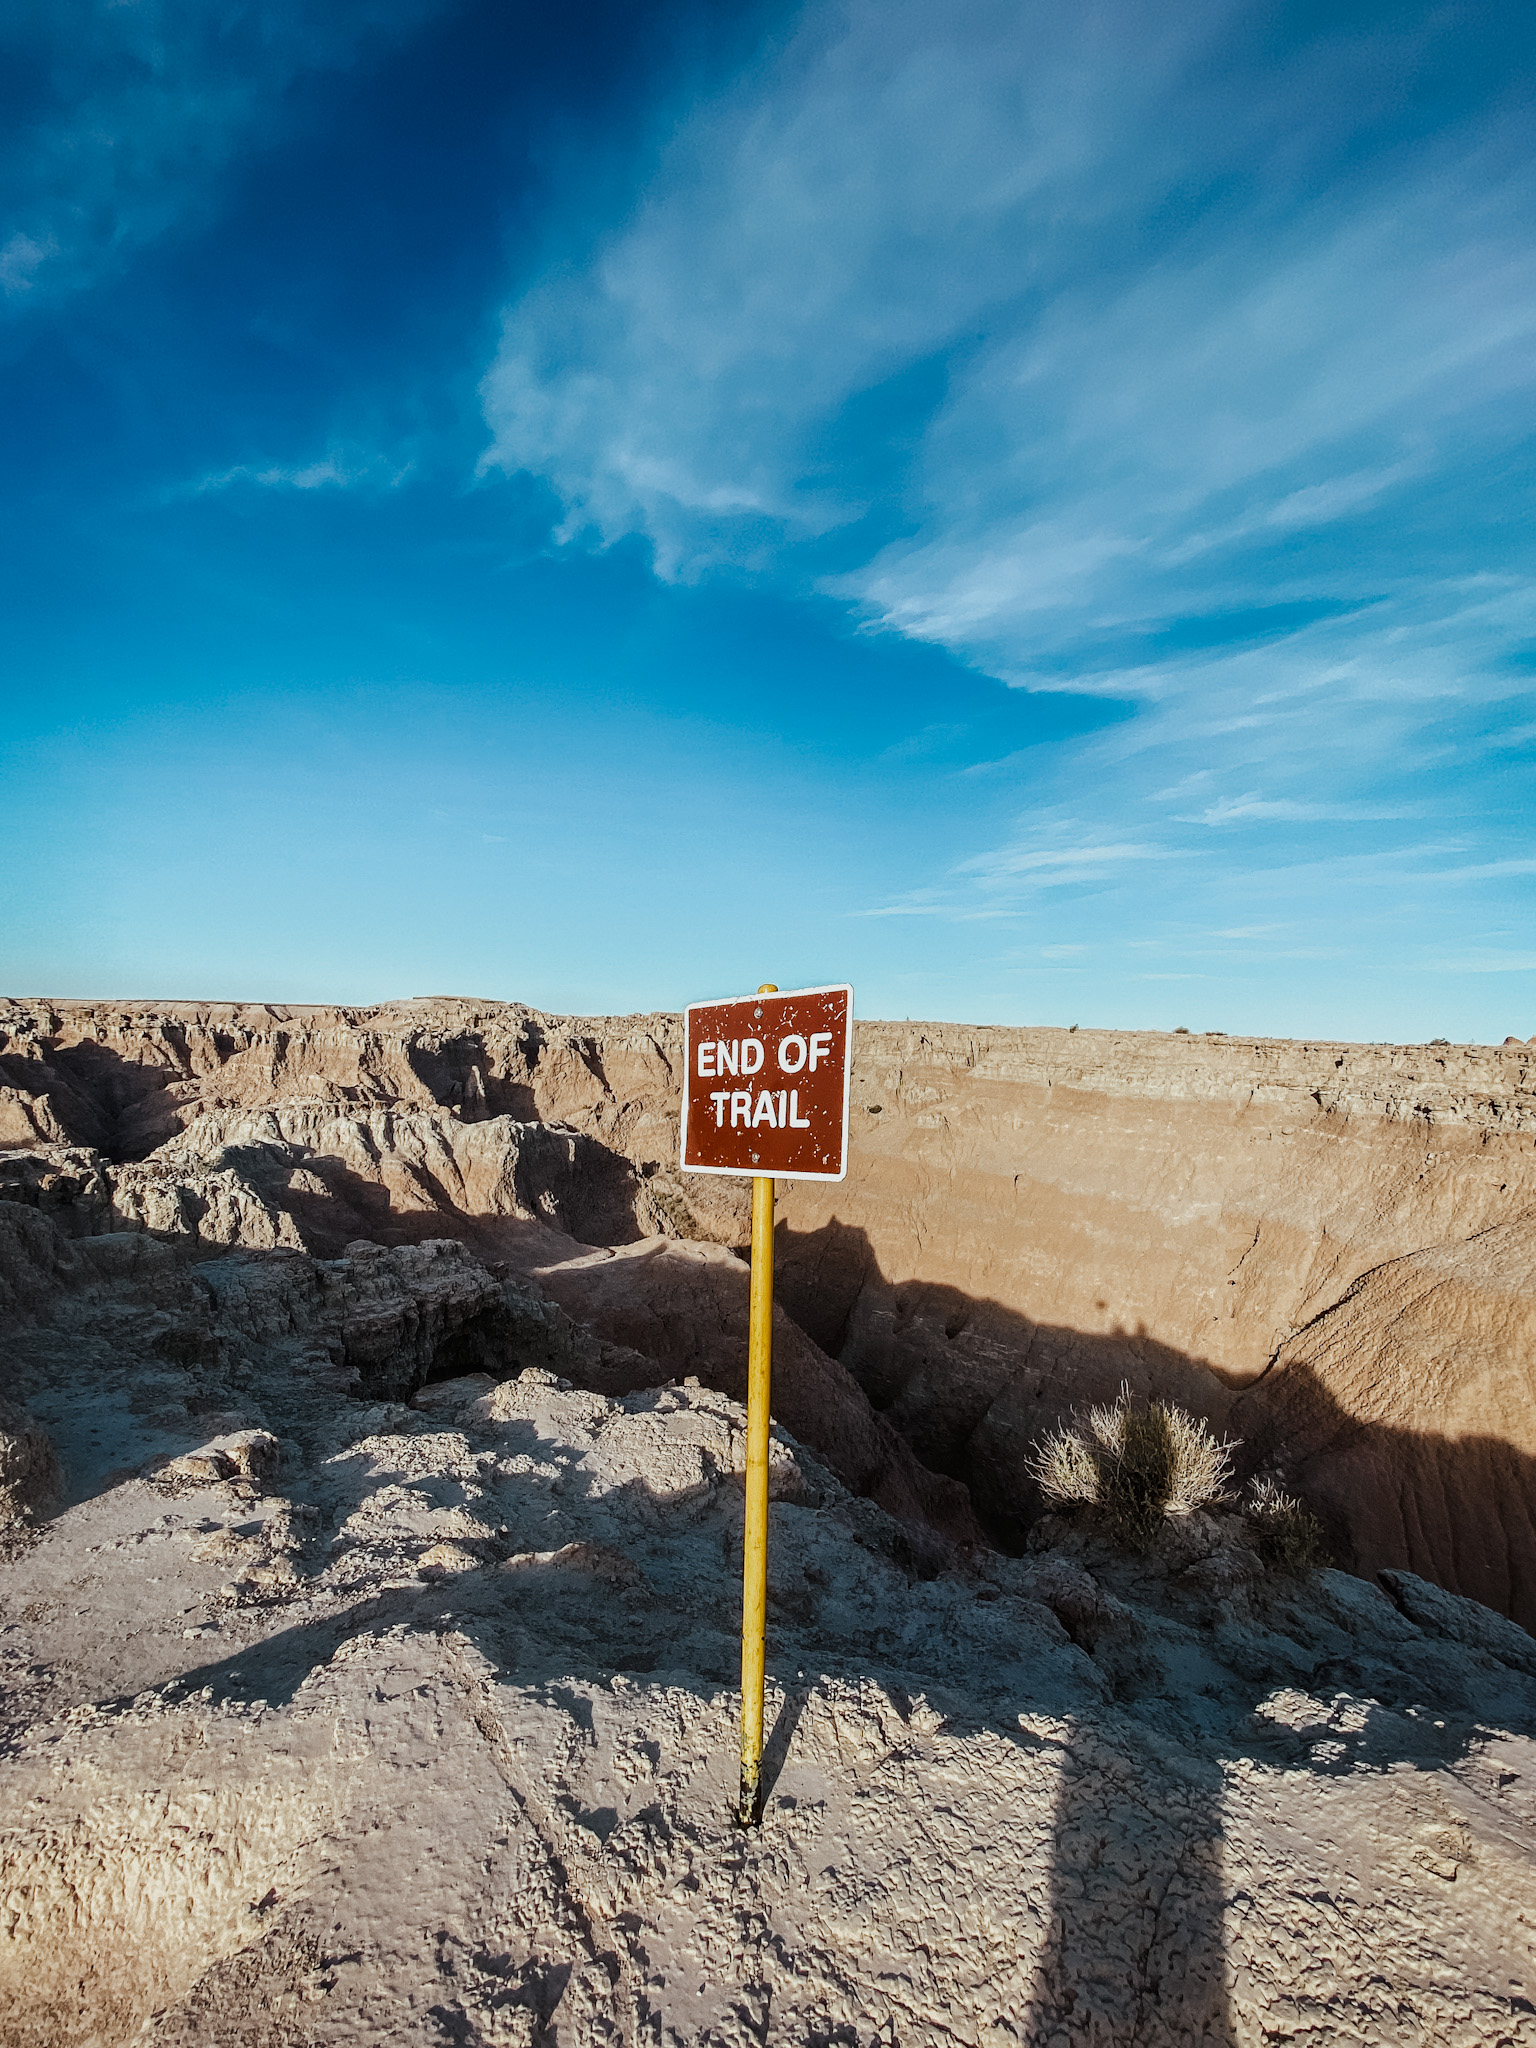
Window trail–it looked like you were on the moon!
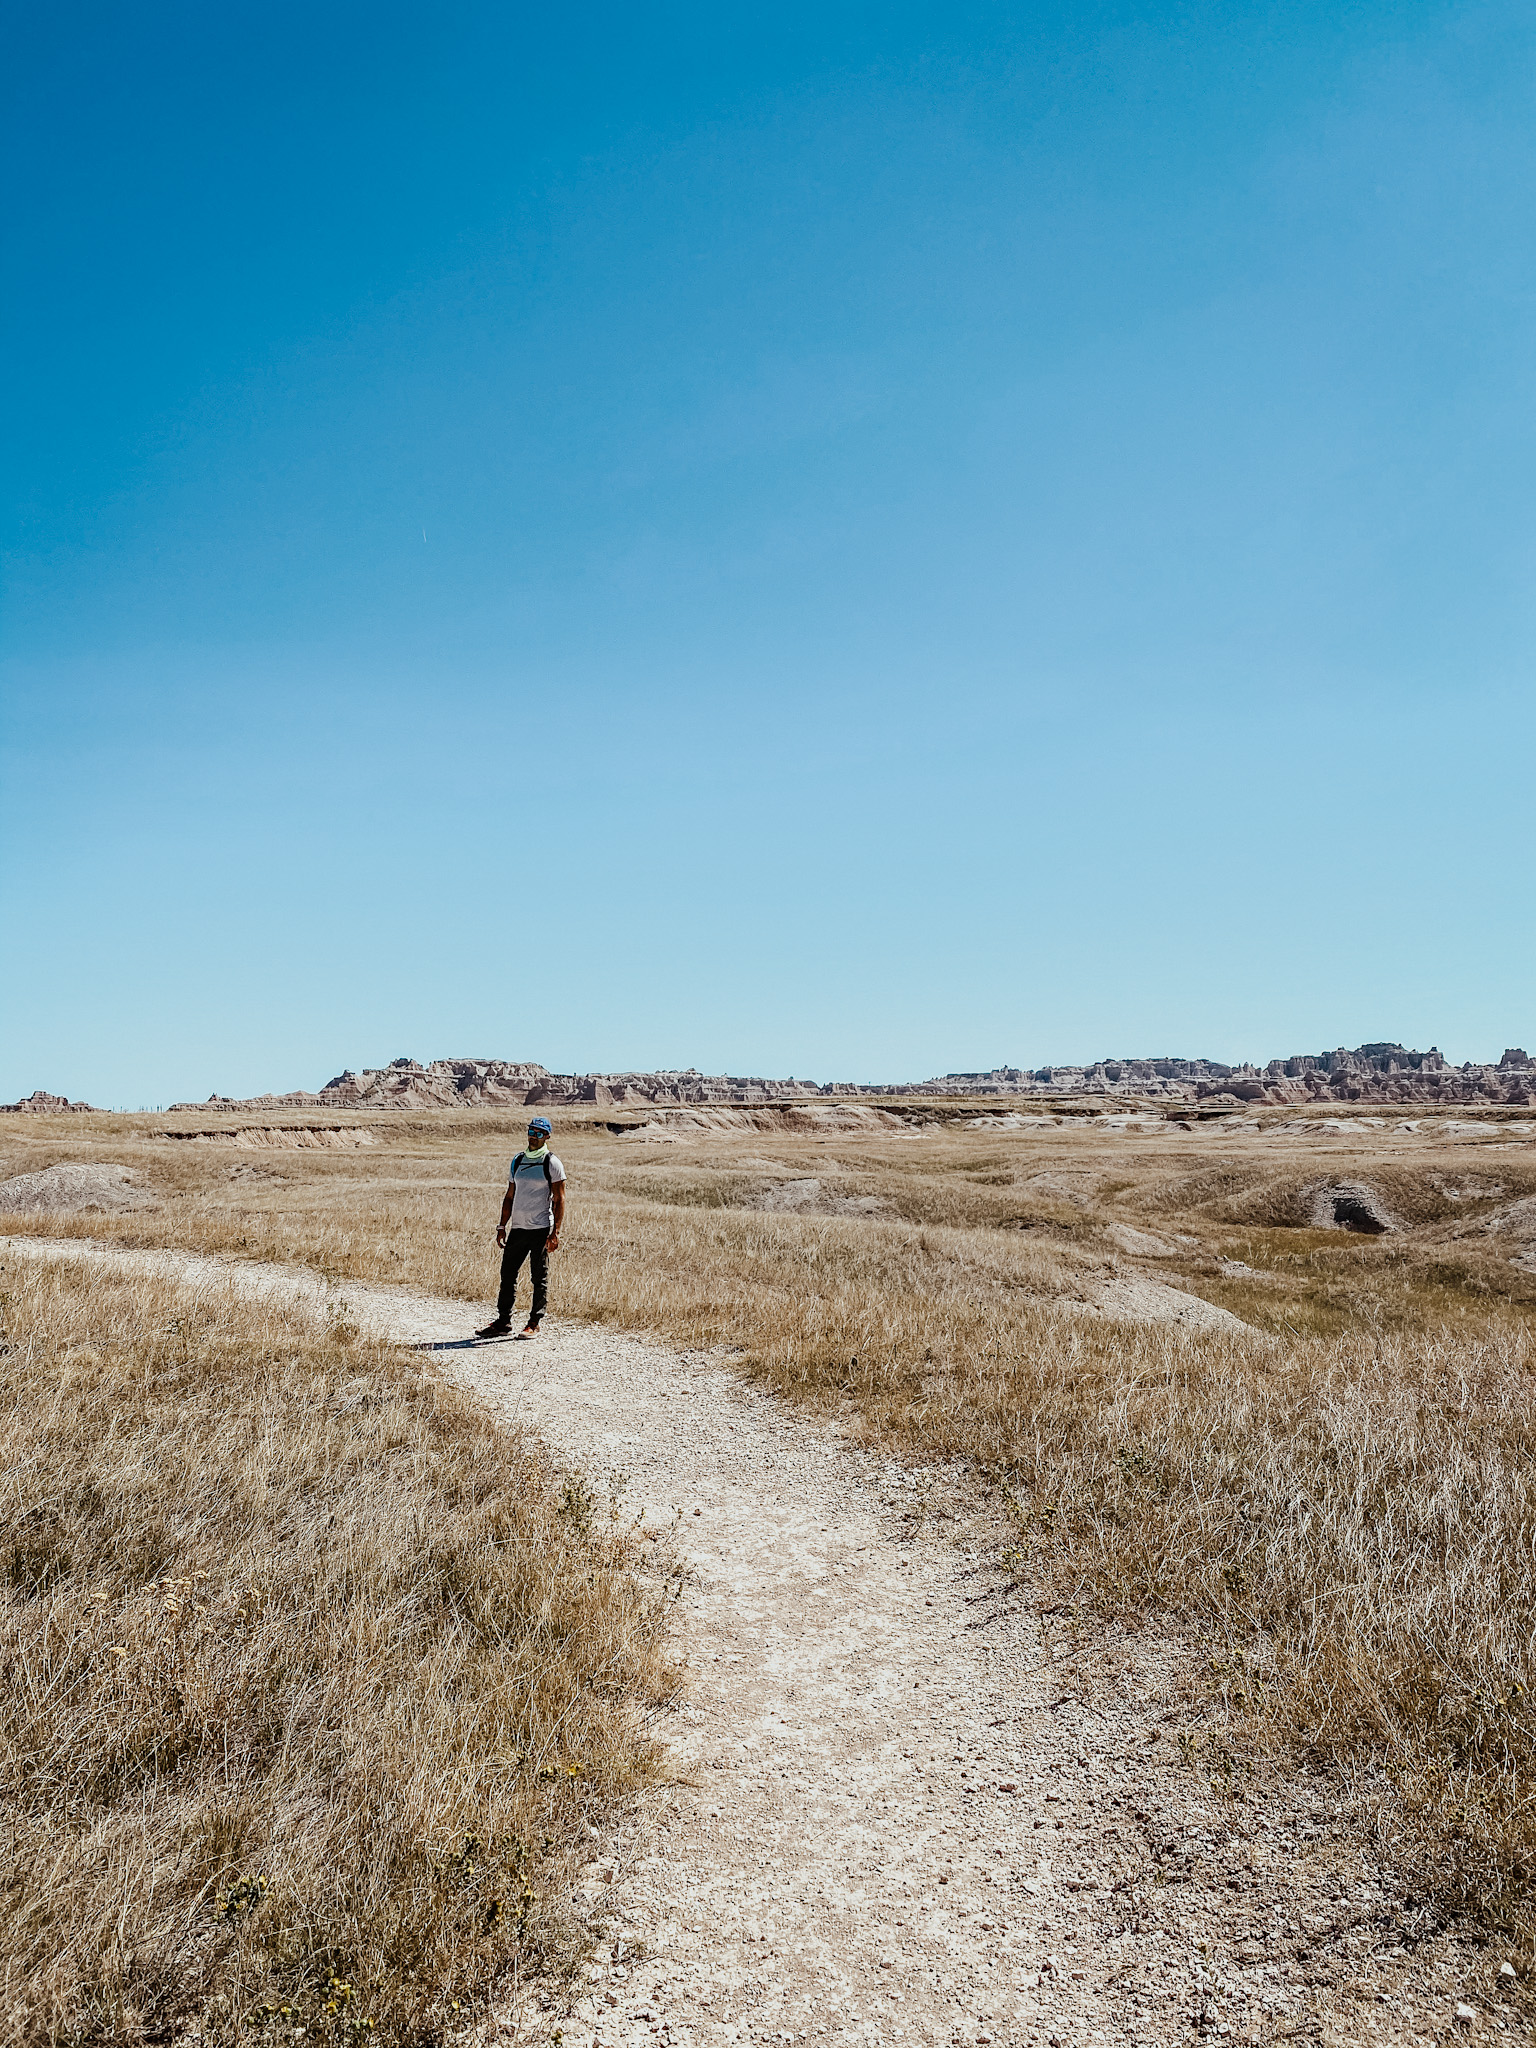
Medicine Root Trail–it is LONGGGG (but we saw a bunch of big horn sheep!)
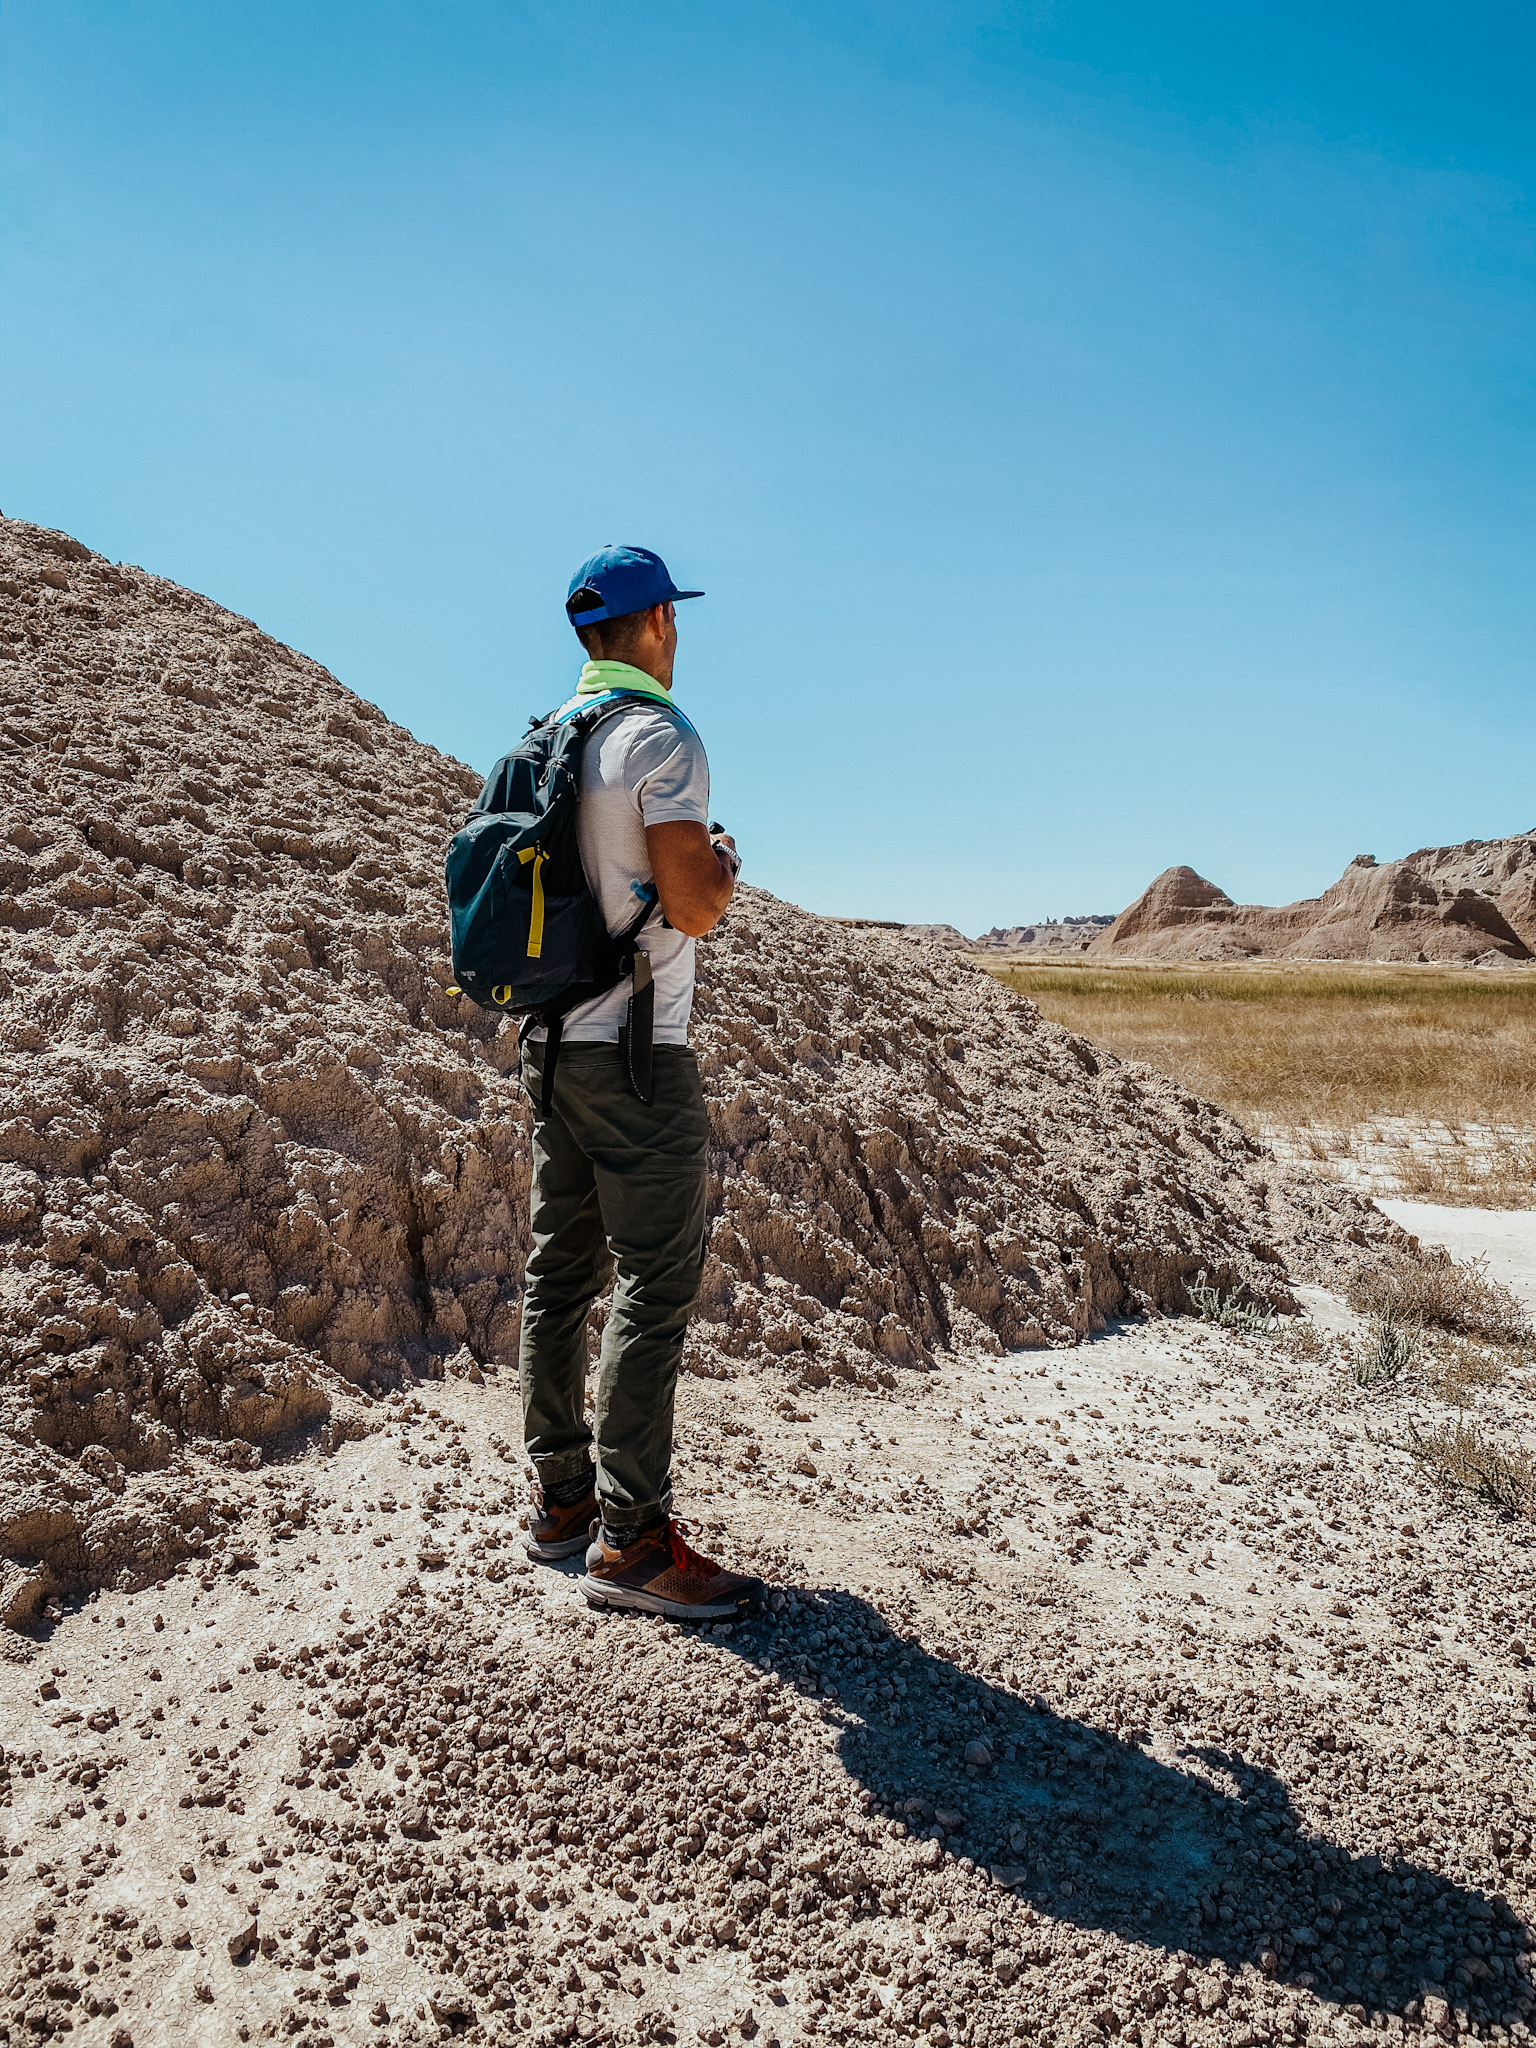
The sheep have been spotted
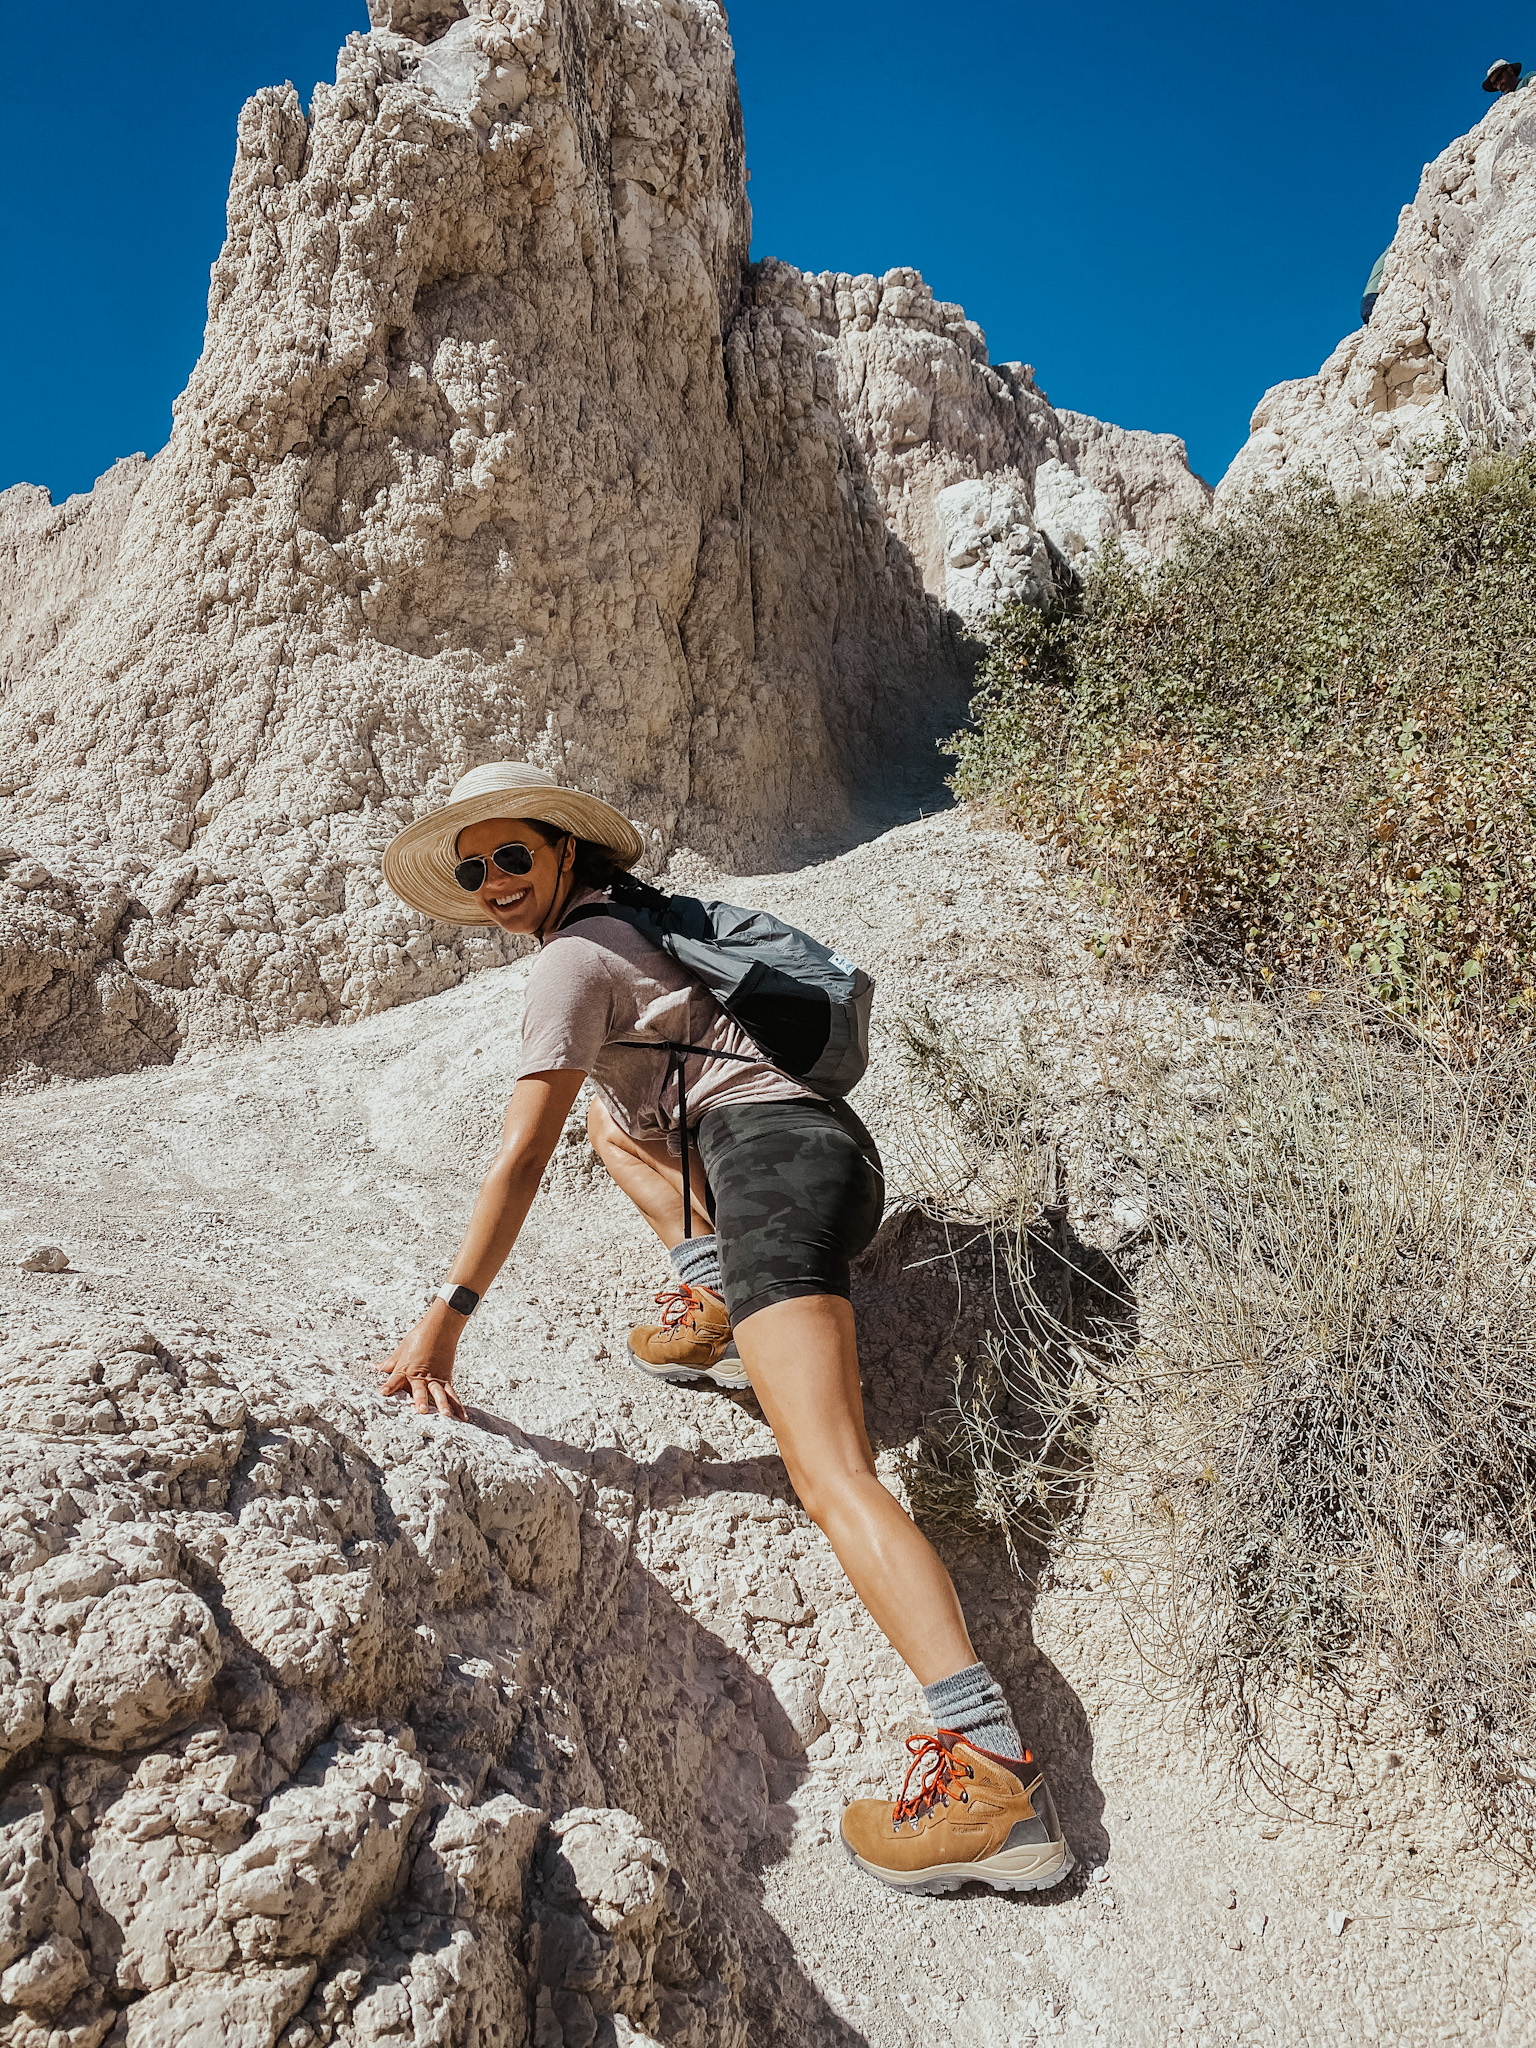
Notch trail
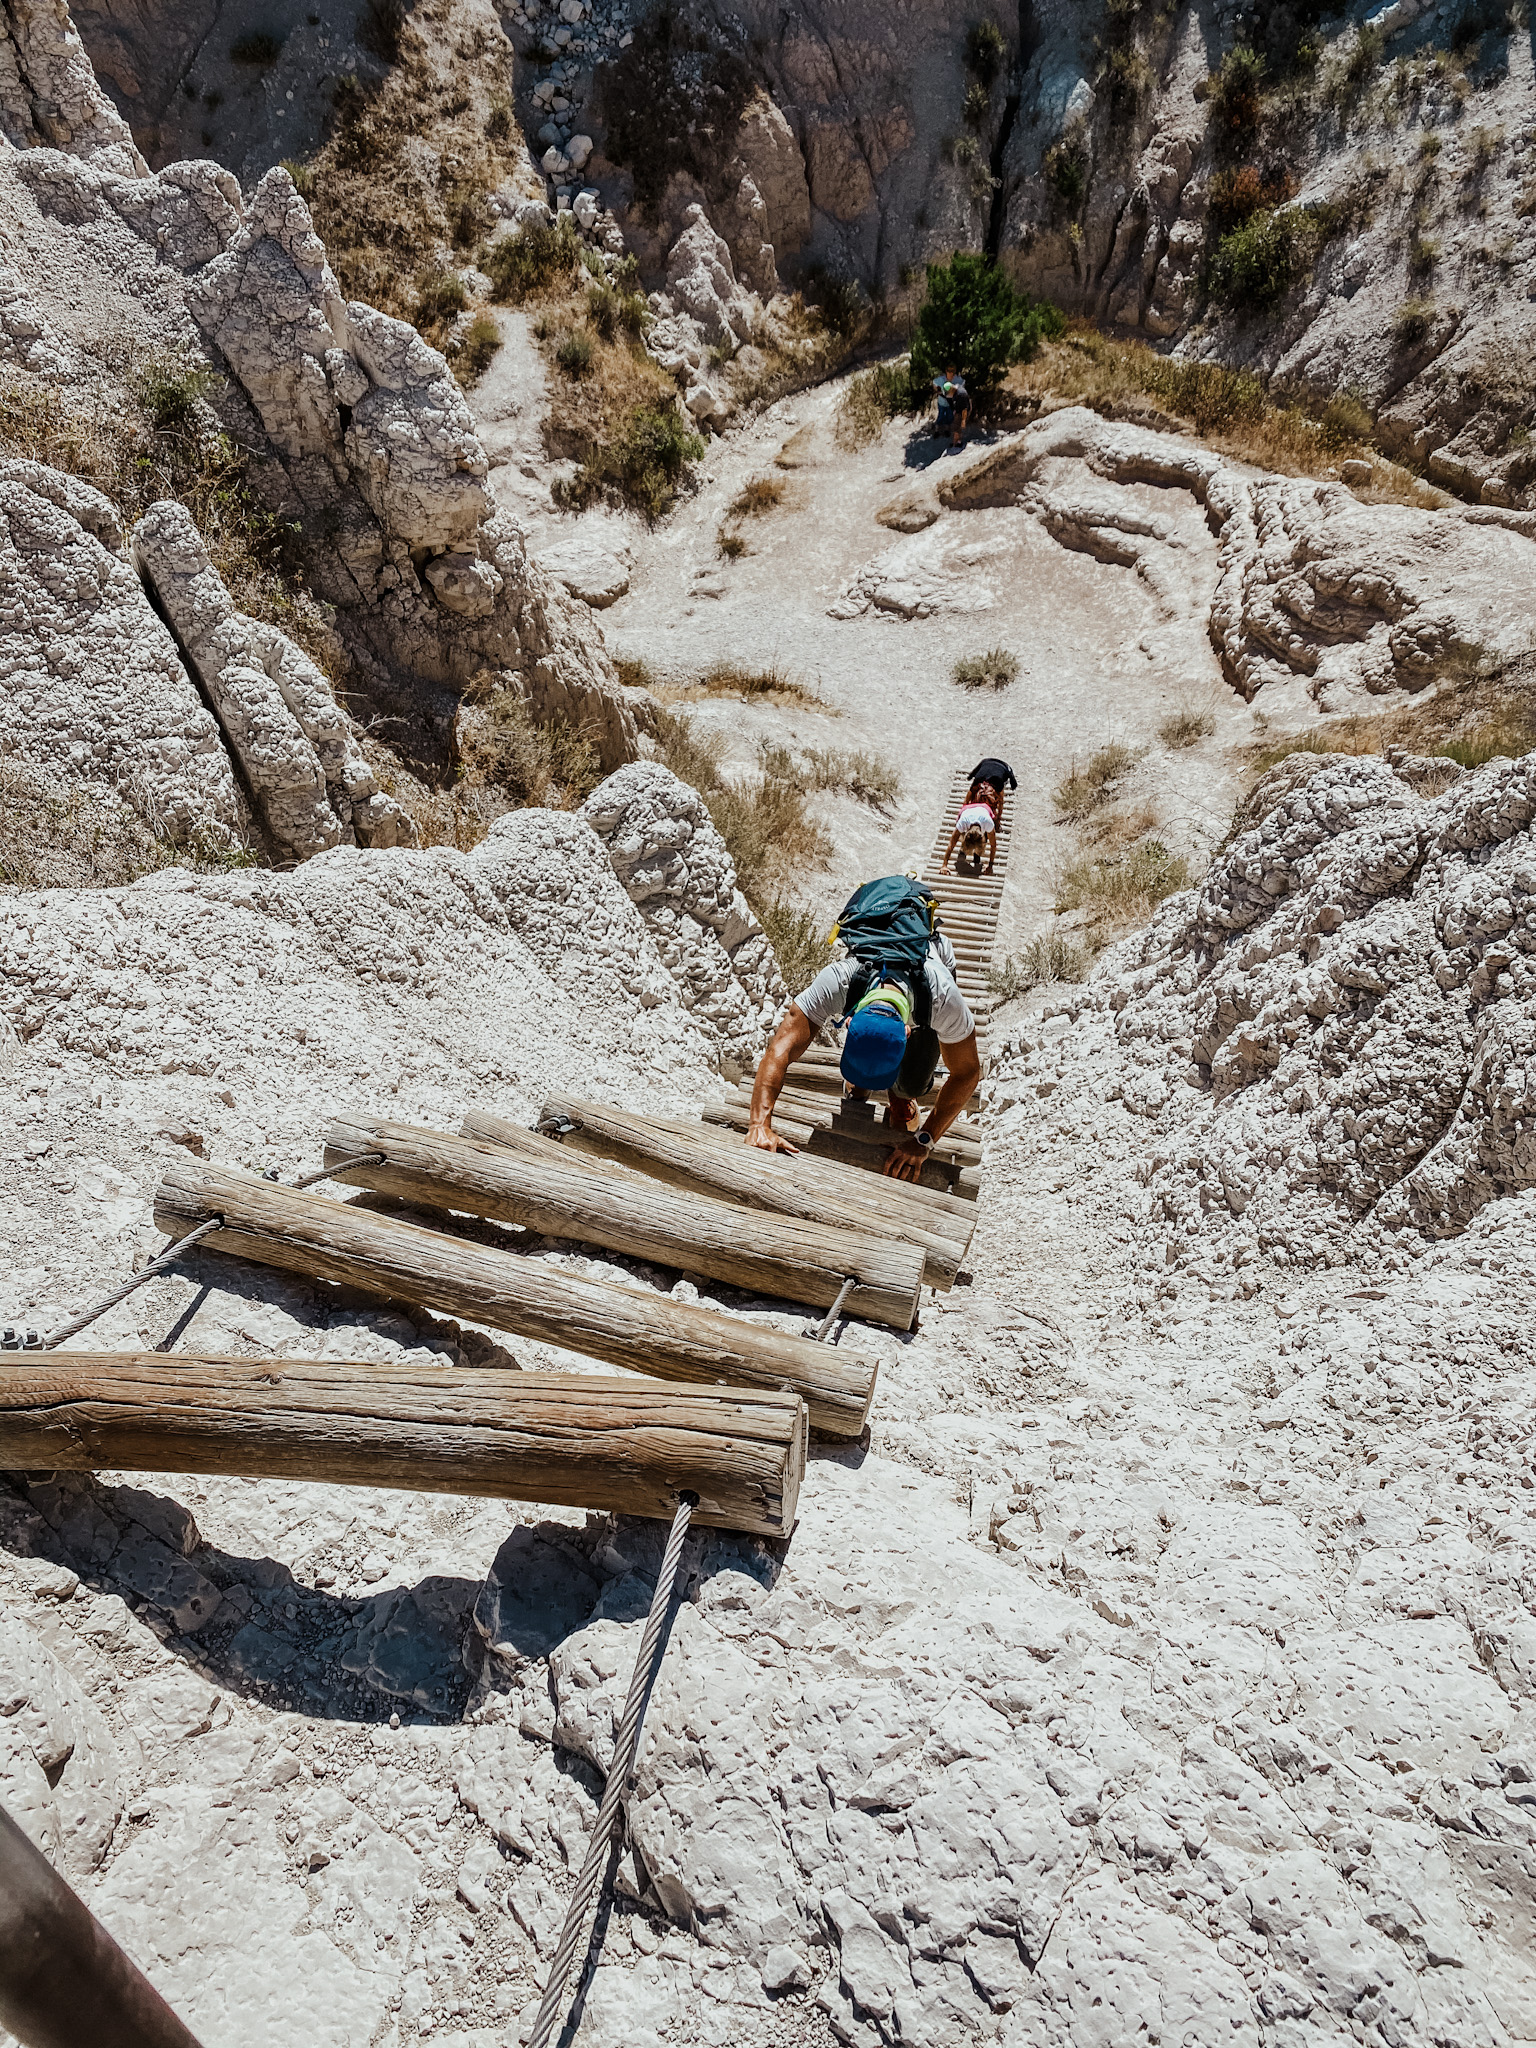
Notch trail: Not for those who are scared of heights!
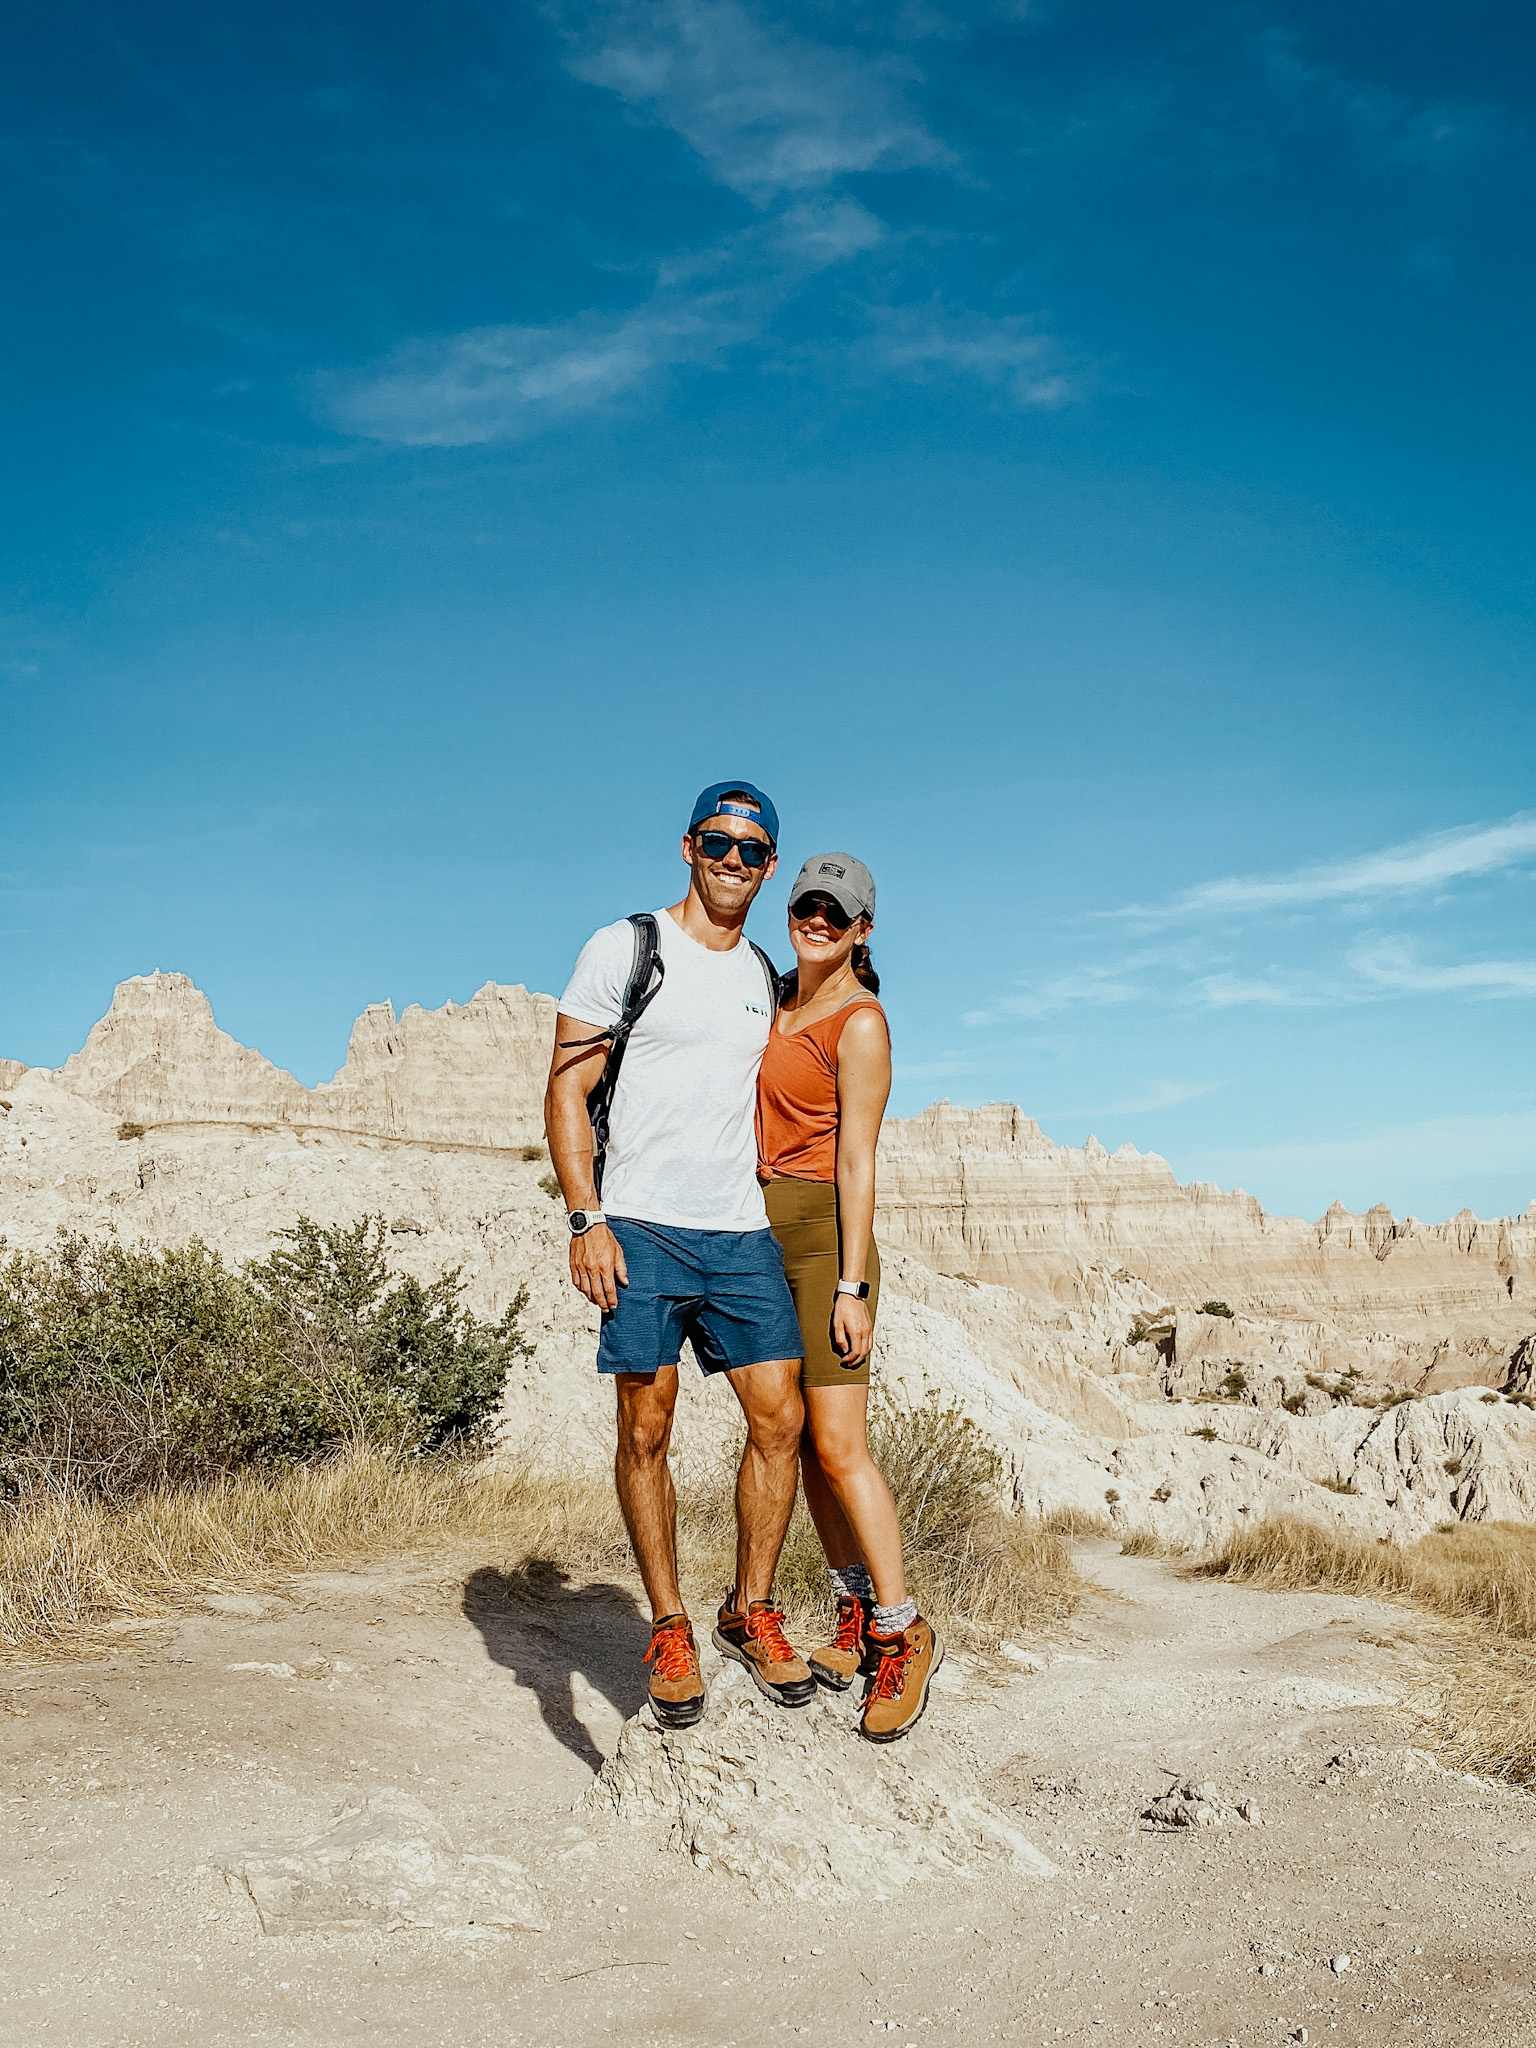
Taken the first night from Door Trail
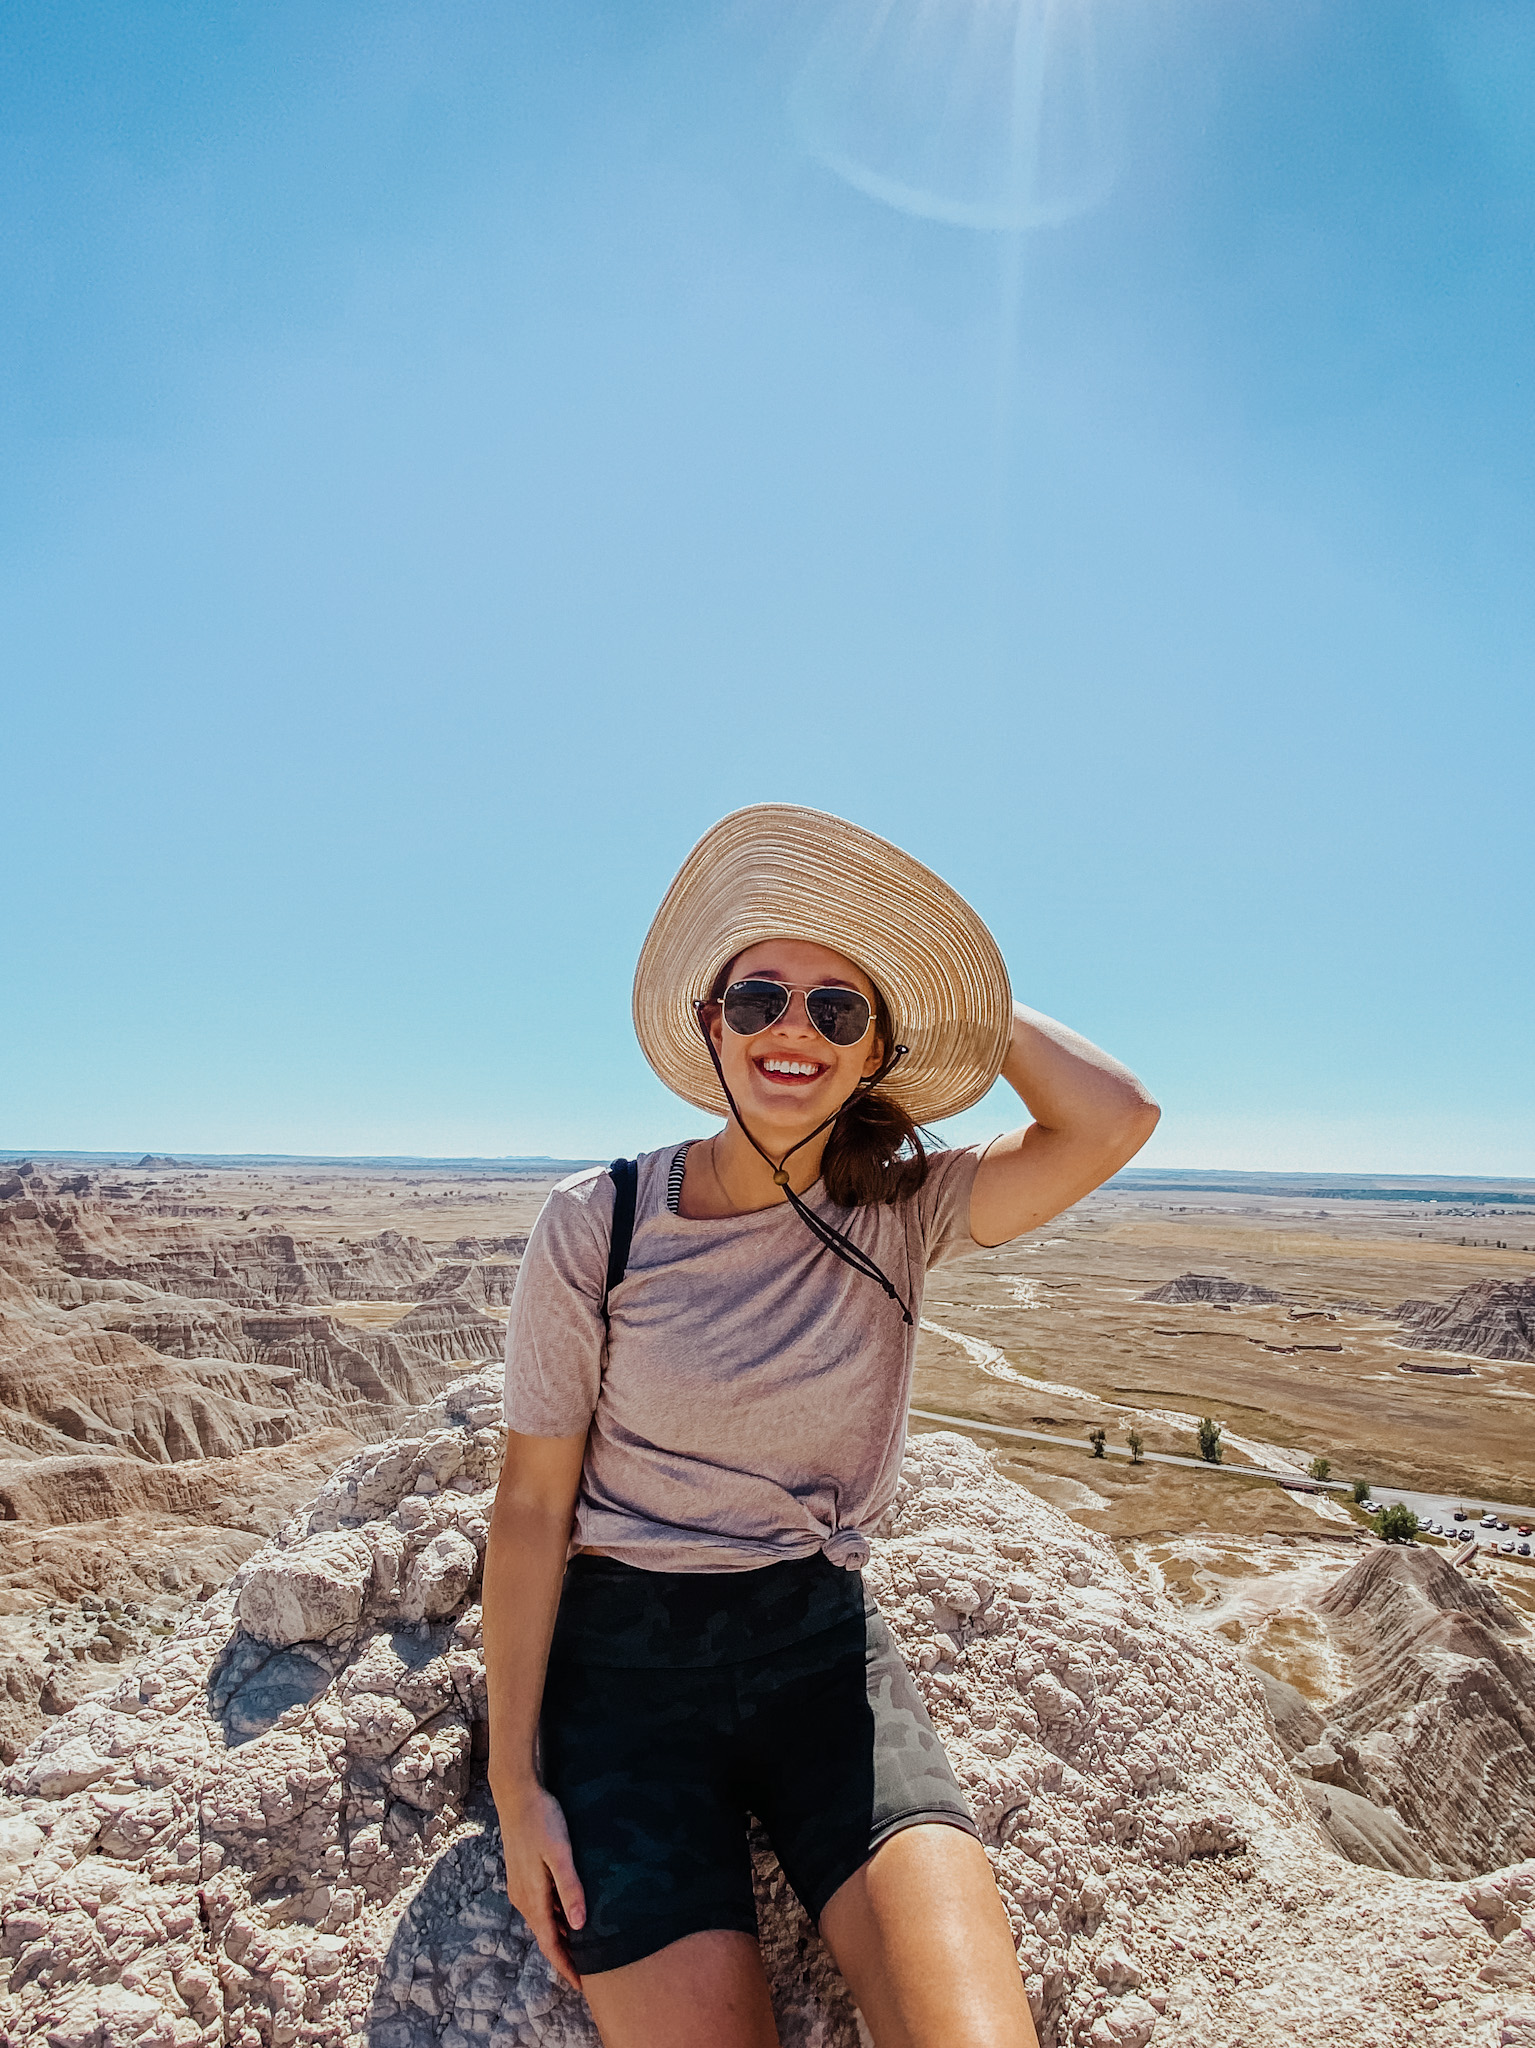
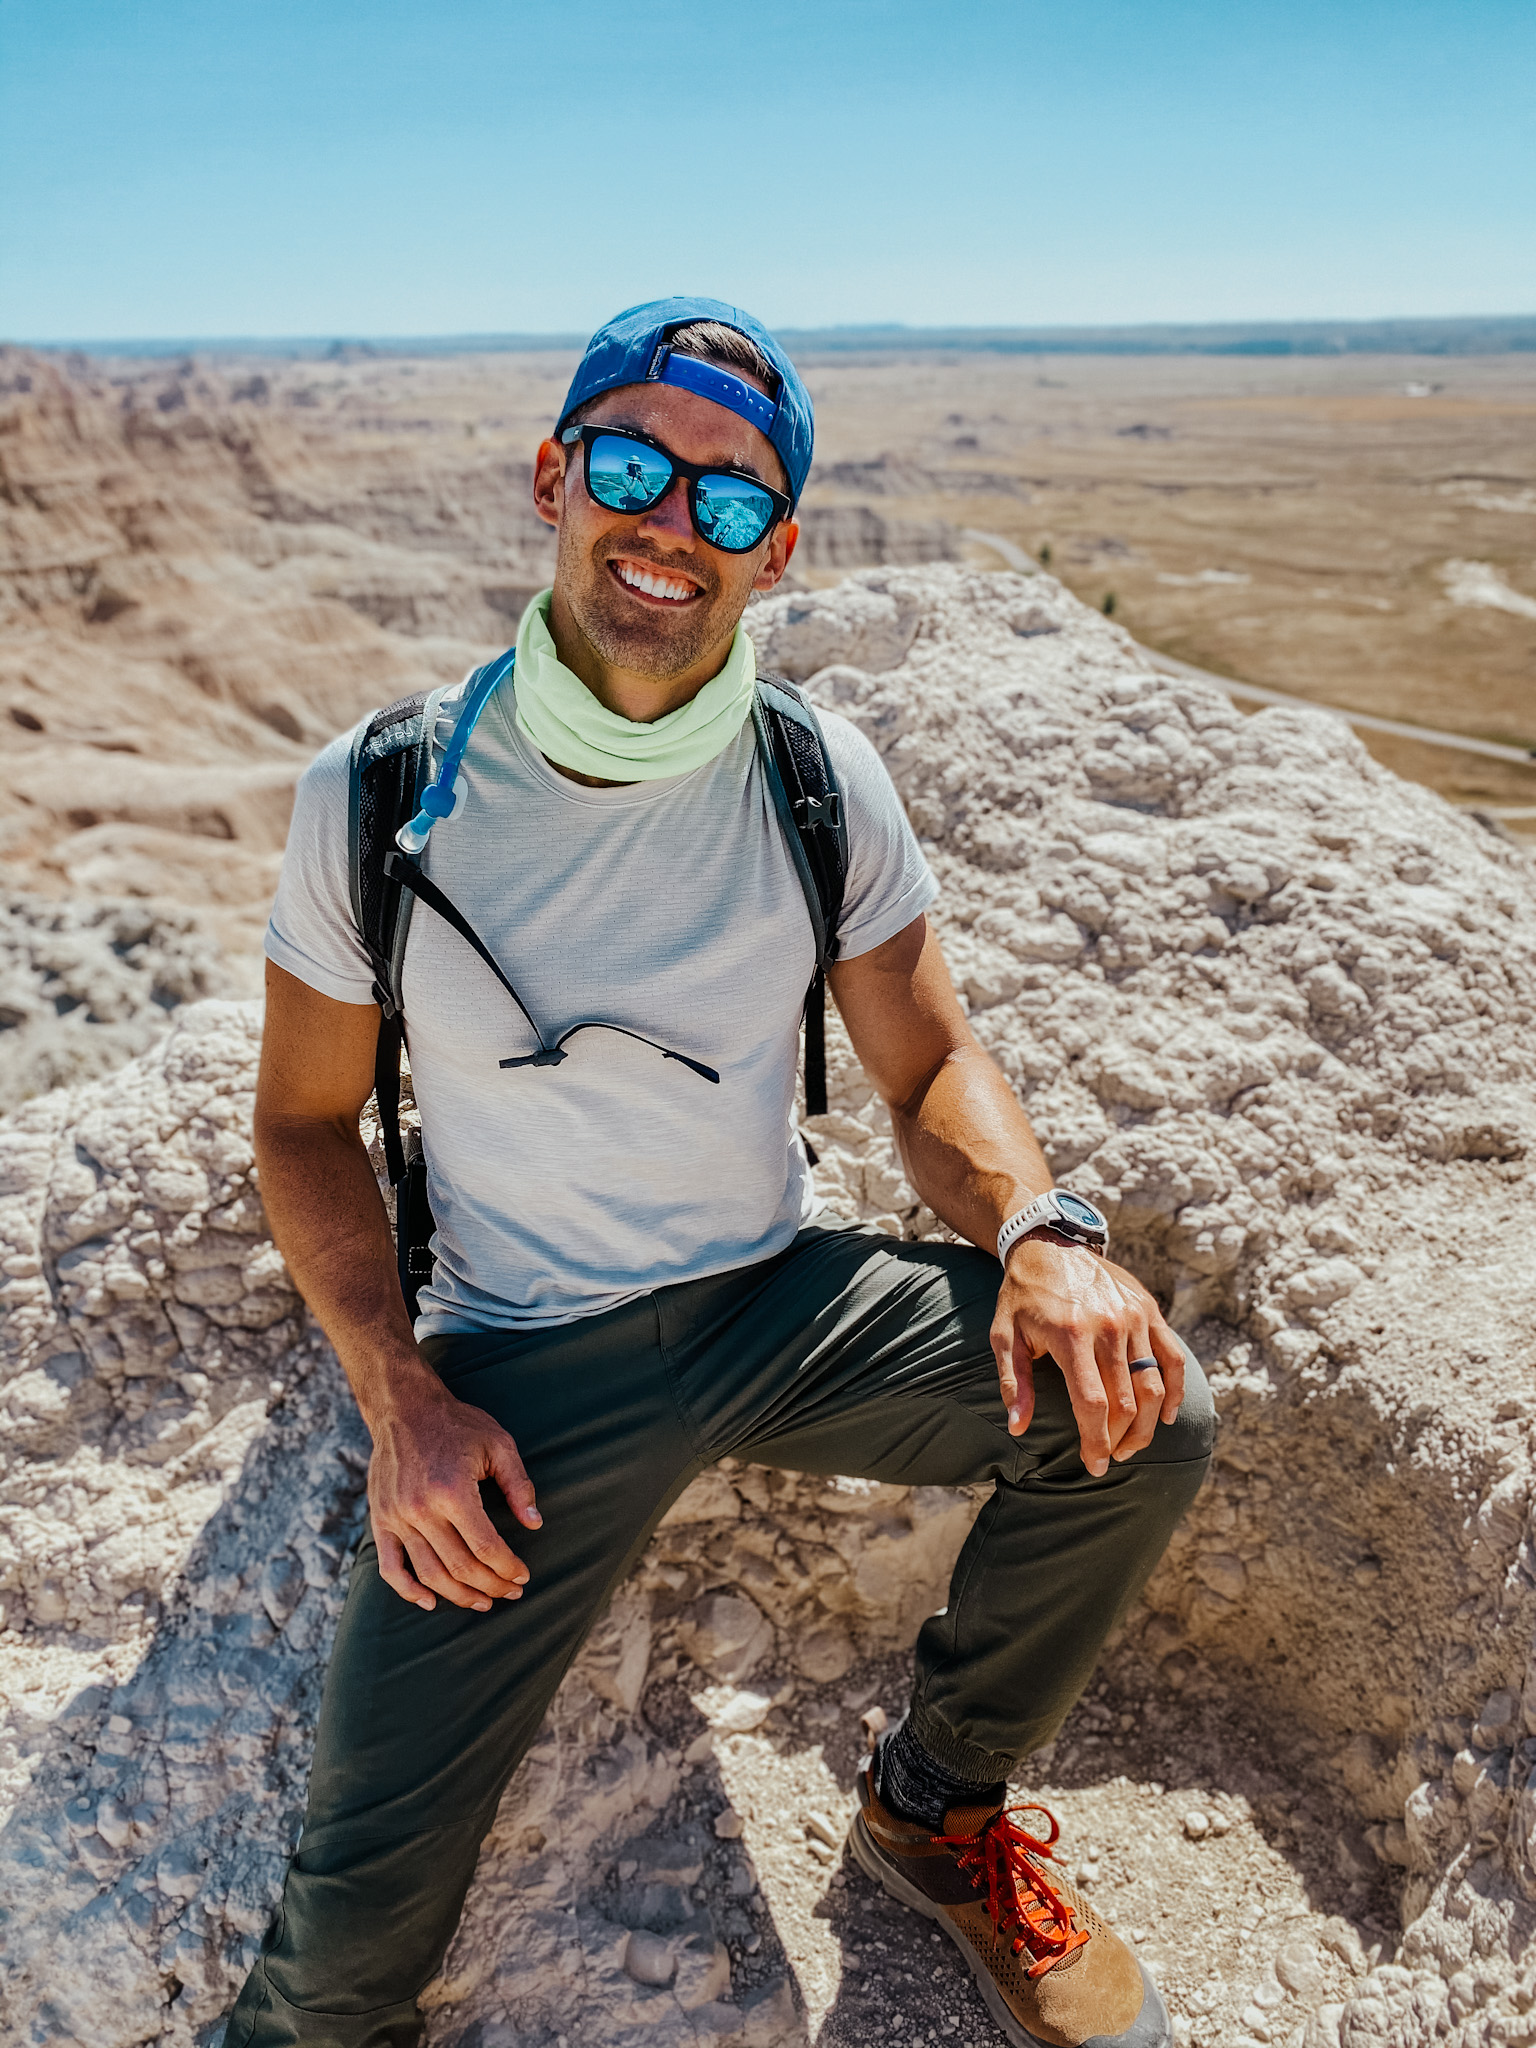
The views from Saddle Pass (above) are absolutely worth the climb!
Where to stay if you don’t want to camp:
Keep in mind you don’t plan to camp, there aren’t a lot of options right near the Badlands if cheap motels aren’t your thing. (Although, it’s worth checking to see if there are any AirBnB’s available in Wall, SD–where the famous “Wall Drug” is. It’s a hilarious, incredibly tacky, kitschy tourist trap–which we would usually find entertaining–but we turned around almost immediately after walking in–it was NOWHERE we wanted to be in the height of Covid.)
If you want a decent hotel, your best bet is to stay in Rapid City (which is about an hour drive) and if you want the nicest, coolest accommodations, you’ll want to stay in or around Custer State Park, or at Under Canvas Rushmore. (Where we stayed–that will be a separate blog post coming soon!)
Other example Badlands itineraries you could do, if you’re driving from anywhere East:
The longest day but the most direct option if you want to pack activities in (not ideal IMO):
Sioux Falls to Badlands (leave EARLY, 6am) be on the Badlands trails by 11am (pack lunch with you), hit a few trails, be done by 5pm, drive an hour to Rapid City, stay in Rapid City that night. This would be a long day, but this is how many people do it!
The express version with one night of camping:
Sioux Falls to Badlands, take your time on the drive, arrive that afternoon, set up your campsite in Cedar Pass, chill and hang out, check out the shorter trails before sunset, enjoy sunset and dinner at your campsite. Get up and hit the trail early the next morning, be done and drive to Rapid City in time for a late lunch, and continue on your way.
The express version staying in Wall, SD:
Sioux Falls to Badlands, take your time on the drive, check into Air BnB, get settled, head into the park, check out the short trails before sunset, pack a picnic dinner to enjoy in the park while watching the sunset over the canyons. Get up and hit the trail early the next morning, be done and drive to Rapid City in time for a late lunch, and continue on your way.
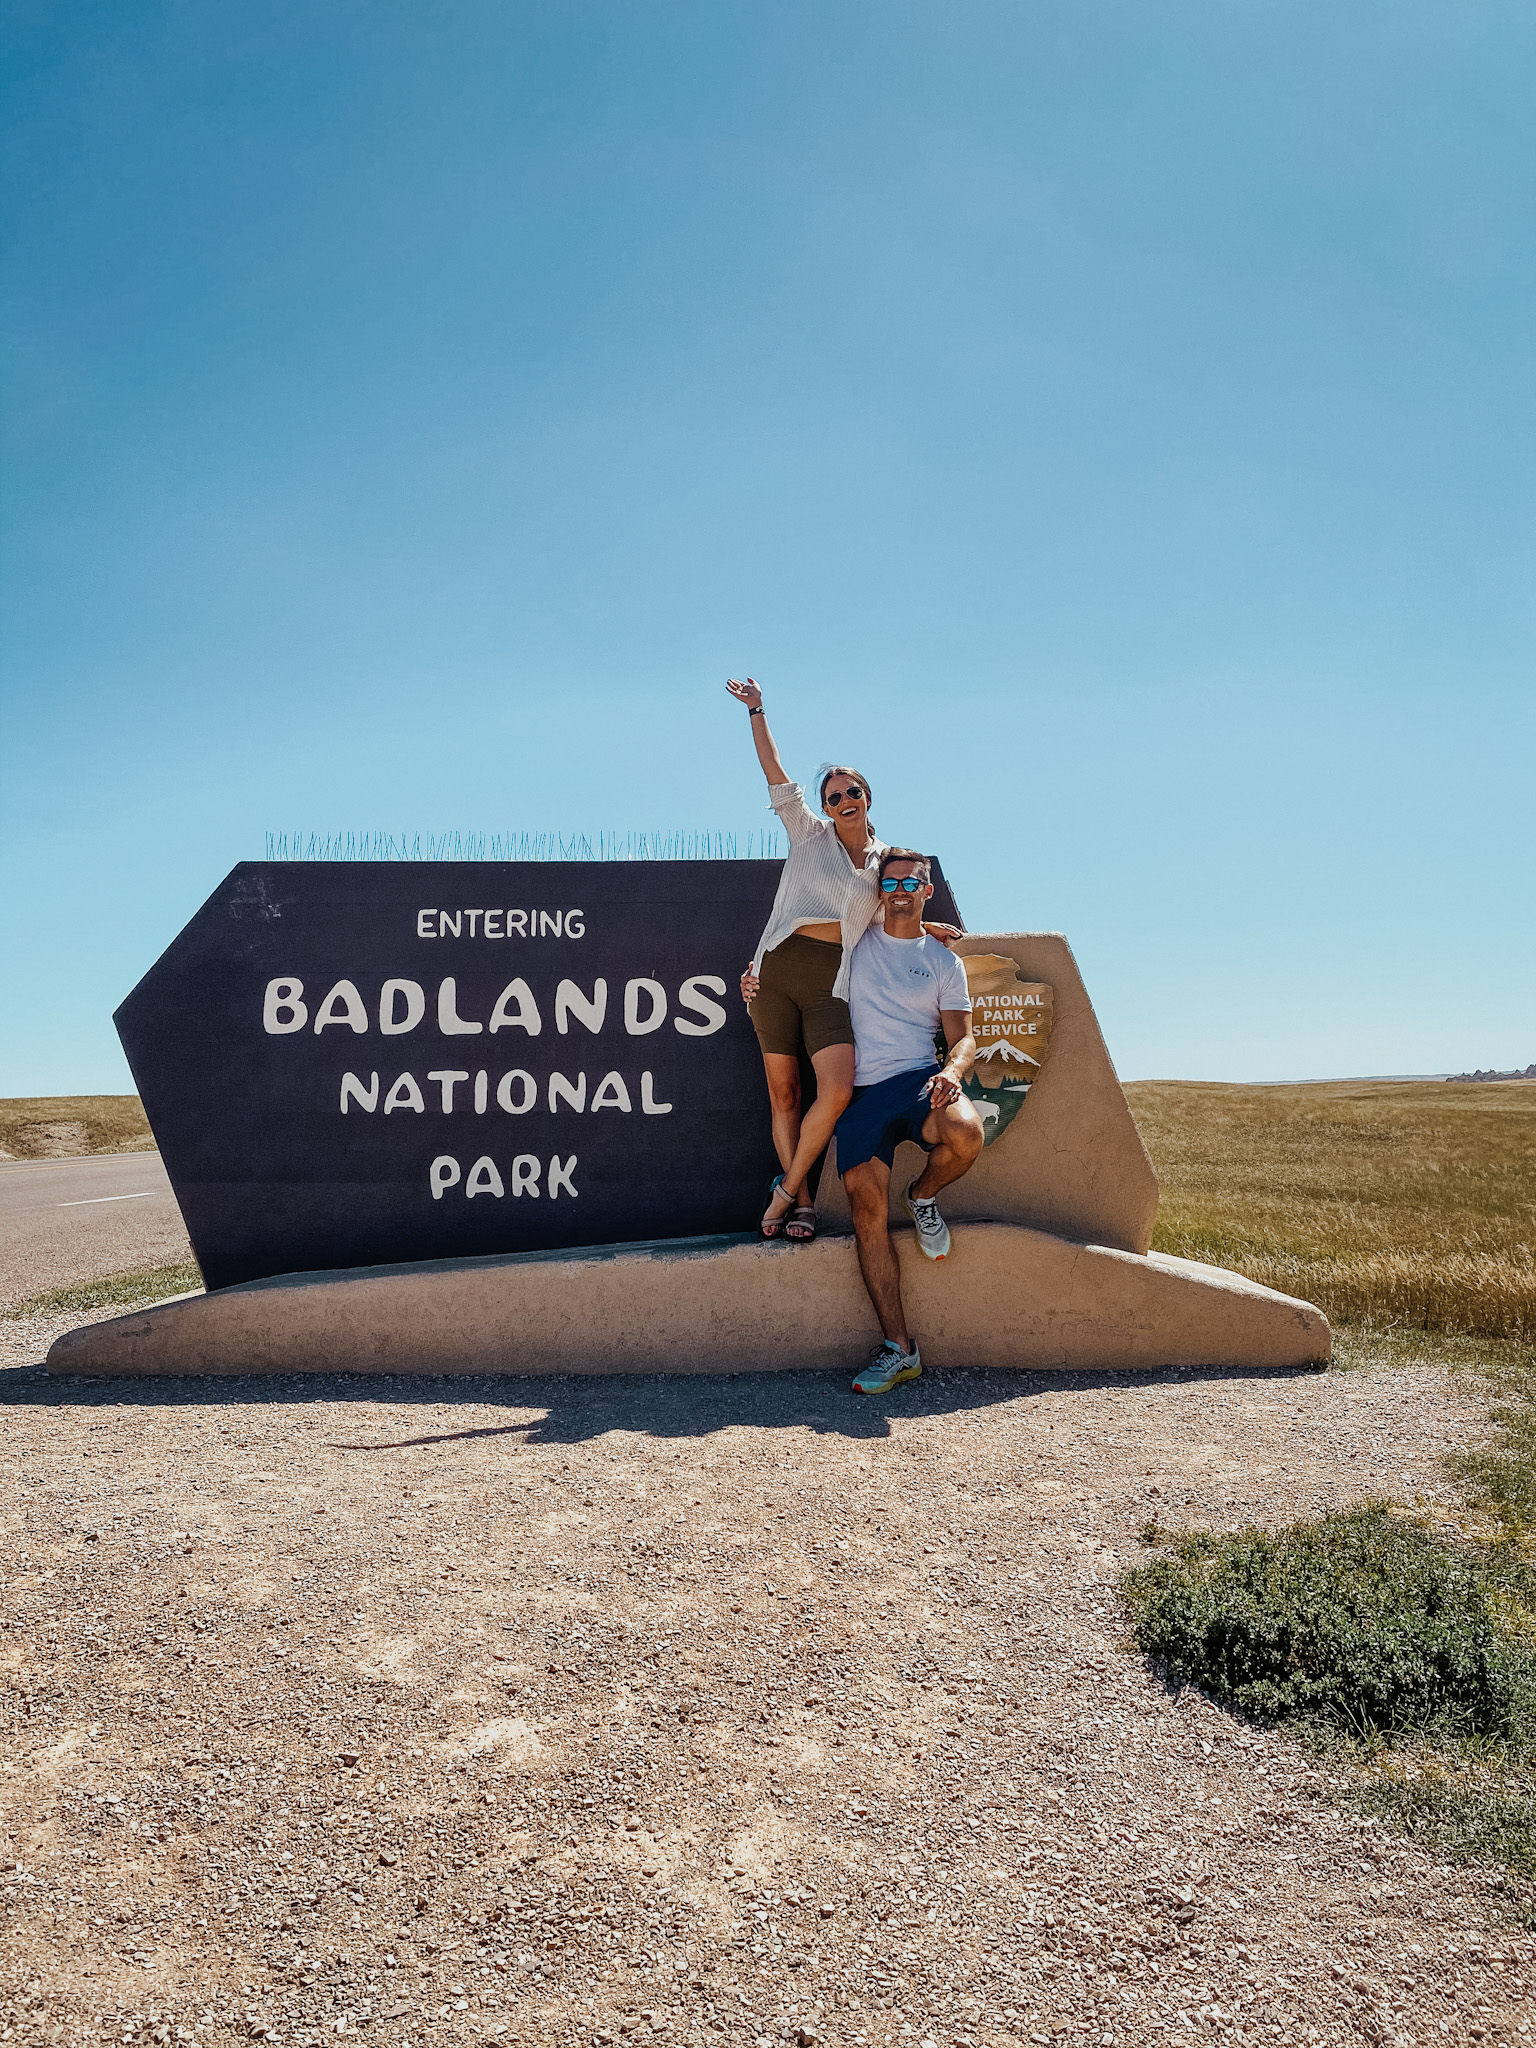
Picnic spot: There are a lot of rock formations you can explore/climb on just a few yards from the parking lot at a few different turn-ins–which is actually where the top photo of this post was taken! You can easily find a perfect picnic spot! Or, if you have an SUV, you can back your car into a parking spot, open the trunk and sit in your car to admire the views!
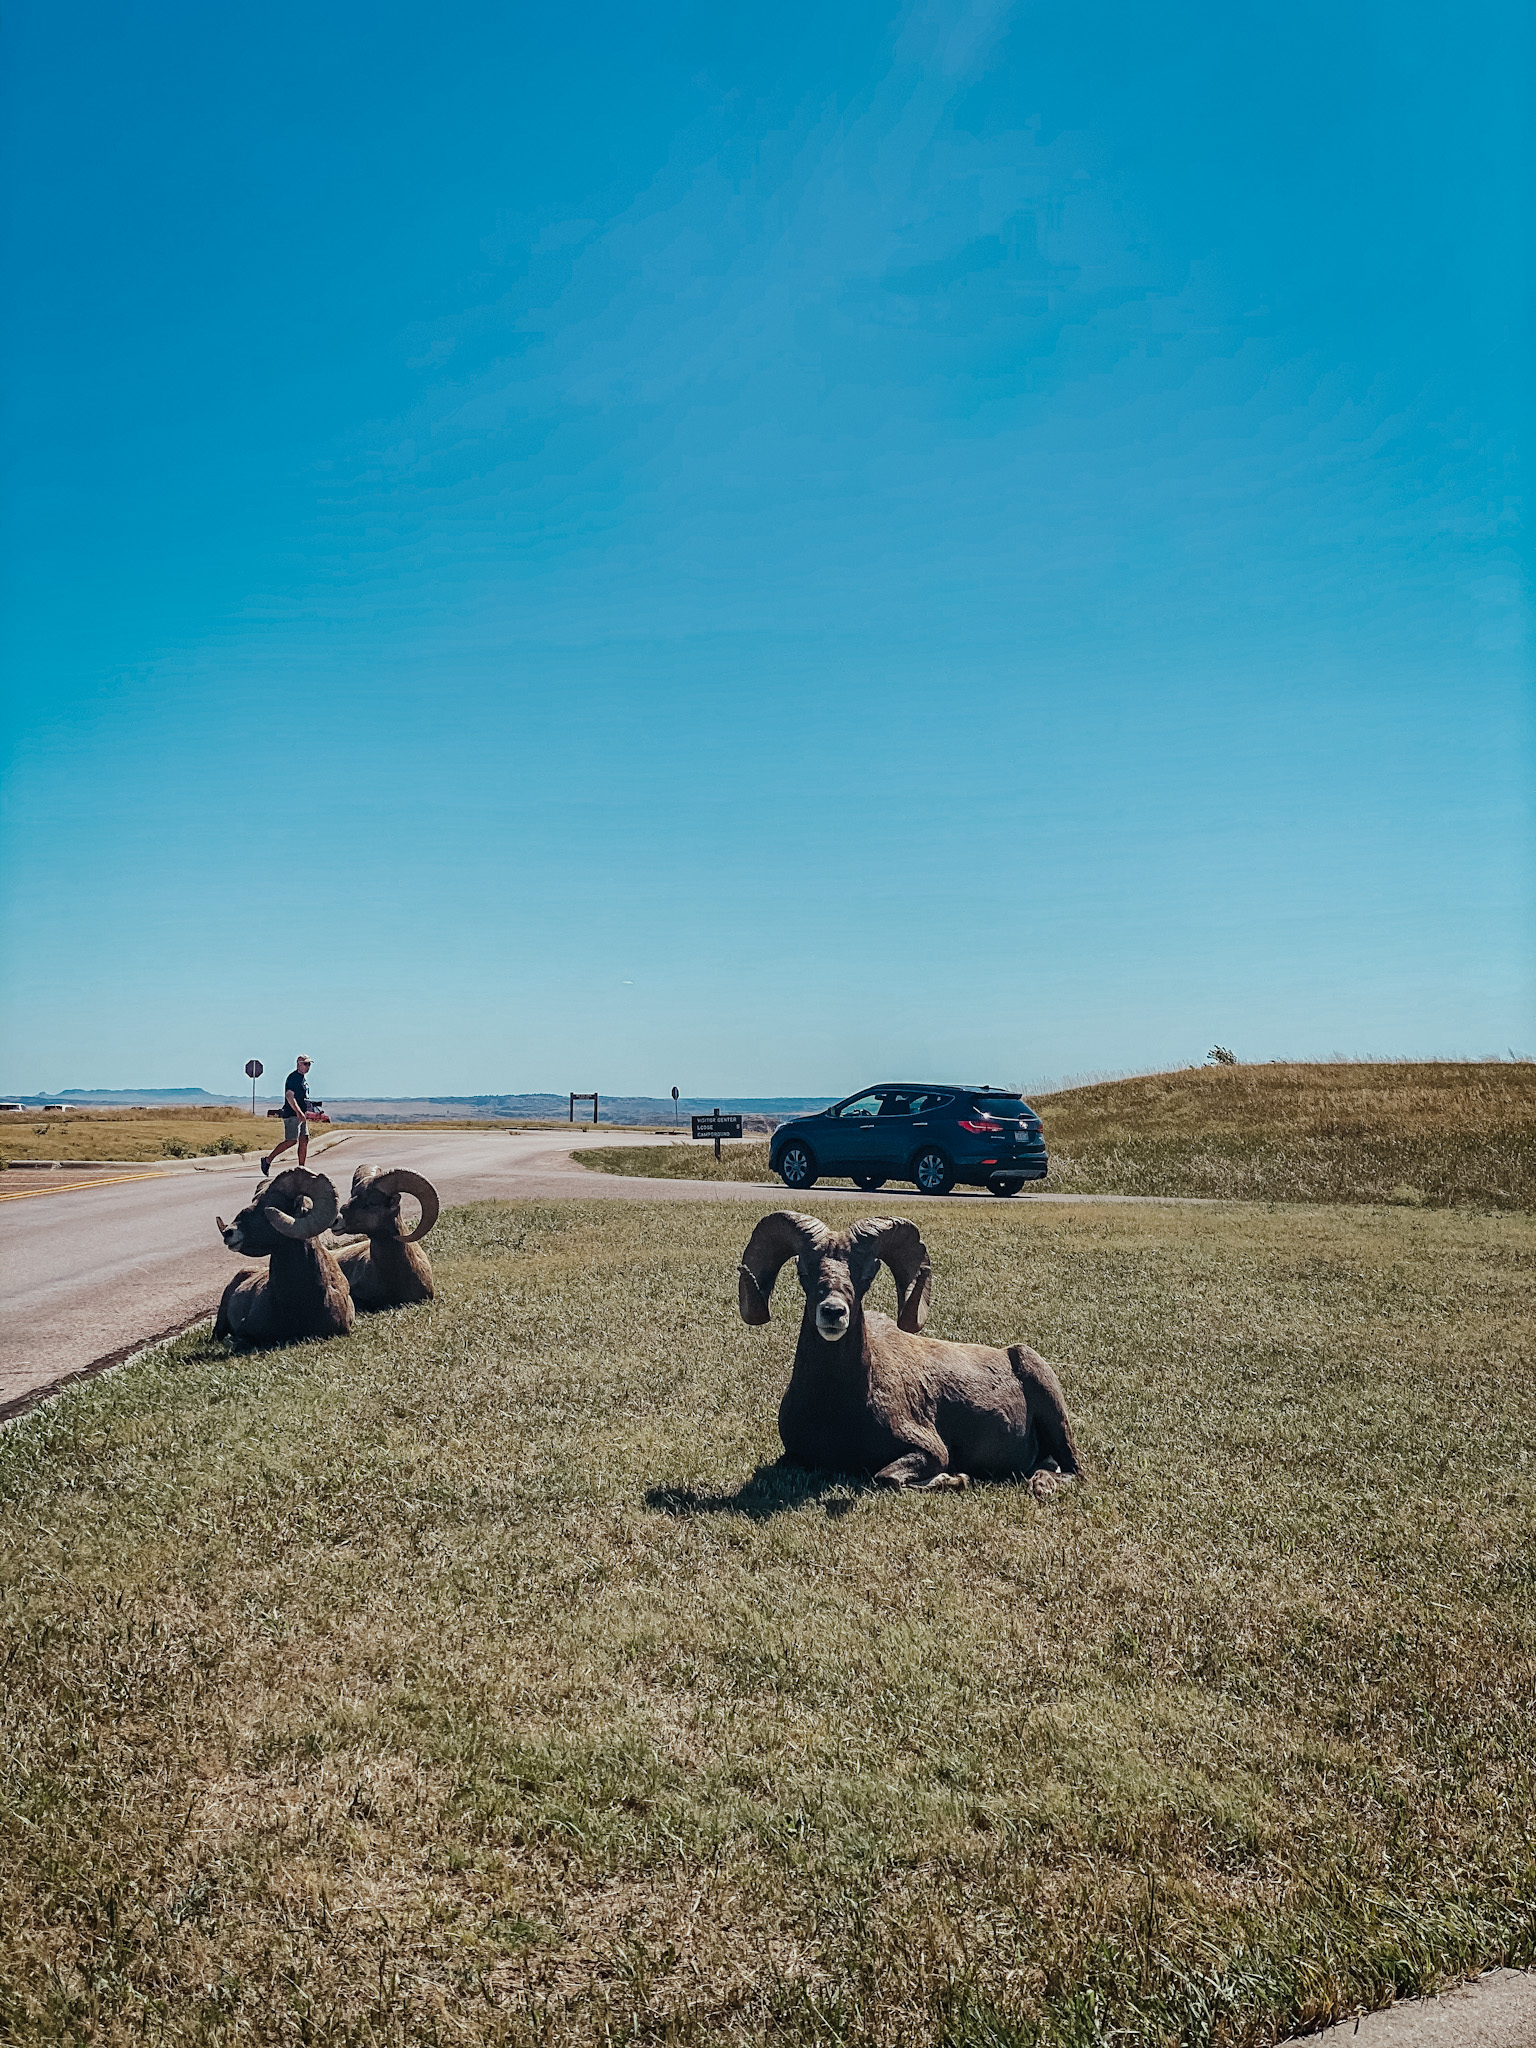
Big horn sheep were right at the entrance to the park when we drove in!
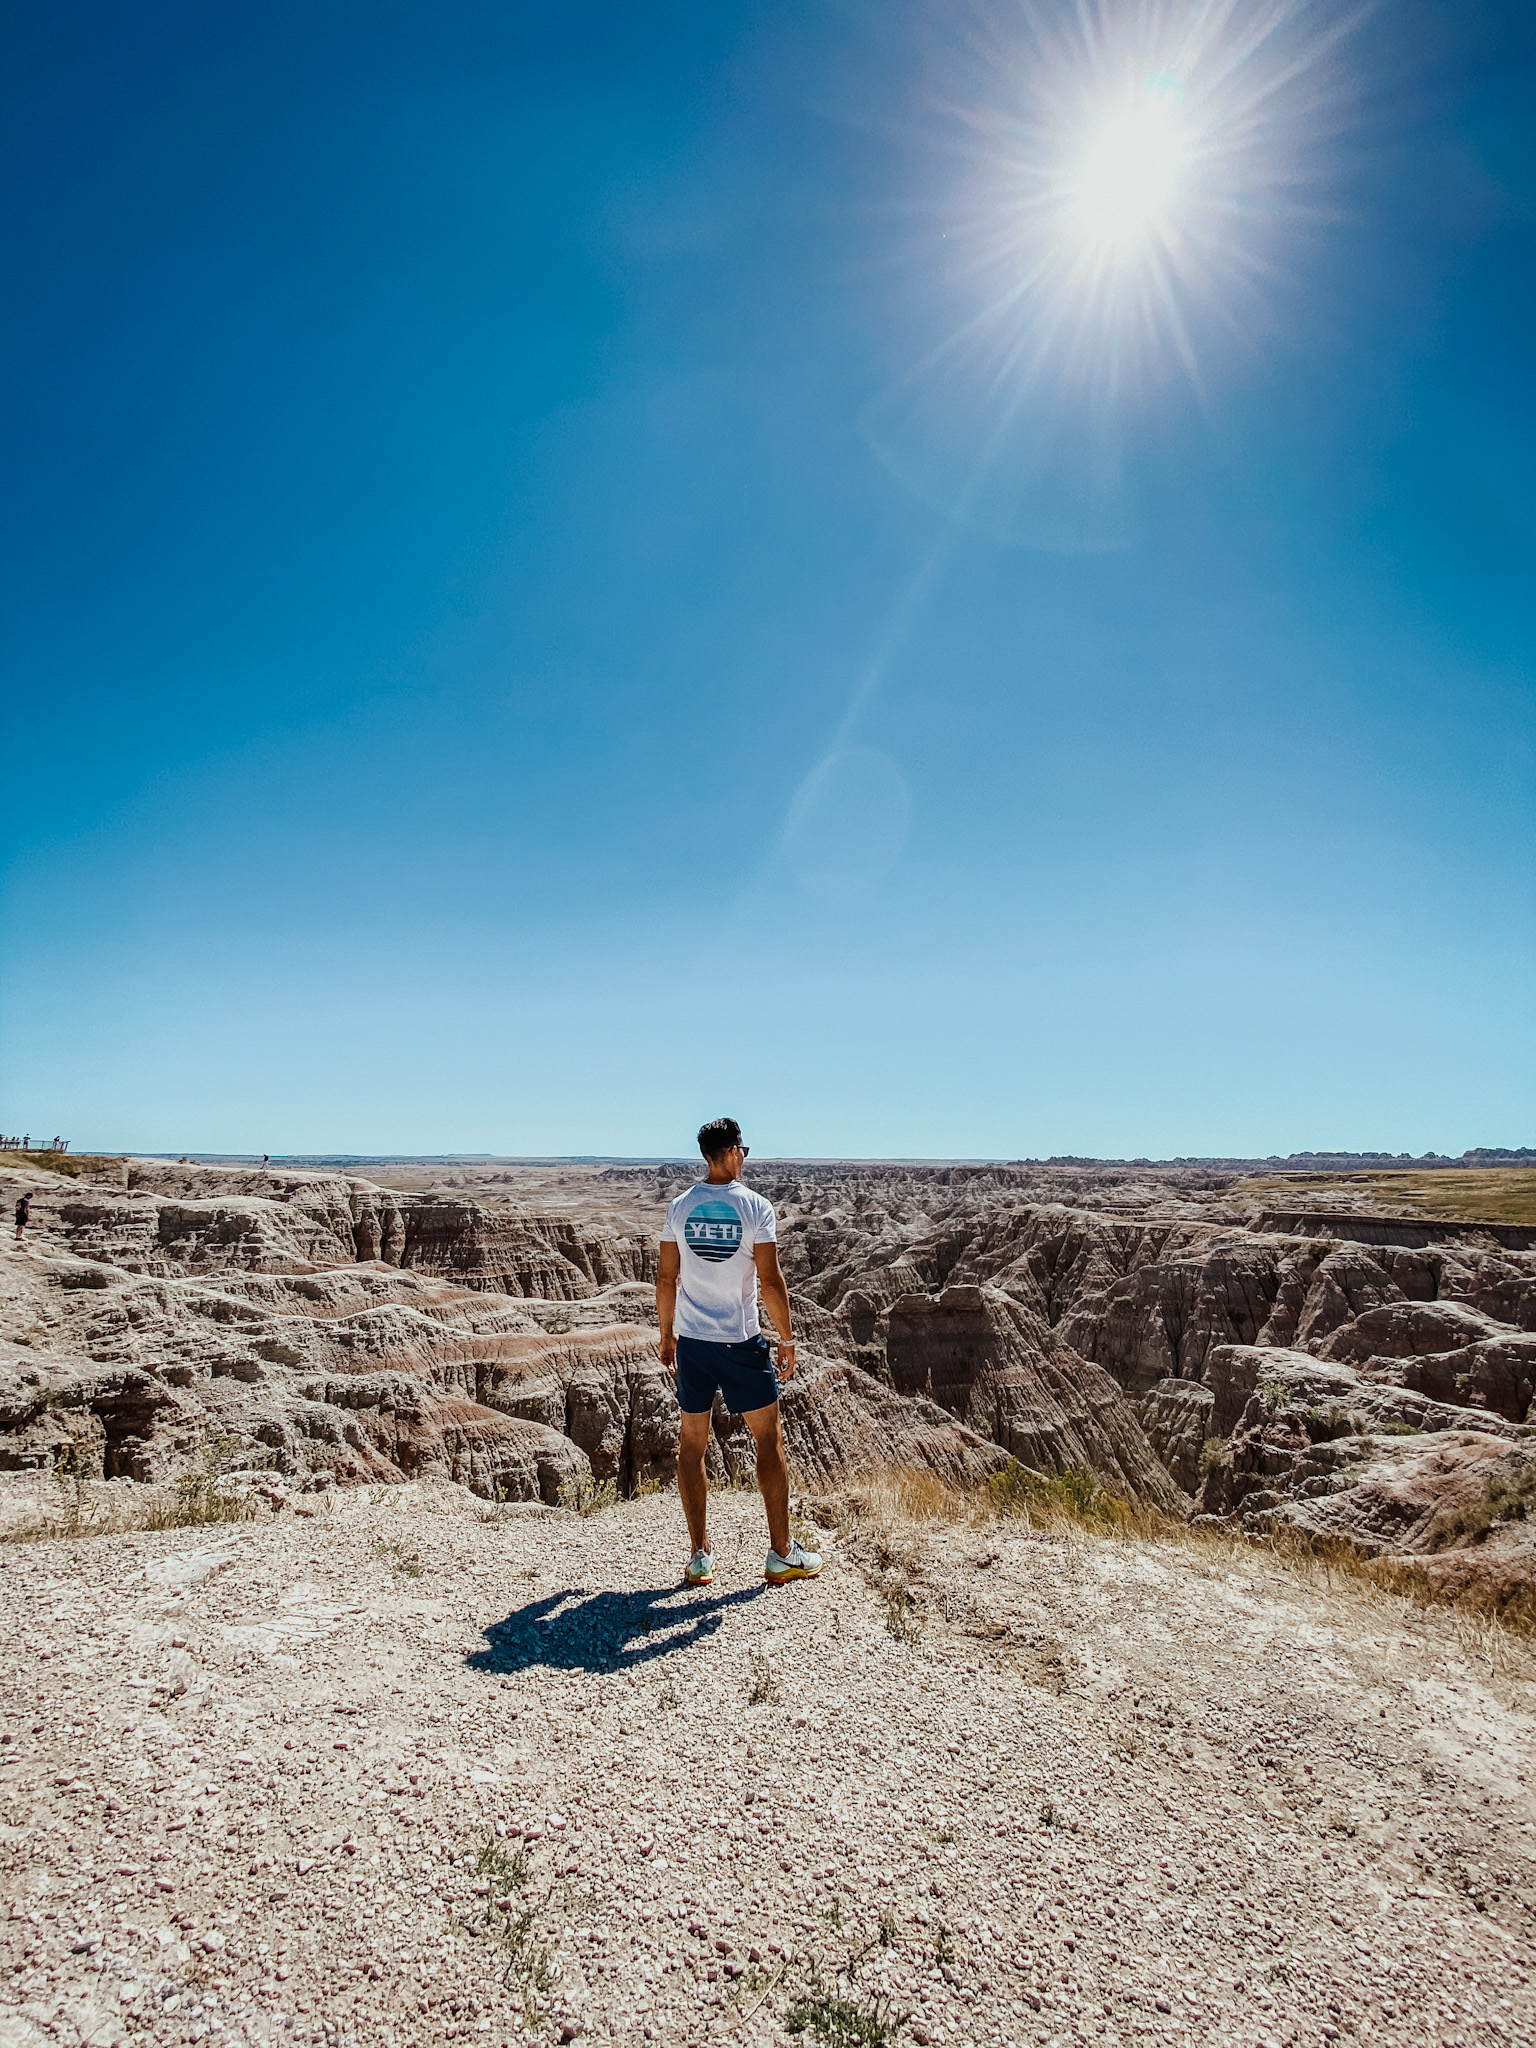
View from the overlook right when we pulled into the park
What else is there to do near/around the Badlands?
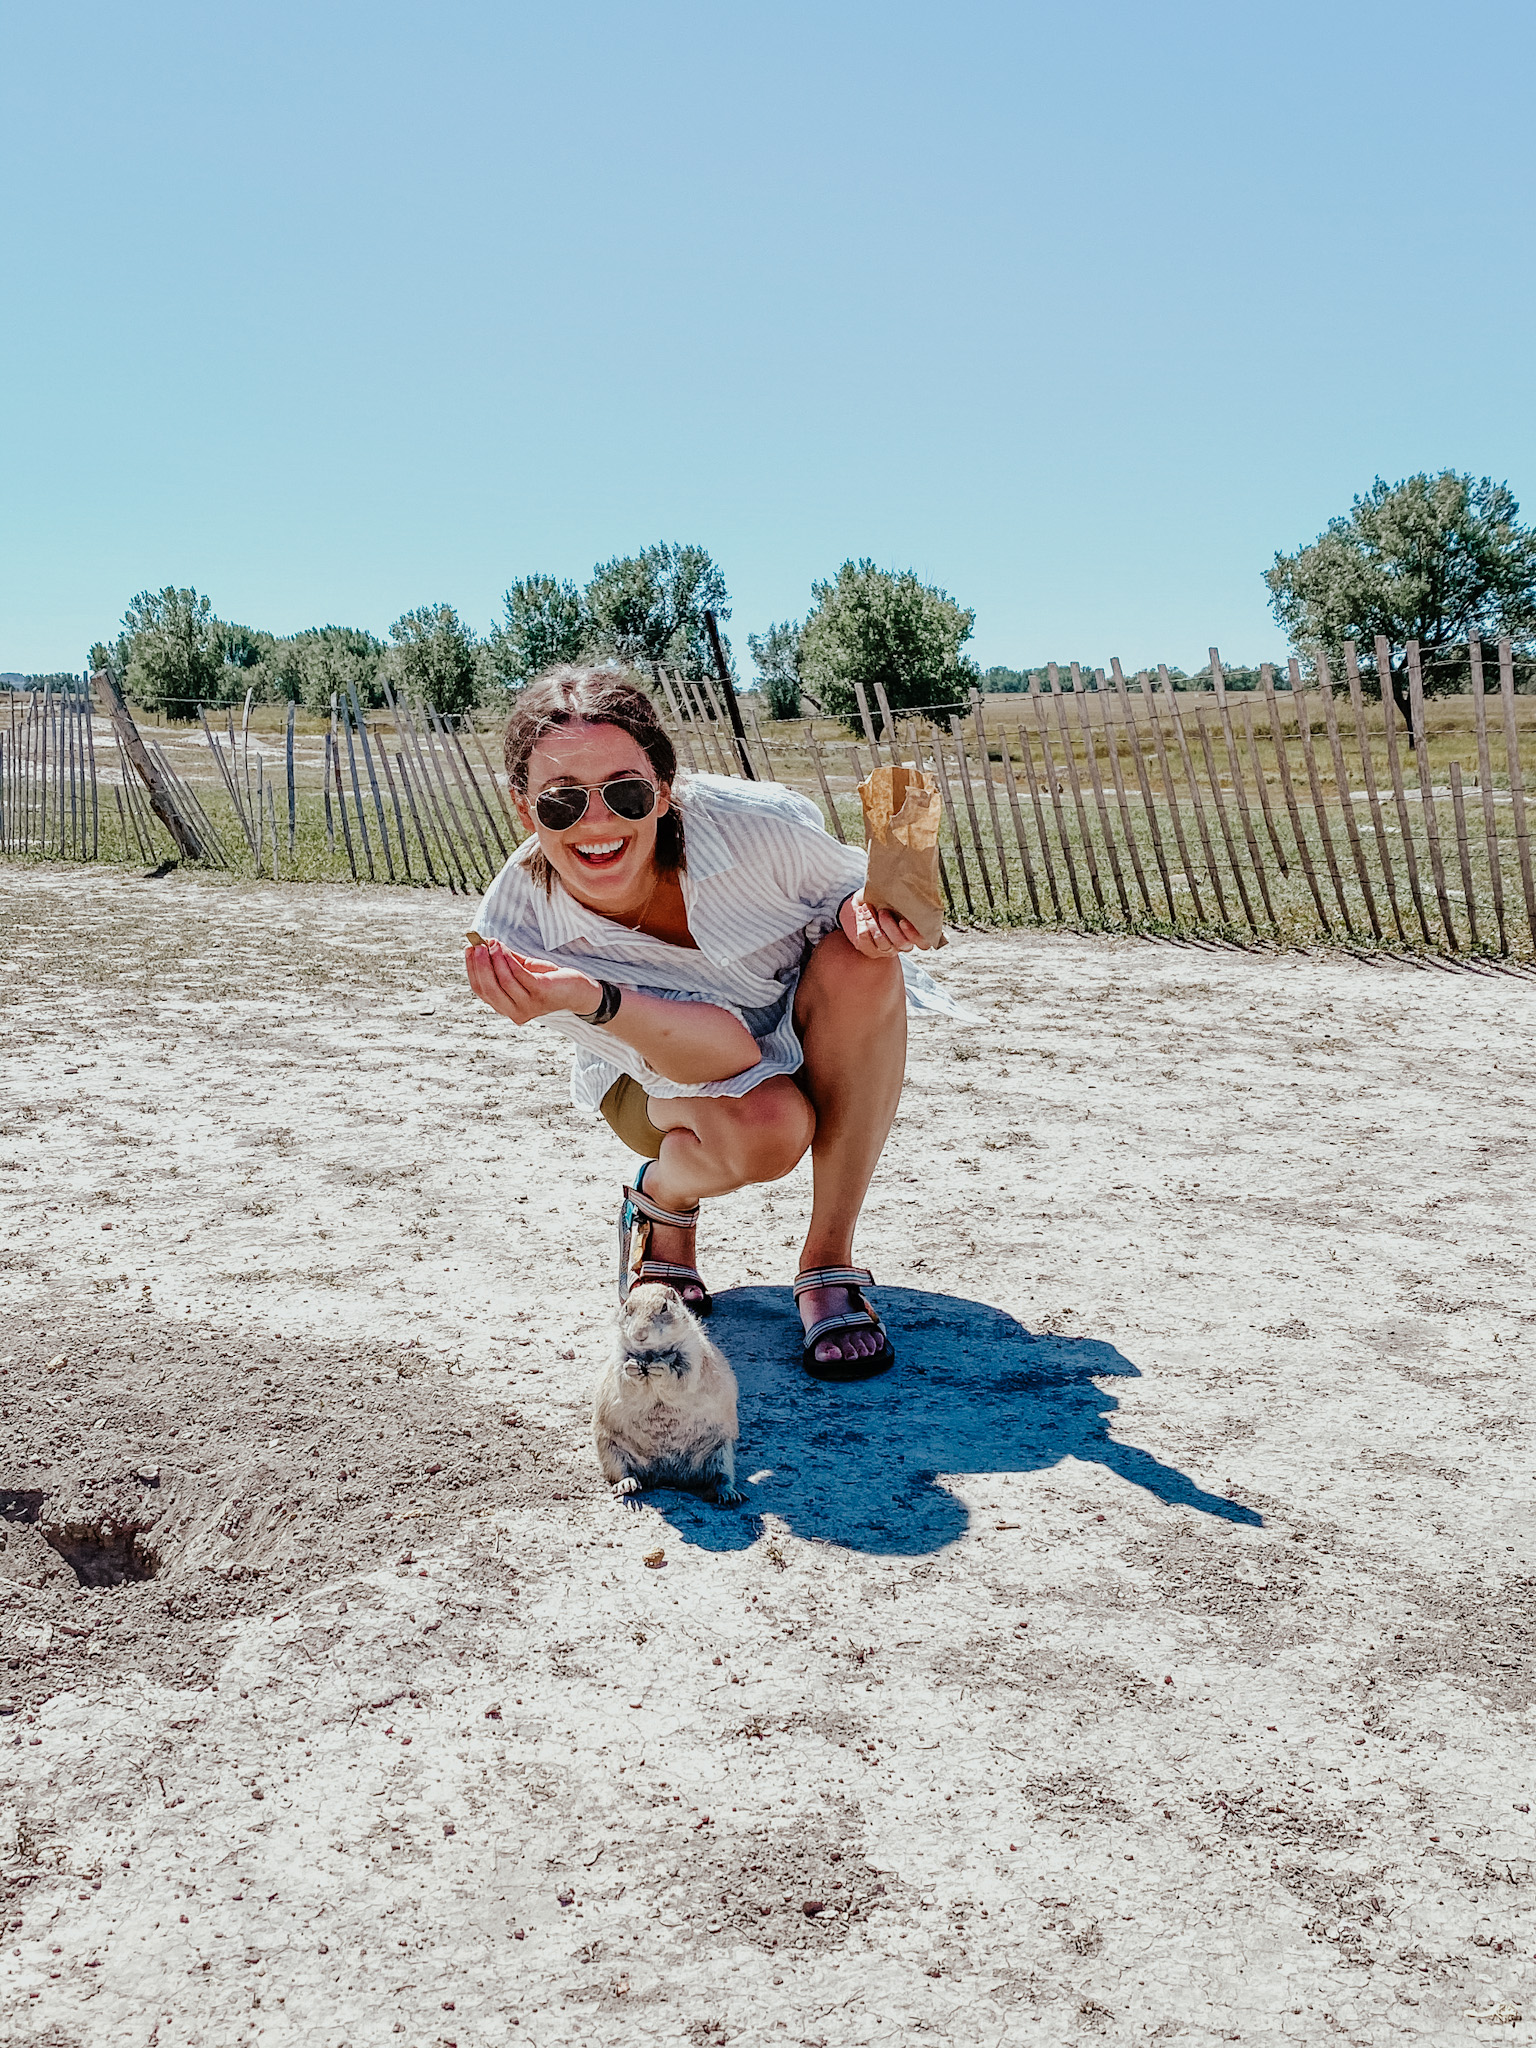
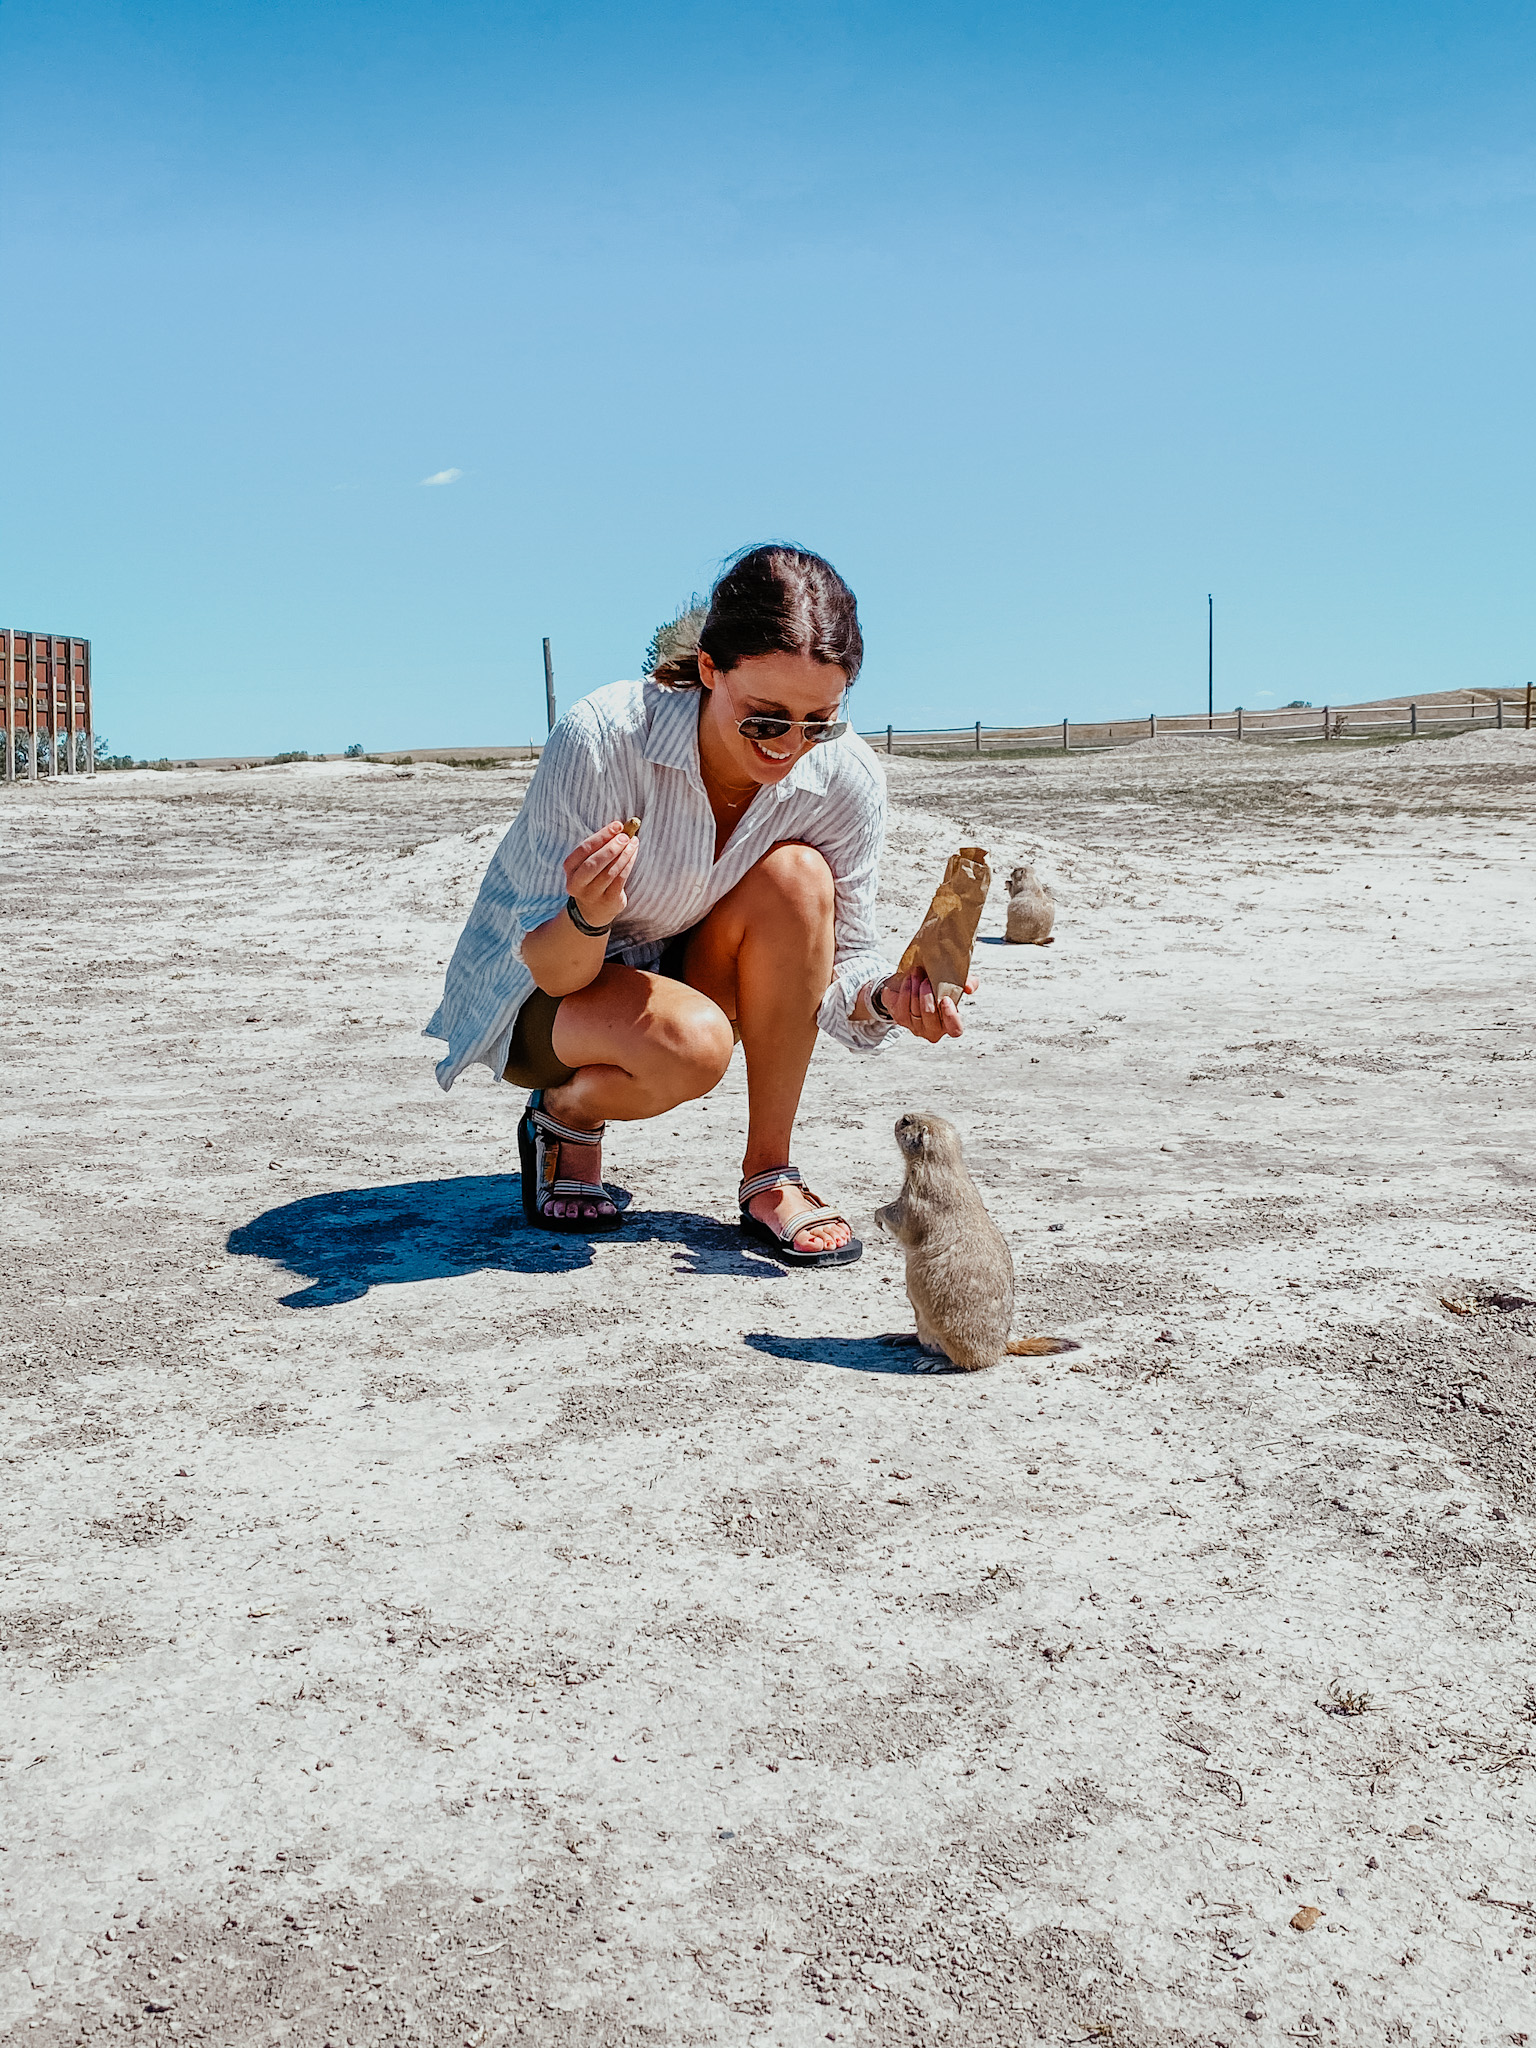
Not much is actually NEAR the Badlands, but a small funny attraction that was one of my favorite parts of the Badlands was the Prairie Dog Ranch. Sounds like a Prairie Dog Petting Zoo–it’s not. The Prairie Dogs aren’t enclosed (and you can’t pet them)–they just come and go as they please (their little hole village is a few yards away from the building) but you can buy a bag of peanuts to toss to them. They are very happy little creatures and absolutely hilarious, and the owner inside is a kick to talk to! (There are lots of funny souvenirs and tchotchkes you can find in there, too.) We met a couple groups with kids who were like, “oh yeah…we’ve been back here twice in two days.” I tried to convince Neal to stop again before we left town but he said no.

Mt. Rushmore, Crazy Horse Memorial, Black Hills, and Custer State Park:
Not going to lie, Mt. Rushmore wasn’t MY idea of a great tourist attraction, but Neal really wanted to see it. So that was our next destination post-Badlands, stopping in Rapid City for lunch beforehand. Camping/Hiking in the Black Hills is also a great thing to do in the area, the Black Hills National Forest is absolutely GORGEOUS–we didn’t camp there but we drove through it and it was stunning!
I will be providing more details in my Custer State Park blog post coming soon, but just so you know–put a pin in all these places to research and make sure not to miss my favorite–Custer State Park!
